If eyes are called the “windows to your soul”, then the eyebrows could be likened to the window coverings. An often over-looked part of the face, well-sculpted and defined eyebrows can have a major impact on your overall look, as they frame the face and bring out your naturally beautiful features.
Beauty Tutorial: How To Do Eyebrows
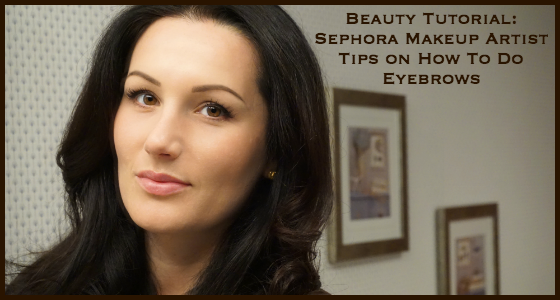
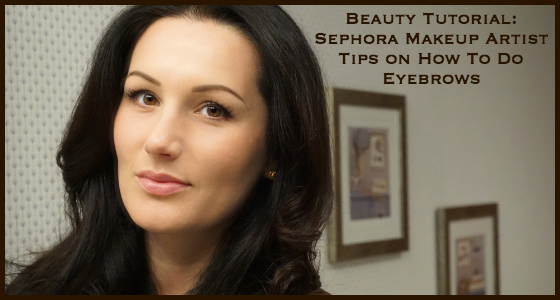
To help you get brows that wow, today’s beauty tutorial features Sephora makeup artist tips (from a Sephora beauty class) on tweezing and shaping, filling-in sparse areas, and properly applying eyebrow makeup (so that you look more like Cara Delevingne, rather than Groucho Marx’s sister).
Step 1: Shape & Tweeze Eyebrows
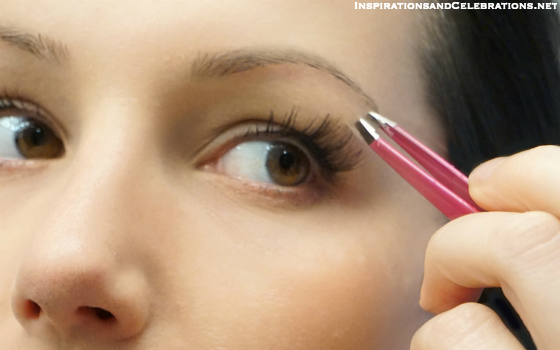
It’s advisable to visit an esthetician or waxing specialist the first time you want to get your eyebrows shaped. Then use tweezers to maintain the look, by tweezing stray hairs.
To determine where your eyebrows should start, place a pencil or ruler on the outer part of your nostril, lined up vertically toward your forehead. The inner part of your eyebrow should ideally start at the point that the pencil meets your brow. The arch (or highest point of your eyebrows) should be directly above the outer part of your pupil (when looking forward). The tail of your eyebrows should extend just slightly past the outer part of your eye.
When tweezing your eyebrows, it’s best to start with freshly cleansed skin (using warm water, to help open up the pores). This will enable you to more easily (and less painfully) pull out stray hairs. In addition, always use slanted tweezers, as they are easier to use.
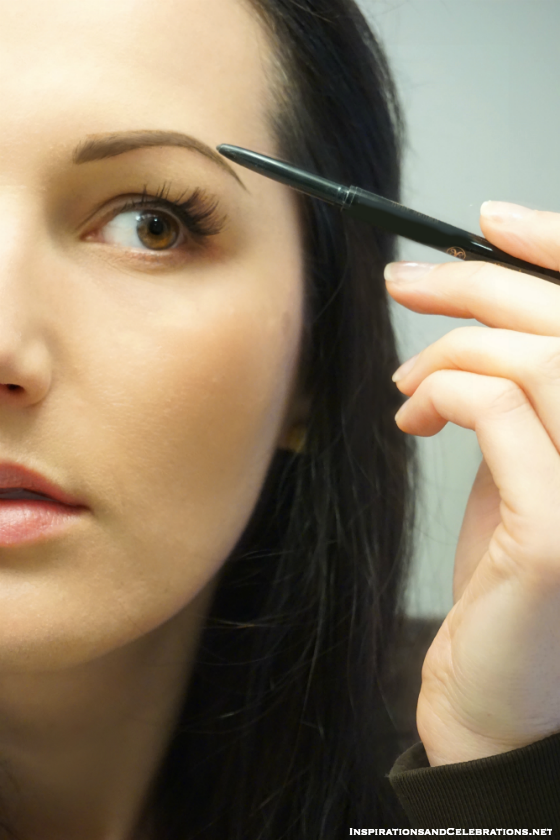
Step 2: Fill-in Sparse Areas of Eyebrows
Since most women are not born with full, thick eyebrows, you’ll most likely have to fill-in sparse areas. That’s where an eyebrow pencil comes in handy. When choosing the right shade, opt for a color that’s one-shade lighter than your hair color. As shown above, I’m using the Anastasia Beverly Hills Brow Wiz Pencil in Dark Brown.
Pro Tip: “Using light strokes, draw out under the brow to define your eyebrow shape. The stronger line should be under the brow, not above.”
Then continue to fill-in sparse areas by using light, feathery strokes.
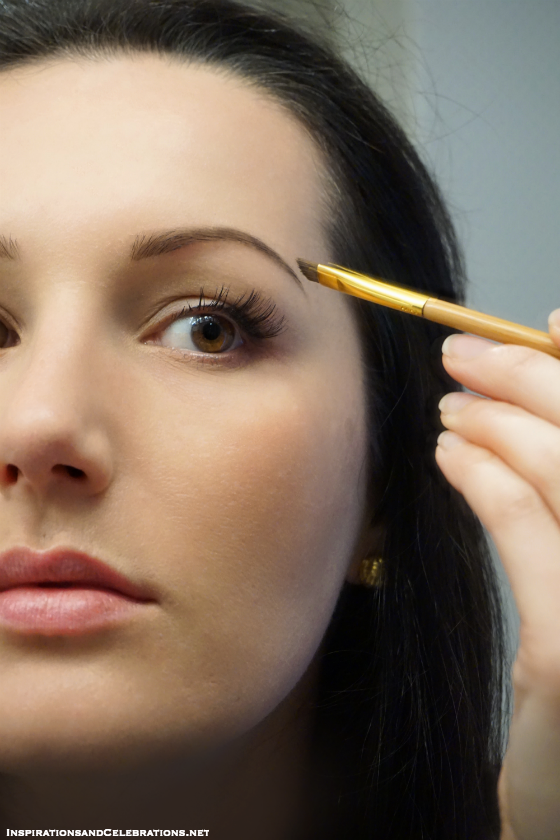
Step 3: Define & Sculpt Eyebrows
For a more defined, sculpted look (and to set your eyebrow makeup, so that it lasts all day), apply an eyebrow powder directly on top of your brow pencil. Using a small angled brush (such as the Tarte Cosmetics Brow Brush, seen above), lightly apply the brow powder to your brows.
I use the Anastasia Beverly Hills Powder Duo in Medium (shown above), which comes with two shades (lighter and darker), making it the ideal brow powder, since the effect is more natural. I use the darker shade on my arch and tail (for more definition), and the lighter shade on the inner part of my eyebrows.
Pro Tip: Eyebrow powder is ideal for “fine eyebrows”, while Clay Pomade is great for “thicker eyebrows”.
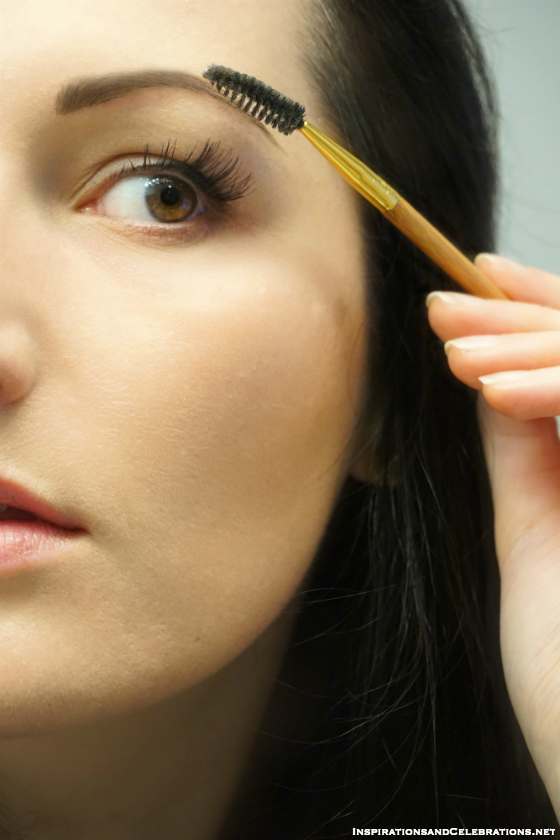
Step 4: Diffuse & Soften Eyebrows
For a natural, finished look, use a spoolie tool to gently diffuse the brow makeup. This softens the effect, making your eyebrows look naturally enhanced, and never fake. After brushing through, go over the tail of the eyebrows one last time with the brow pencil (to heighten the definition).
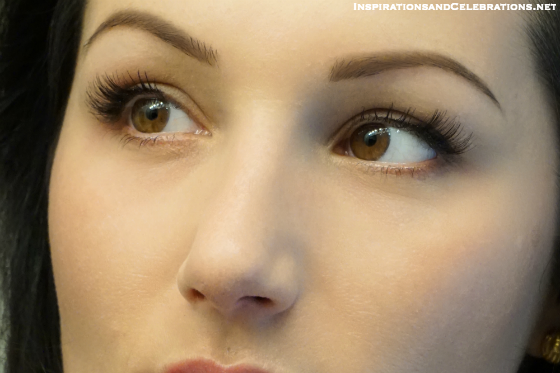
The above steps can be used on a daily basis. It’s advisable to do your eyebrow makeup right after you apply face makeup (like foundation and blush), as it will help you determine how much eye and lip makeup you actually need (which will probably be less than you originally thought).
Step 5: Set Eyebrows
For special occasions (when you need your eyebrow makeup to look great from day-to-night), you can apply a swipe of clear mascara to the eyebrows. This not only keeps the brow hairs in place, it also helps the eyebrow makeup stay on throughout the day.
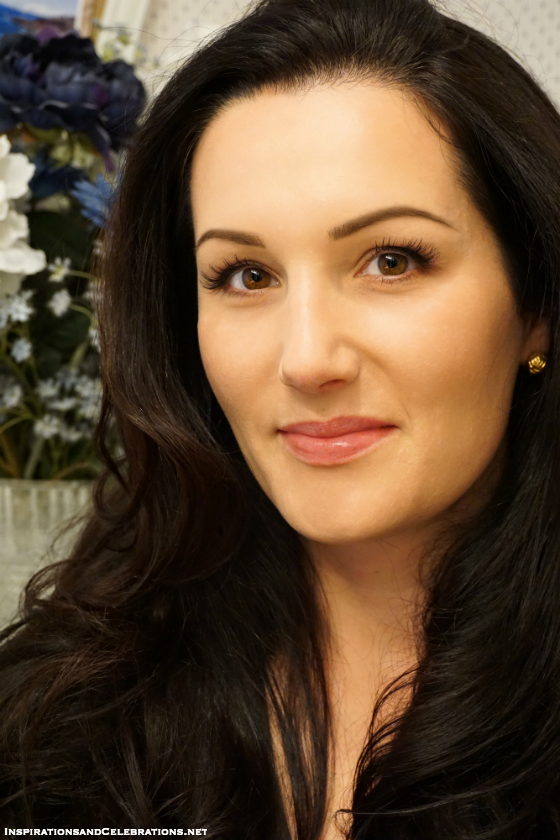
From teaching tips on eyebrow makeup to sharing secrets about highlighting & contouring, Sephora offers complimentary classes for customers. These 2-hour classes are taught by Sephora’s professional makeup artists, and introduce you to the newest beauty products and tools at Sephora. To find a beauty class near you, visit Sephora.com.
[Disclosure: This post is not sponsored by Sephora. All opinions are my own. Affiliate links included.]

