
Have you ever wondered why celebrities, models, and beauty bloggers often have a sculpted, chiseled appearance? Perhaps they have naturally pronounced features and defined cheekbones; or, most likely, they’re relying on contour and highlight makeup tricks. As Jemma (a Sephora Pro Makeup Artist in Monterey, California) exclaimed during a Contour & Highlight Beauty Class, “Contouring is the push-up bra for the face!”.
To help you get a softly contoured face (and bring out your natural bone structure), this easy-to-follow beauty tutorial shares Sephora pro makeup artist tips (from one of the Sephora Beauty Classes) on how to do contour and highlight makeup techniques to create the illusion of a sculpted, thinner face.
How To Contour and Highlight
STEP 1: PREP & PRIME
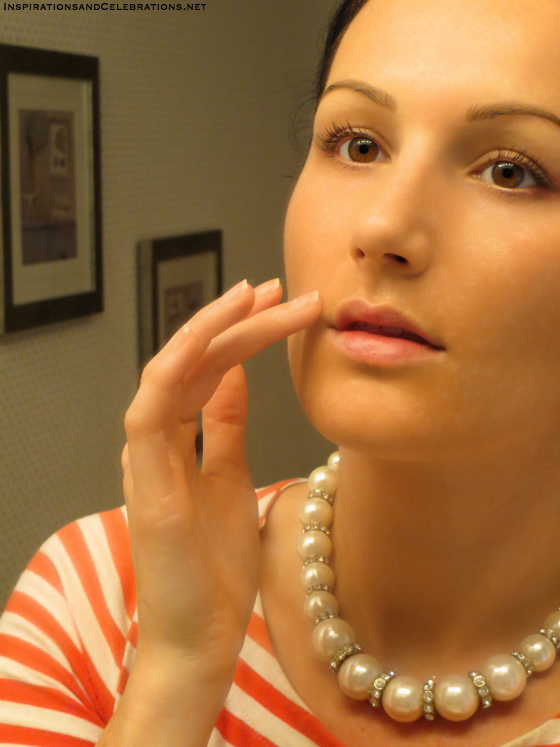
In addition to proper skincare, the first step in your makeup regime should always be to apply a skin-perfecting face primer. Primers not only help minimize the appearance of pores, fine lines, and wrinkles, they also create a virtually smooth canvas that makes foundation application easier. Not only will your skin look better, your makeup will also last longer throughout the day.
One of my favorite face primers (which I’m applying to my skin, as shown below) is the Tarte Clean Slate Poreless 12-Hr Perfecting Primer. Depending on your skin-type and what you’re trying to achieve, there are a number of top-selling, popular face primers from Sephora to choose from.
To shop for face primers, simply click the product images below for more information.

STEP 2: APPLY FOUNDATION
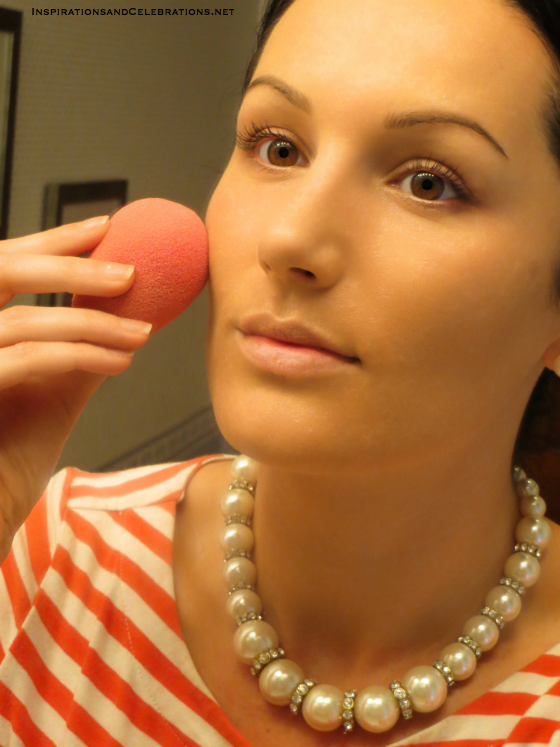
Before getting into contour and highlight makeup, lightly apply foundation or BB Cream all-over your face. For an airbrushed look, use a BeautyBlender (which is an innovative makeup sponge) to apply your foundation. This will help minimize the appearance of imperfections and pores.
PRO TIP: When applying foundation with a BeautyBlender, first wet the sponge with water. Then squeeze out the excess water, and gently towel-dry. The BeautyBlender should be damp, but not soaking wet. Then use a stippling technique to lightly dab and blend the foundation into your skin.
Since I prefer light coverage for everyday wear, I often use Tarte BB Tinted Treatment (as shown in the photo below), which has SPF-protection and a built-in primer (for additional skin-smoothing benefits).
To shop for foundation or BB Cream, simply click the product images below for more information.
STEP 3: HIGHLIGHT
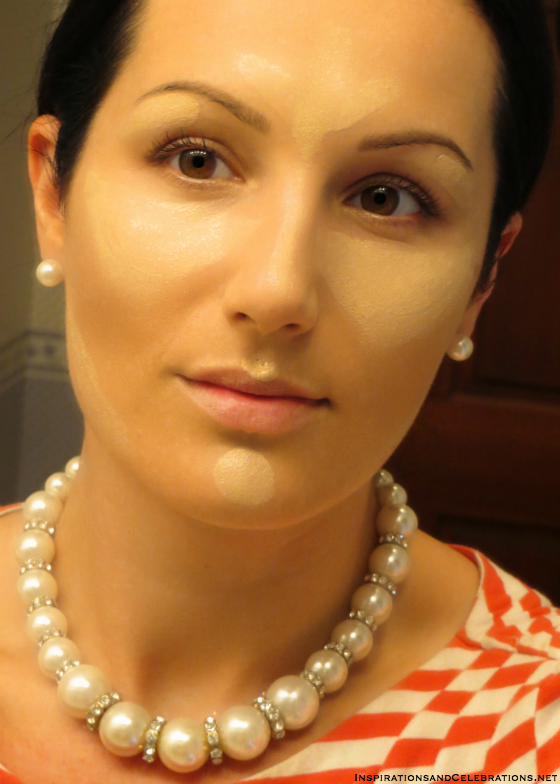
Using a brightening concealer (preferably in a gel or serum formulation) that is 1-3 shades lighter than your natural complexion, apply a “triangle of light” under your eyes, to help minimize the look of dark circles and draw light to your eye area. You can apply the concealer with your clean ring finger (by gently dabbing it on) or with the BeautyBlender tool.
Then using a concealer brush (Sephora makeup artists recommend the Sephora Pro Airbrush Concealer #57) and a cream-based concealer (such as the Tarte Maracuja Creaseless Concealer, as shown below) to the areas of your face that naturally protrude. Place concealer on your forehead (in between the eyebrows), your brow bones, along the bridge of your nose, along the jawline, on your chin, and above your lips in the cupids bow.
To shop for concealer, simply click the product images below for more information.
STEP 4: CONTOUR
To create dark shadows on your face that help specific areas recede (making them appear smaller), use a makeup contour palette or a matte bronzer to contour your face. Since I don’t regularly do contour and highlight makeup, I simply use the Tarte Amazonian Clay Matte Waterproof Bronzer (as shown in the photo below).
PRO TIP: Matte powders are user-friendly and good for oily skin. Cream formulas are more dramatic, and better for dry skin.
PRO TIP: Use a matte makeup product for contouring, rather than one with shimmer.
With a contouring brush (such as the Sephora Pro Angled Contour Brush #75), apply the contour makeup (in either a powder or cream formula) under your jawline, along your hairline, directly under your bottom lip, and along your cheekbone.
PRO TIP: To determine exactly where the line should be on your cheekbone, a simple trick is to line up your brush from the top of your ear angled toward the corner of your lip.
PRO TIP: To slim and shorten the look of your nose, you can even use a small angled brush to lightly contour along the sides of your nose (making it appear thinner) and under the tip (to give it a slightly turned-up, shorter appearance).
To shop for contour palettes or bronzers, simply click the product images below for more information.
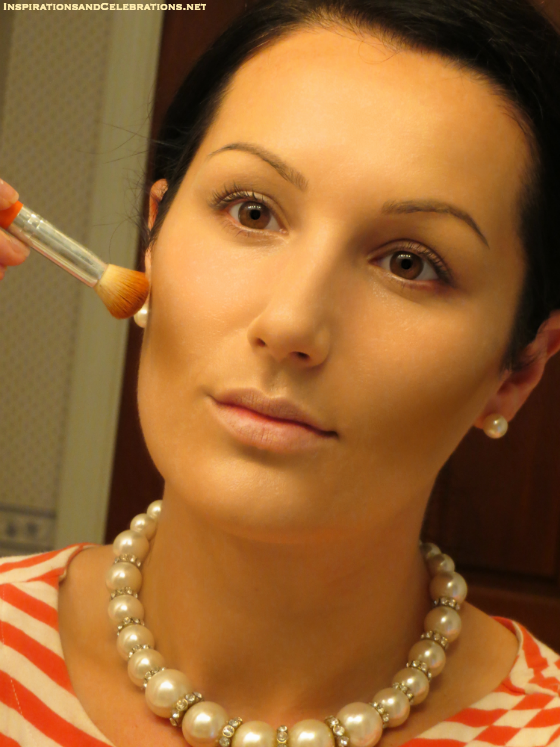
STEP 5: APPLY BLUSH
To add warmth to your skin, using a blush brush (such as the Sephora Pro Precision Blush Brush #73), apply blush (in either a universally-flattering coral shade or a soft rose hue) to your cheeks, in between the areas you placed the contour and highlight makeup. This helps bring the colors together, making it look more natural.
Since I love the look of flushed cheeks, I often use the Tarte Amazonian Clay 12-Hour Blush (in either shade Tipsy or Natural Beauty), as shown below.
To shop for blush, simply click the product images below for more information.
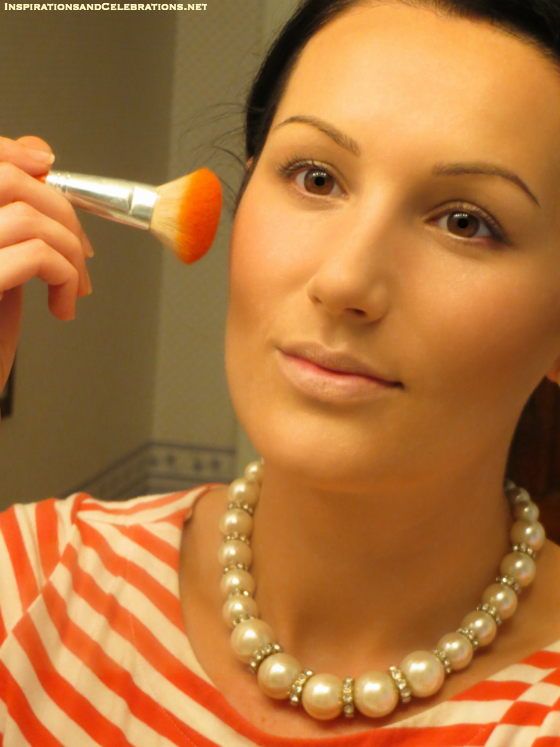
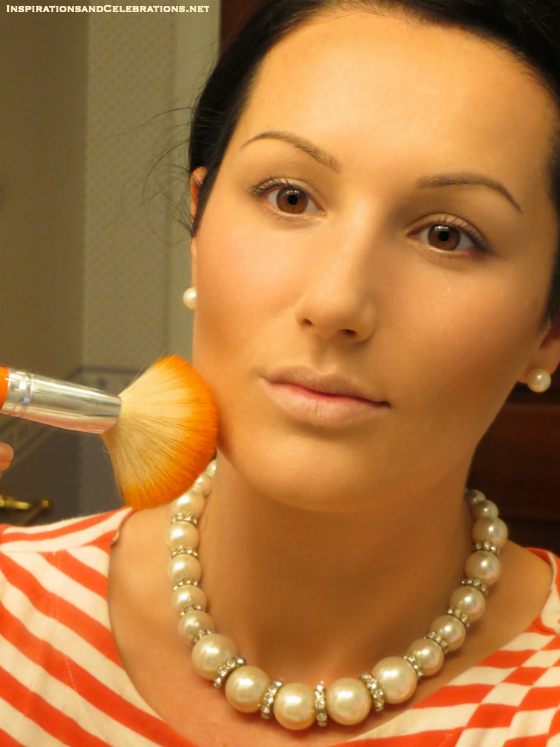
To blend your contour and highlight makeup (for a natural, seamless look) and to set your makeup (which helps it lasts all day), using a fluffy powder brush (like the Sephora Classic Setting Powder Brush #53), thoroughly blend your contour makeup and apply a translucent setting powder all over your face.
In the photo below, I’m using Tarte Smooth Operator Micronized Clay Finishing Powder, as it helps to keep makeup in place without looking chalky. In addition, removes excess oil on the skin, giving my face a slightly matte appearance.
PRO TIP: For extra long-lasting makeup, lightly spray a setting mist all over your face. You can think of makeup setting sprays like “hairspray for your face”. One of my favorite setting sprays is the Urban Decay All-Nighter Long-Lasting Makeup Setting Spray.
To shop for setting powders and sprays, simply click the product images below for more information.
As you can see, with just 6 easy steps, you can create a more sculpted, defined face by using contour and highlight makeup techniques.
To learn more pro makeup artist tips and tricks, sign-up for a Sephora Beauty Class near you.

[Disclosure: Affiliate links.]