To celebrate Autumn, last weekend I enjoyed a Wildflower Walk & DIY Pumpkin Flower Centerpiece workshop hosted by the newly re-opened Farm Stand at Earthbound Farm in Carmel, California and led by organic farmer Janna Jo Williams.
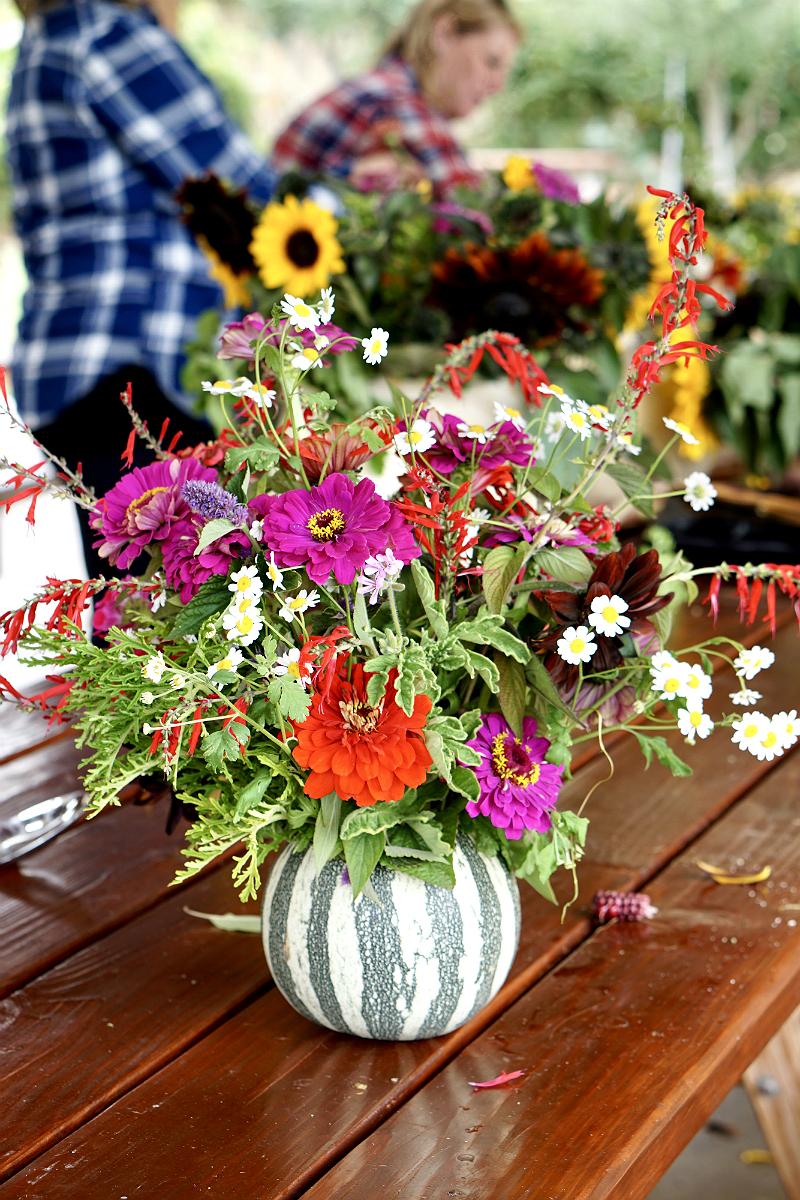
To inspire you to get creative this season, today’s DIY tutorial shows you how to easily create a festive DIY pumpkin flower centerpiece for entertaining at home or to use as Fall decór.
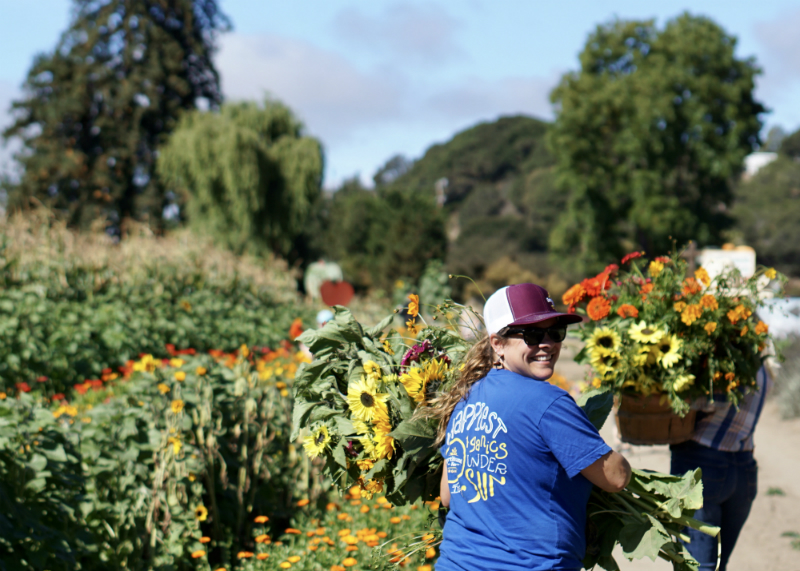
One of the most interesting things about this particular farm is that it’s organic. From fresh organic produce to organically-farmed wildflowers, pumpkins, and herbs, everything that they grow here is done without chemical pesticides. What made this workshop especially fun was the fact that we got to go out into their fields to cut the wildflowers, choose our pumpkin, and even pull corn to shill (which was a first for me!).
Throughout the Fall and Winter months, they often host fun and informative workshops and classes. From their annual holiday wreath making class (which uses dried grapevines and natural foliage) and pumpkin carving classes to an organic pumpkin risotto cooking class (led by the executive chef from the nearby Quail Lodge & Golf Club), their workshops are always a great experience – whether you go solo, with friends, or even for a special occasion (like a birthday or girls’ day).
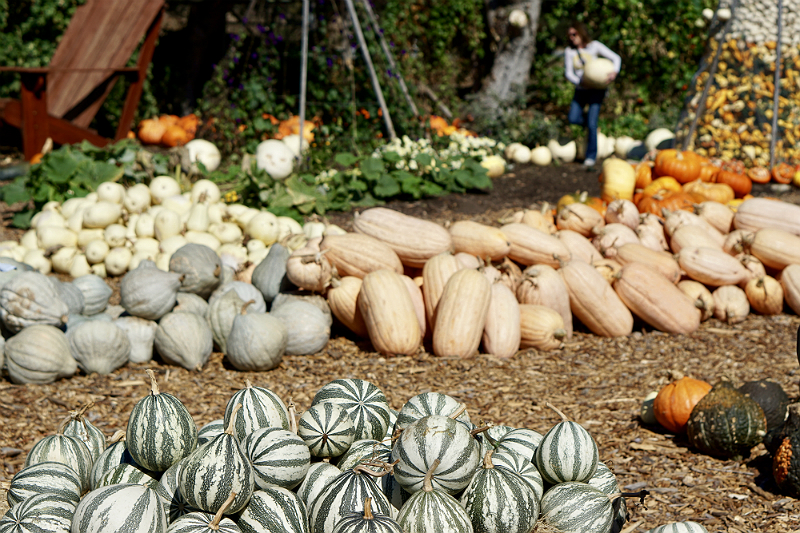
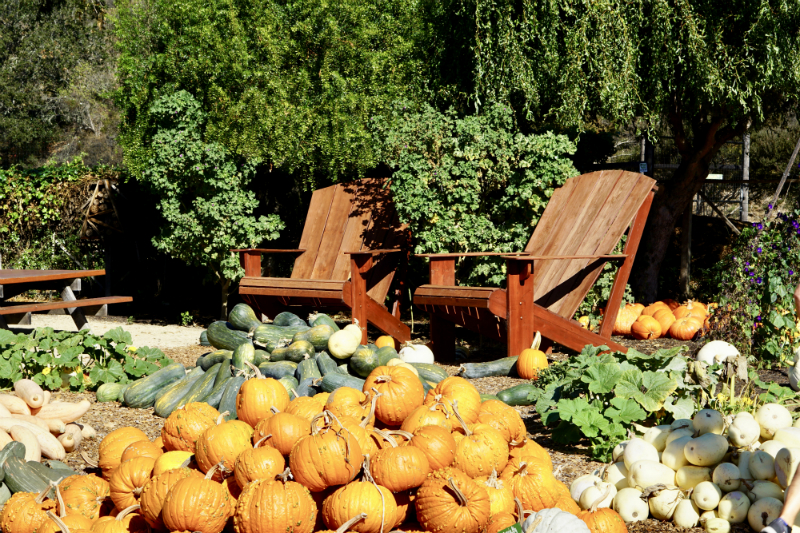
Aside from the workshops, one of my favorite reasons to visit the Farm Stand during Fall is to go to their charming pumpkin patch. Not only do they offer a wide variety of pumpkins that range in color, shape, size, and even appearance (like striped varietals), it’s also one of the most photogenic pumpkin patches I’ve ever seen. From rustic decor to family-friendly accents (like giant over-sized chairs to take pictures in), it’s really quite a treat for everyone.
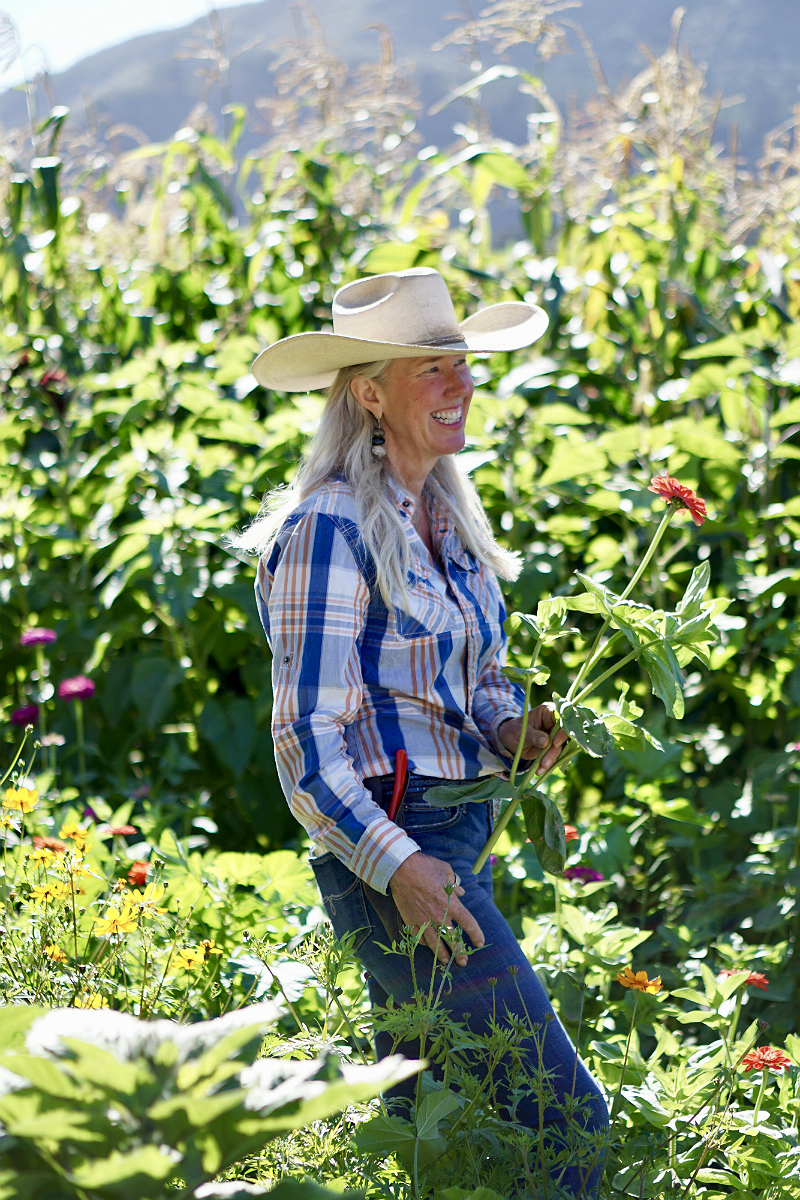
To lead the Wildflower Walk and DIY Pumpkin Flower Centerpiece workshop, farmer Janna shared her helpful tips and tricks to choosing the best wildflowers and pumpkins, and even gave us valuable insight on how to carve our pumpkins more easily.
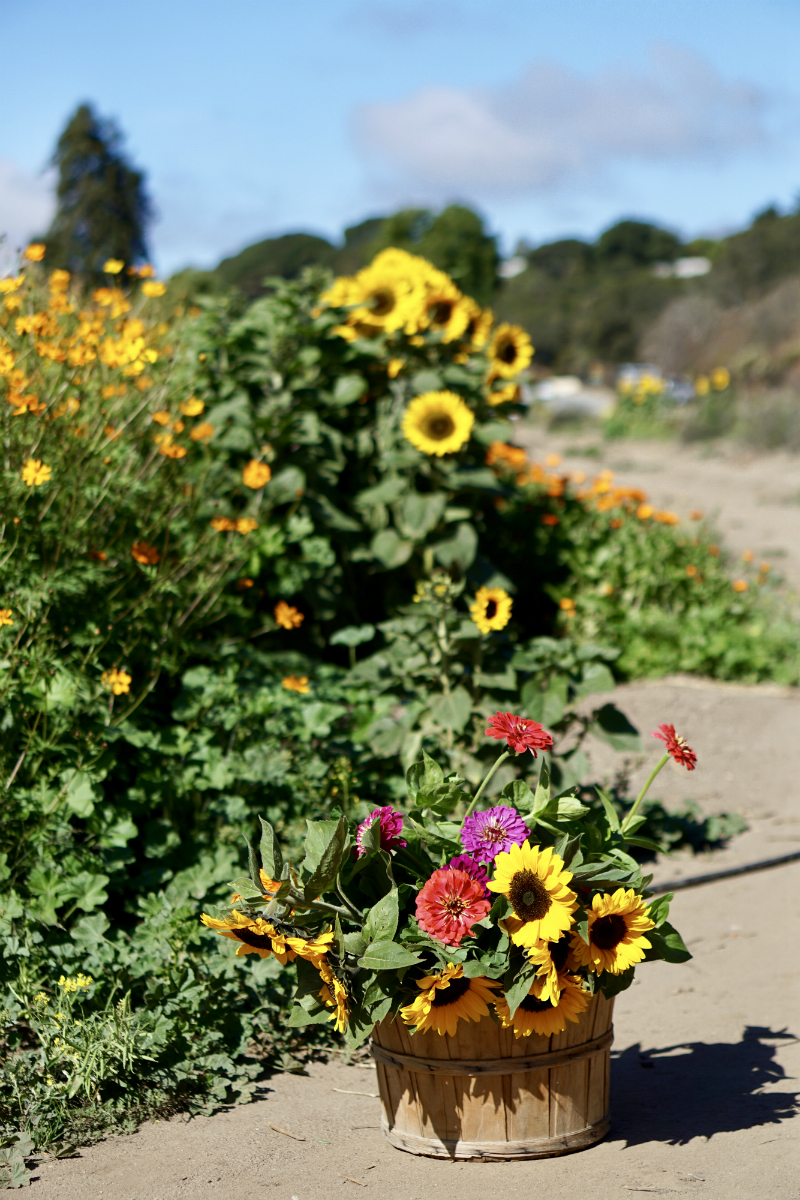
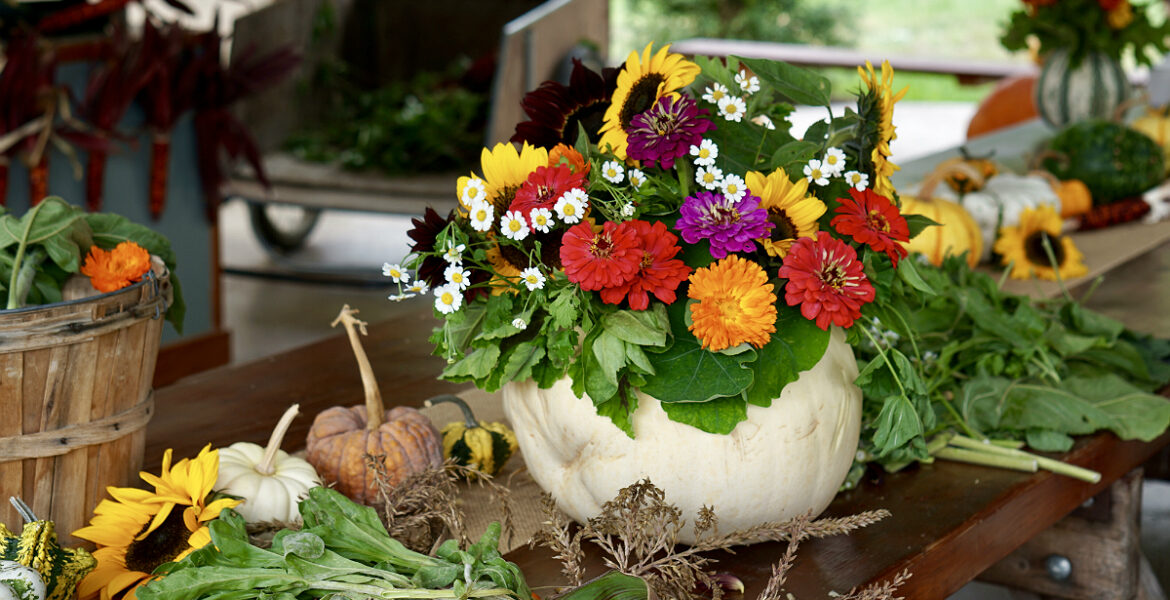
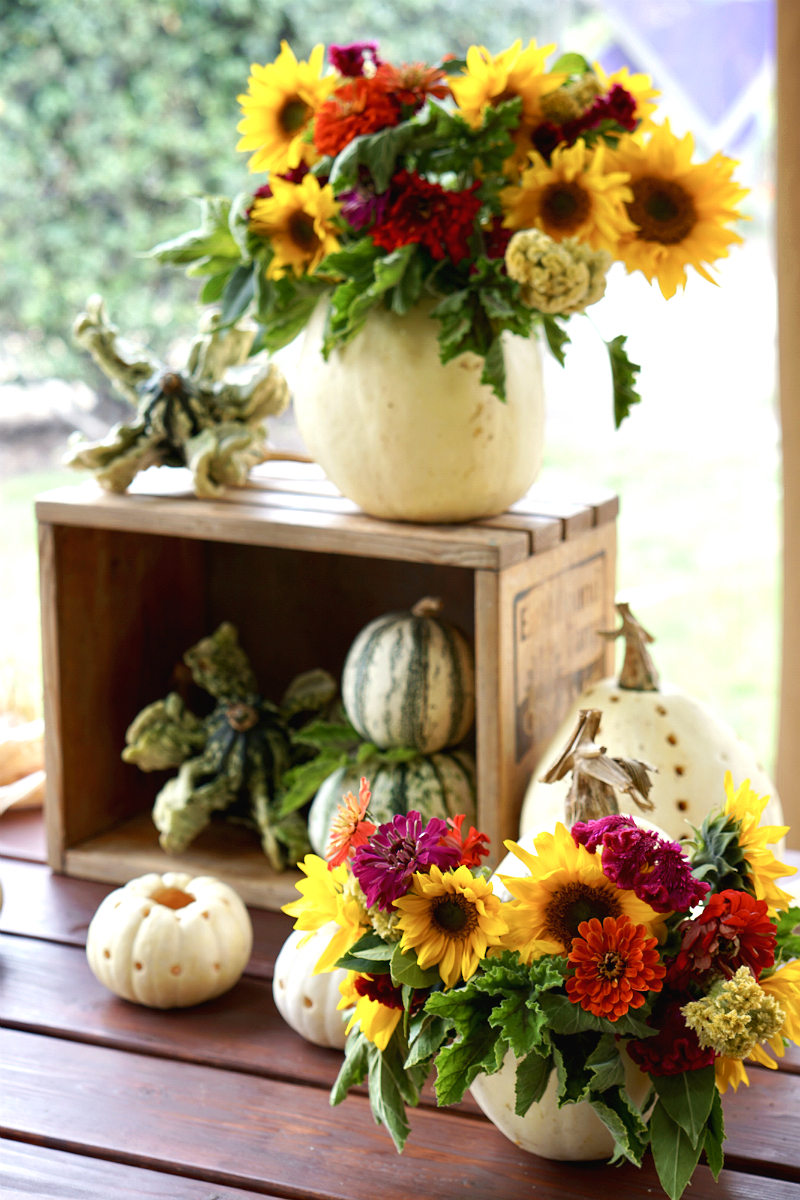
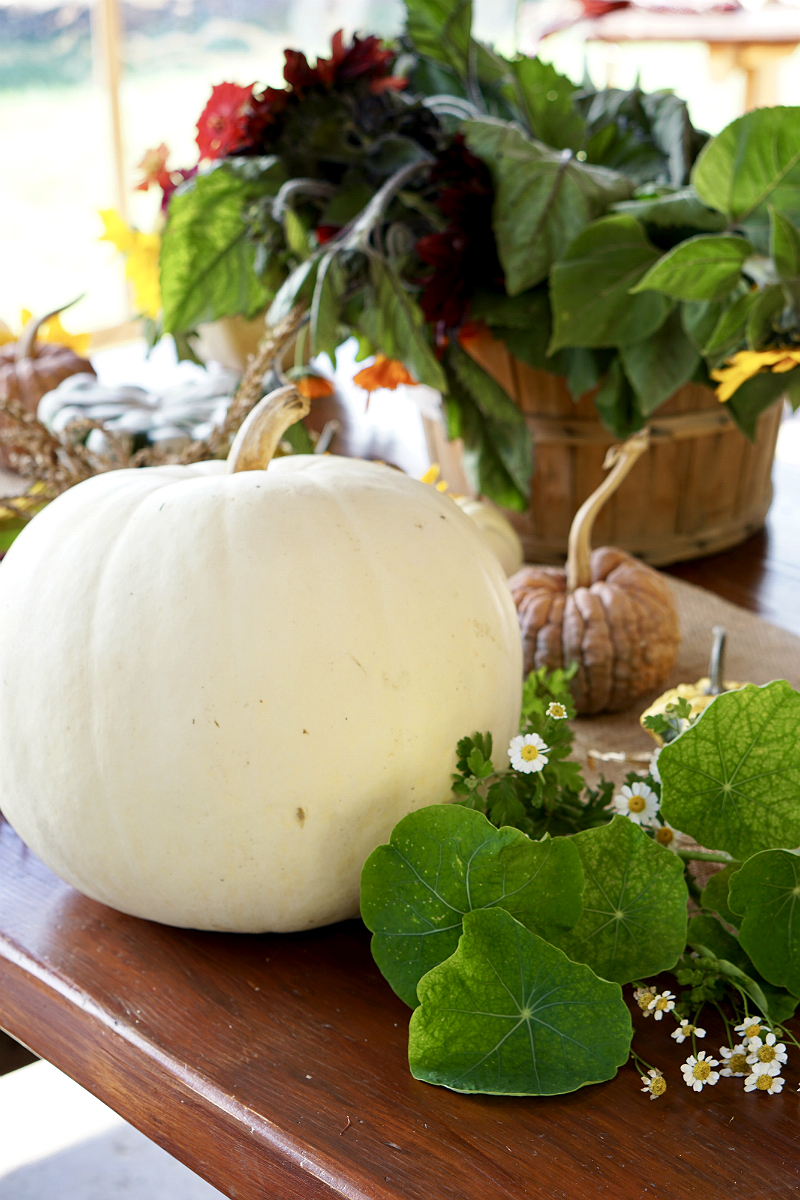
From sunflowers to zinnias, we were able to pick any flowers we wanted, which is why I opted for a vibrant and colorful array of gorgeous wildflowers (shown above). My arrangement included sunflowers, calendula (which are also edible, and great for salads I learned), feverfew, zinnia, scented geranium leaves, fig leaves, and nasturtium leaves.
In addition to cutting the wildflowers, we also got to choose the pumpkin we wanted to use for the DIY pumpkin flower centerpiece. Since Janna recommended opting for the white Polar Bear Pumpkins (as they’re not only easier to carve, they also last longer than other pumpkin varietals), I decided to follow her suggestion.
Step 1: To get started, she told us that using a drywall saw is best for carving the hole, as it cuts through the pumpkin more easily than traditional pumpkin carving tools. Cut a round hole in the top of the pumpkin and remove the top section.

STEP 2: Using a circle hoe weeding tool, clean out the pumpkin.
TIP: Farmer Janna said that if you’re planning to keep the DIY Pumpkin Flower Centerpiece for a week or two, then it’s best to fully clean out the inside. If you’re only using the centerpiece for a party (that’s being hosted within a day), you can leave some of the pumpkin strings inside (as it will actually help hold together the flower arrangement).
STEP 3: Starting with the greenery (scented geranium leaves and fig leaves are great options, as they help to cover the edge of the hole where you carved into the pumpkin), add foliage into the pumpkin to create a foundation.
STEP 4: Add water to the pumpkin vase.
STEP 5: Cut the flowers at different heights and start arranging them in the pumpkin vase.
TIP: As a rule of thumb, use odd-numbered quantities (like 3 or 5 flowers), as it makes the arrangement more interesting.

For more inspiring ideas and expert tips, check out the other DIY tutorials on Inspirations & Celebrations.