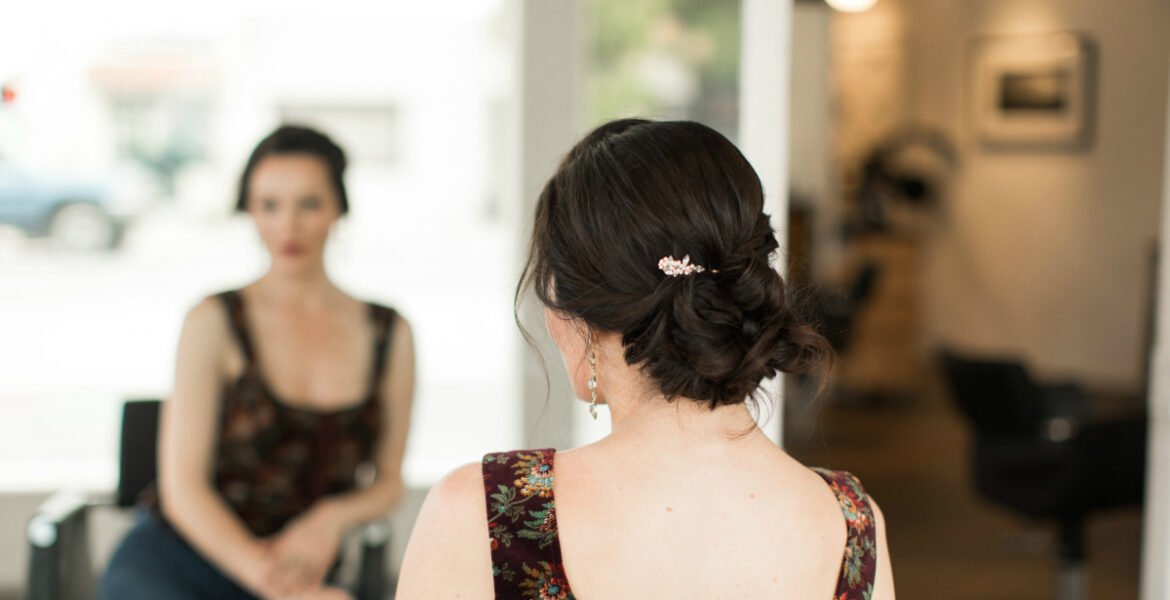
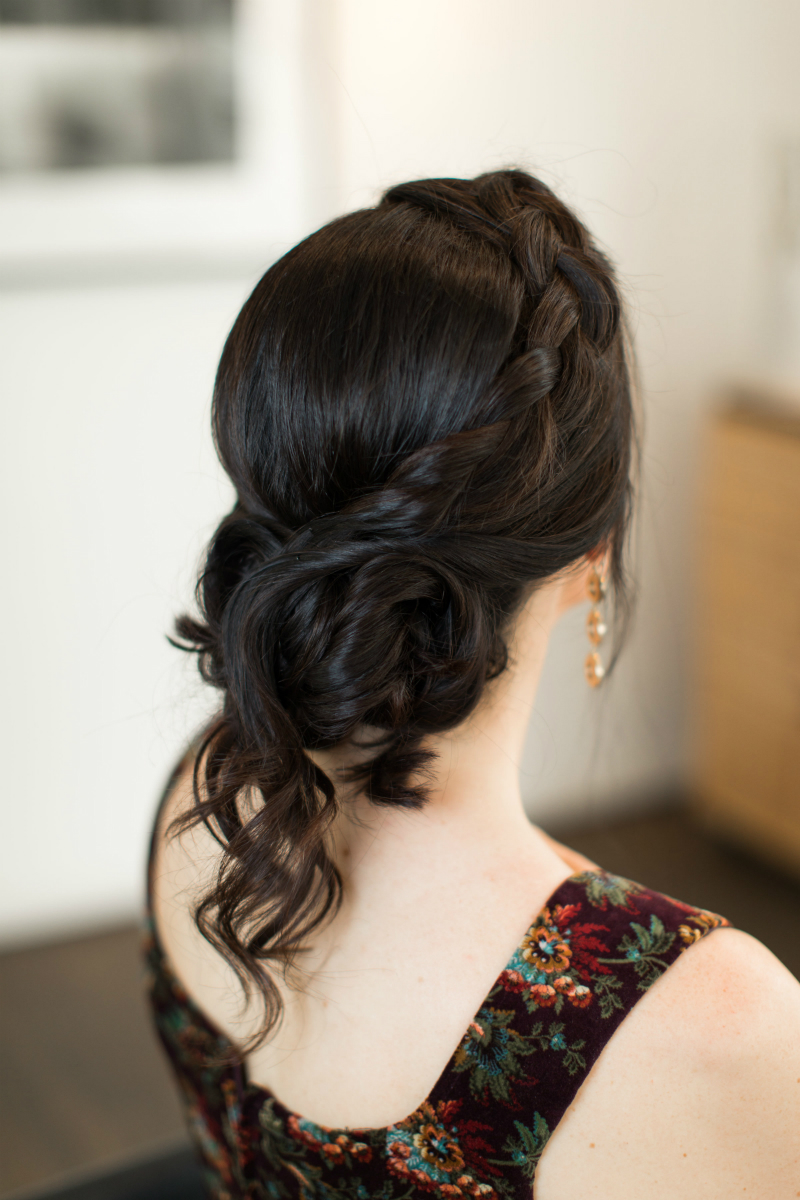
There’s something so regal about a beautiful updo, which is why a romantic braided updo is such a stunning hairstyle. Whether you’re in going to a wedding or a festive party, this princess-inspired braided updo is a chic way to wear your hair. Plus, it’s a perfect complement for eveningwear, as it lets your face and outfit take the spotlight.
To inspire you to have fun styling your hair, Inspirations & Celebrations recently launched a new 4-part hairstyle tutorial series in collaboration with talented hairstylist Lili Cabrera (from the award-winning Oya Salon in Monterey, California). These easy-to-follow hair tutorials show you how to create salon-worthy looks at home.
In Part 1, Lili taught us how to create romantic loose curls; in Part 2, she showed us how to create a glamorous ponytail that’s anything but basic; and in Part 3 she taught us how to do a half-up, half-down hairstyle that’s ideal for any celebration. In today’s tutorial, learn how to re-create this princess-inspired braided updo.
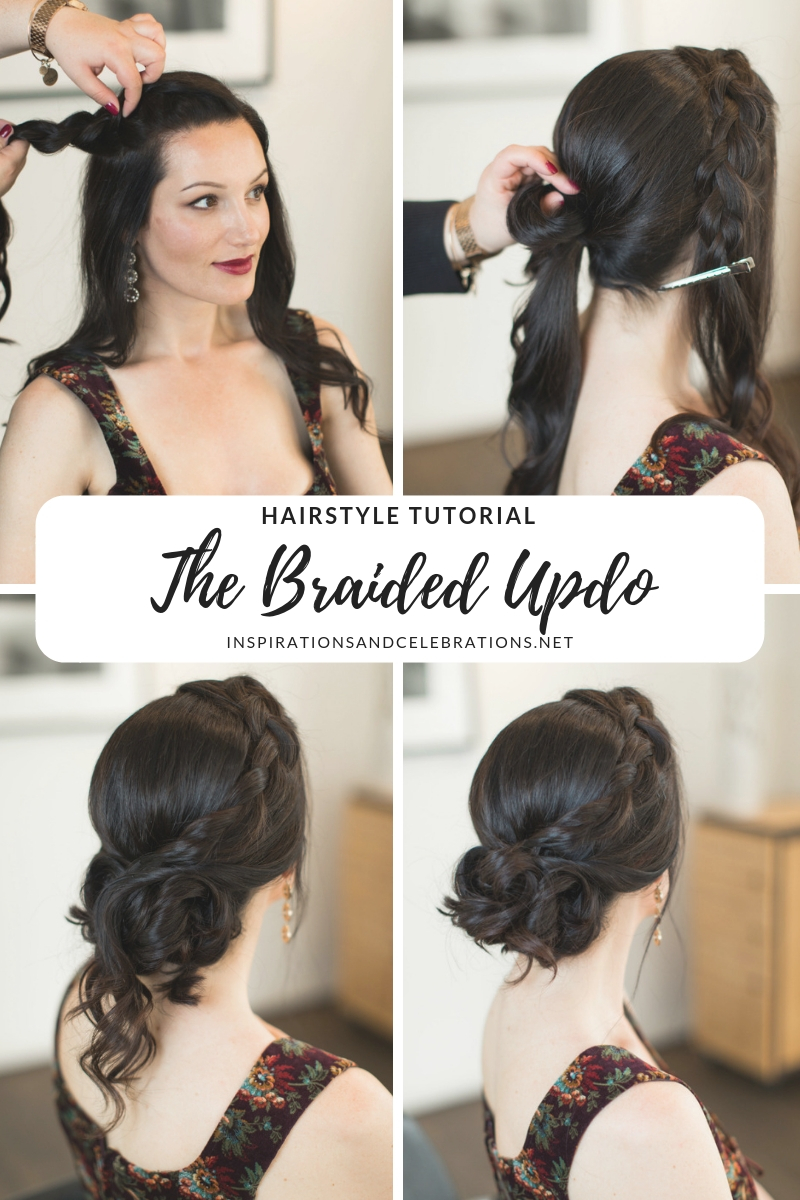
Hairstyle Tutorial: The Braided Updo
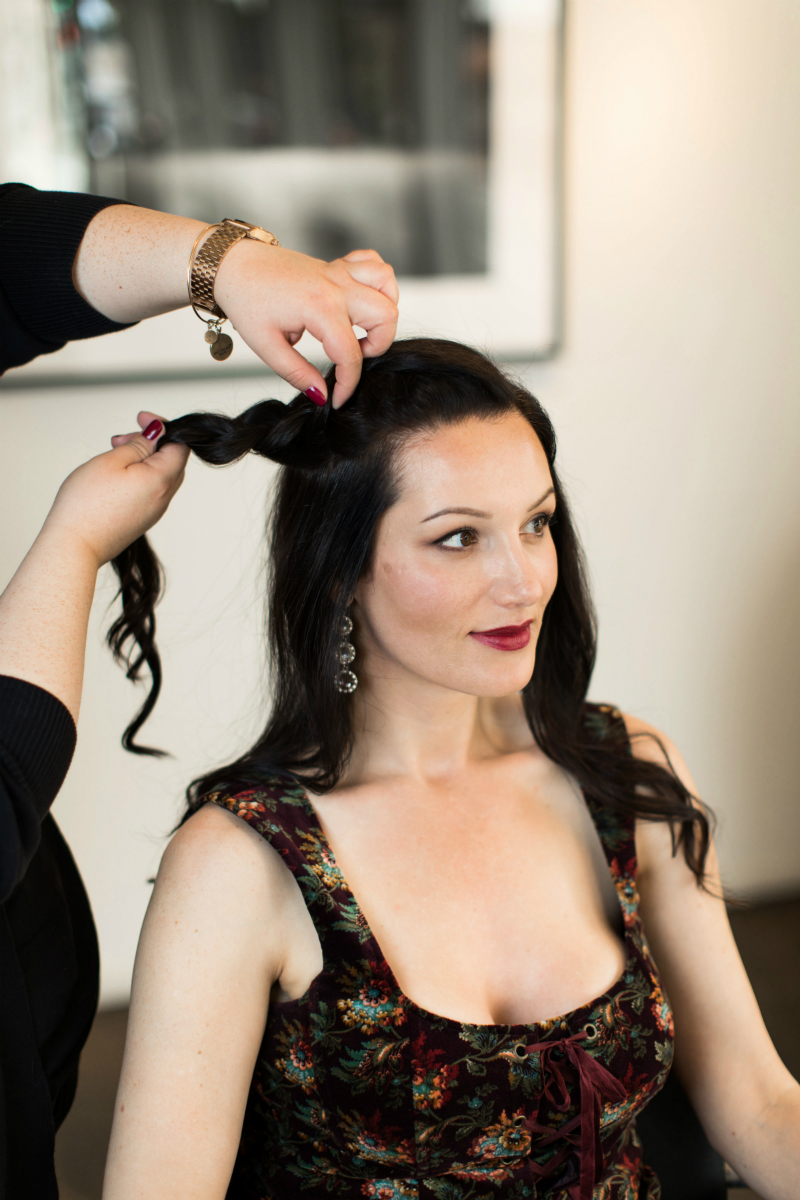
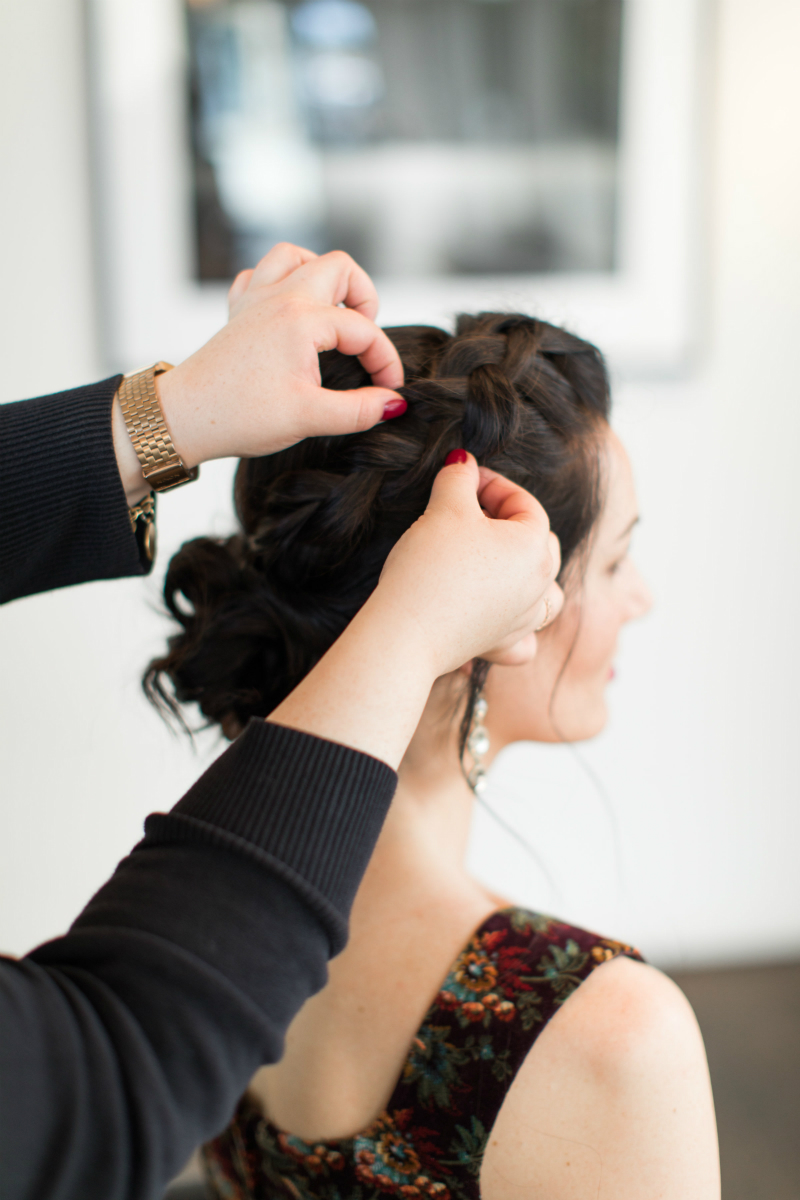
STEP 1: Create a section from the top of the head to the top of the ear.
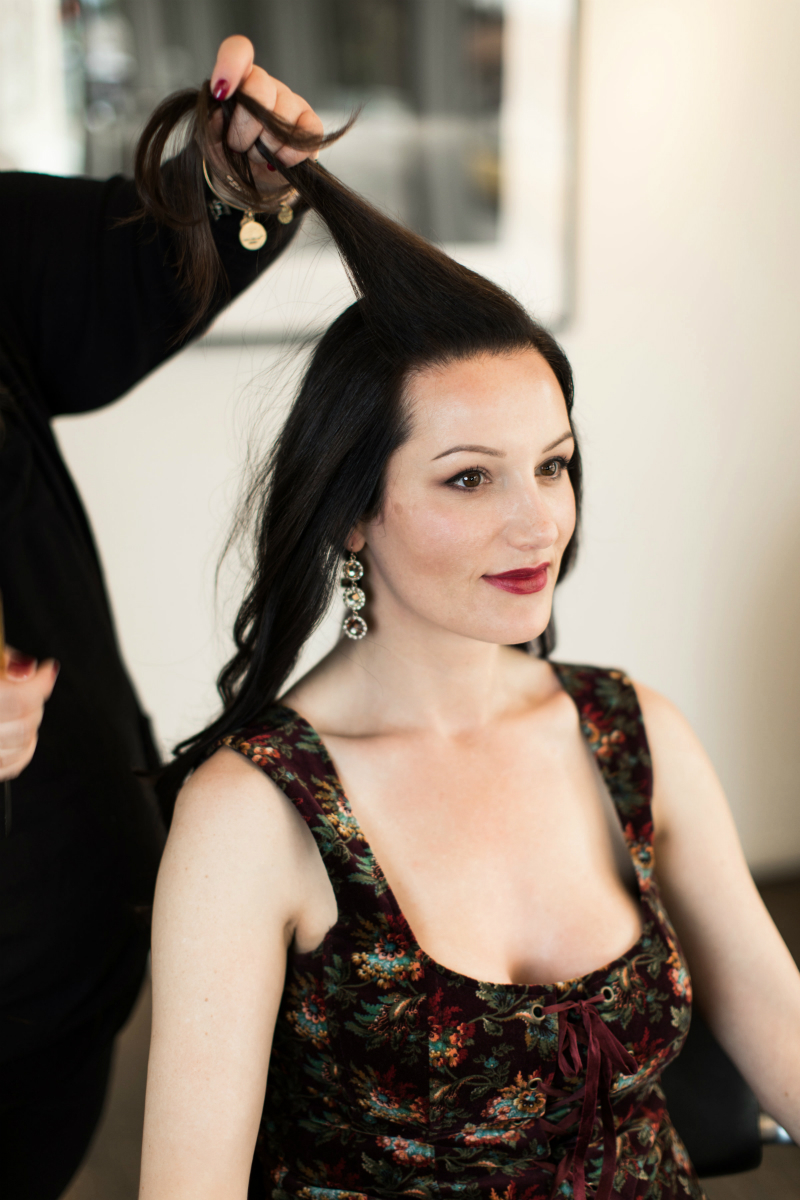
STEP 2: Taking a section from the top, braid into a three strand braid. Lightly holding the braid in one hand use your other hand to pull the strands of the braid. This will expand the braid and make a fuller look.
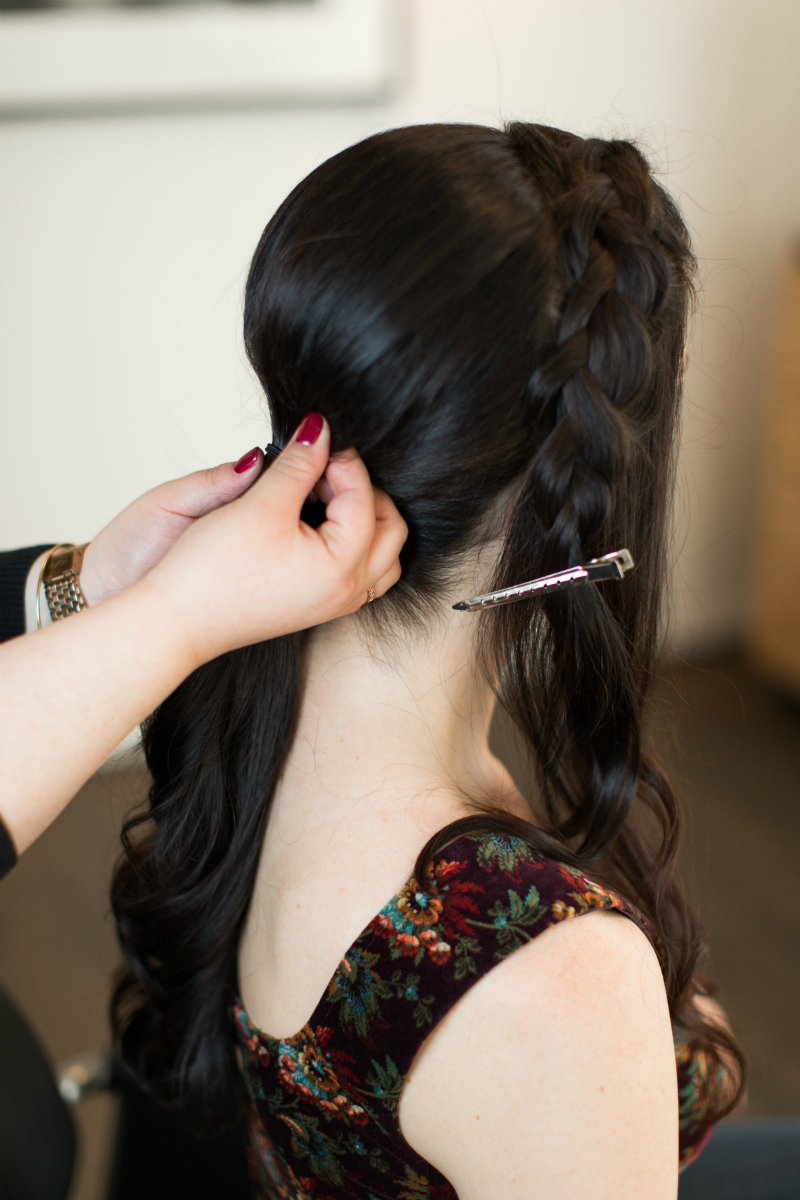
STEP 3: Pin braid aside and pull the back section into a low ponytail.
PRO TIP: Use your jawline to determine the best position of the braid.
STEP 4: While holding the base of the ponytail, lightly pull at the base to create a softer look.
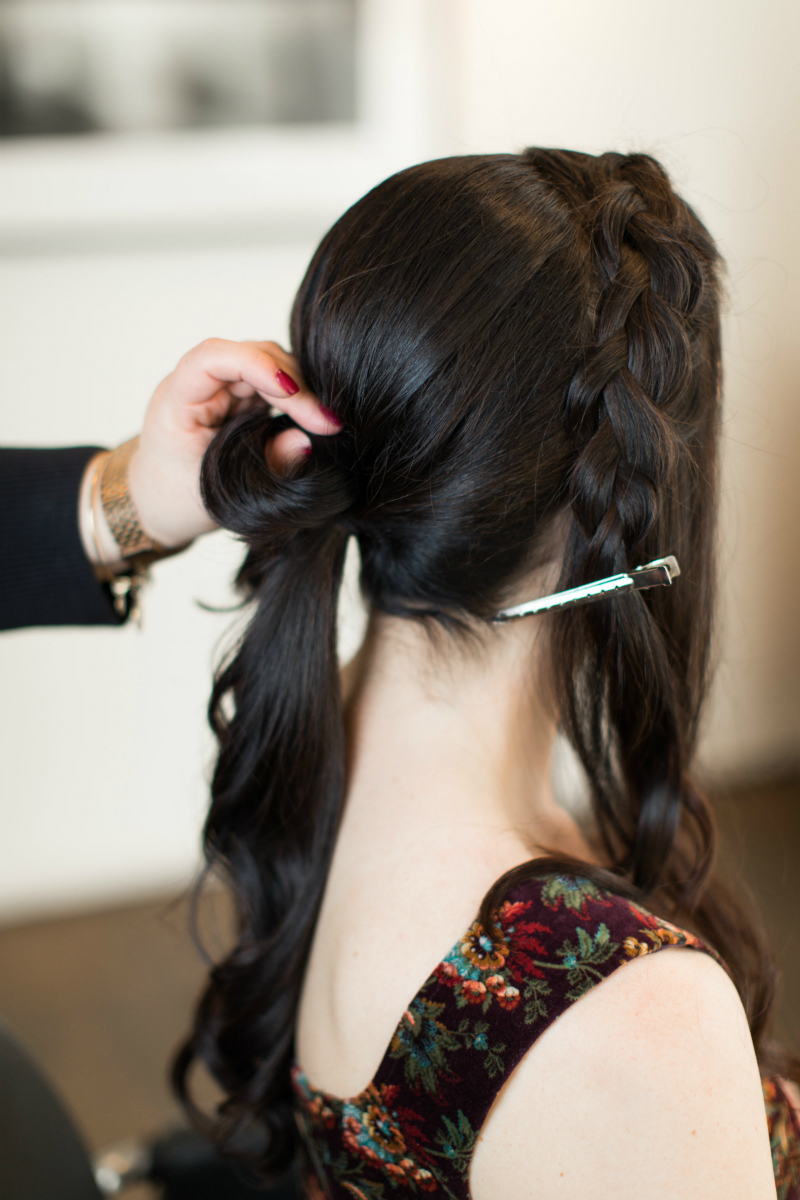
STEP 5: Take strands from the ponytail and pin onto the base. Continue twisting and curling hair into place.
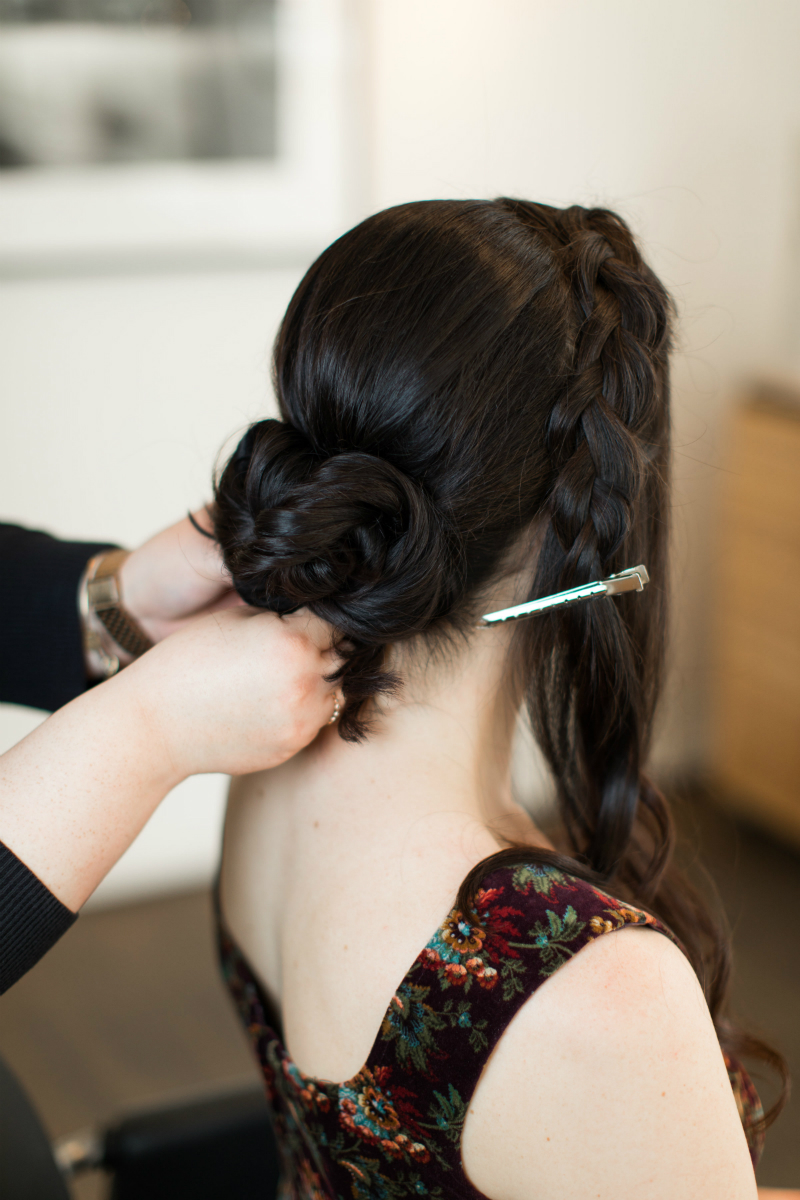
STEP 6: Pin and secure hair onto the base of the ponytail. Using the base as an anchor for the curls.
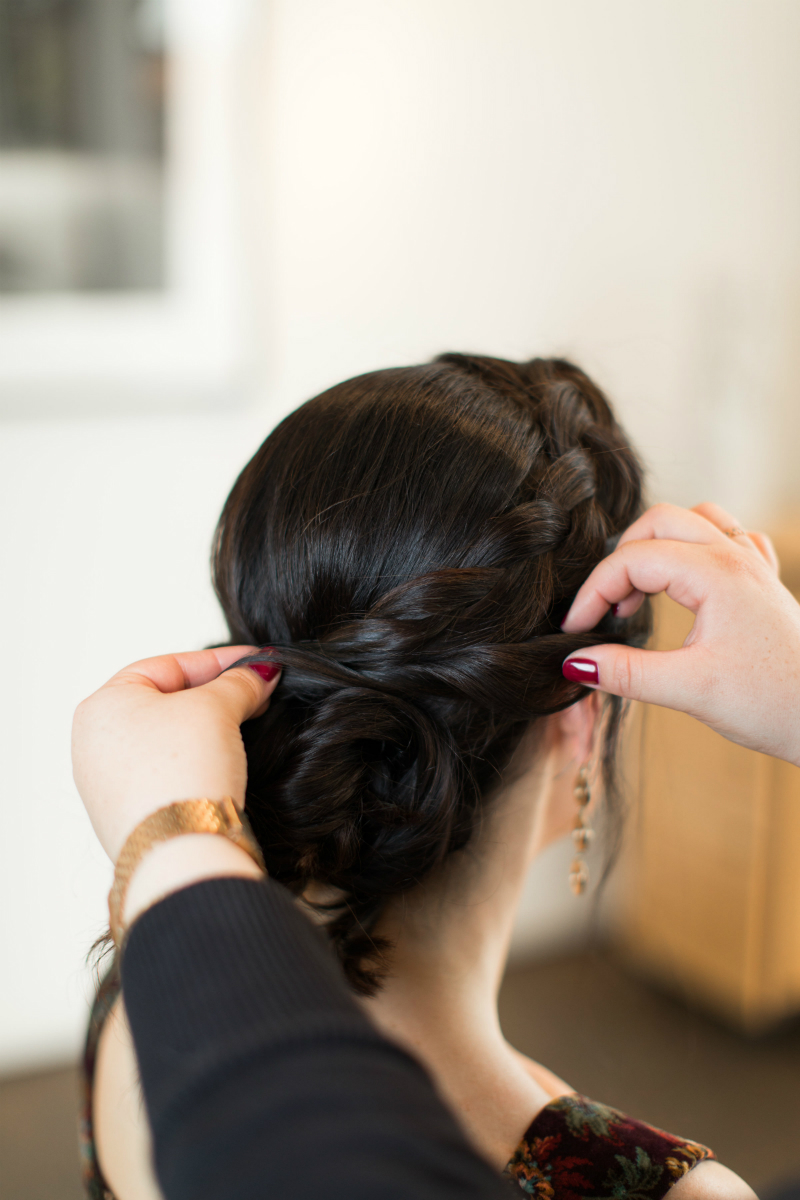
STEP 7: Pinback braid into the updo. Twist hair back into updo and pin.
STEP 8: Pin any loose strands into the braided updo.
STEP 9: Adjust braid by lightly expanding strands. Gently pull out some wisps of hair from the front to frame the face.
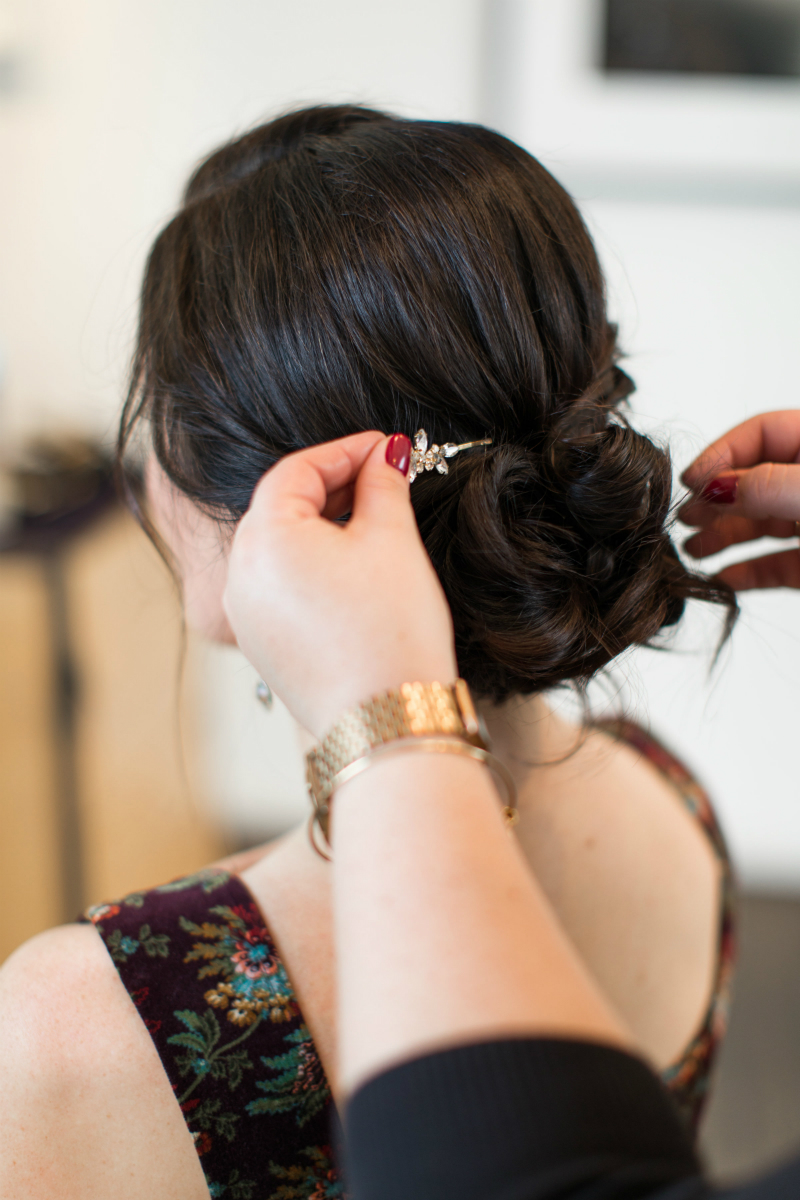
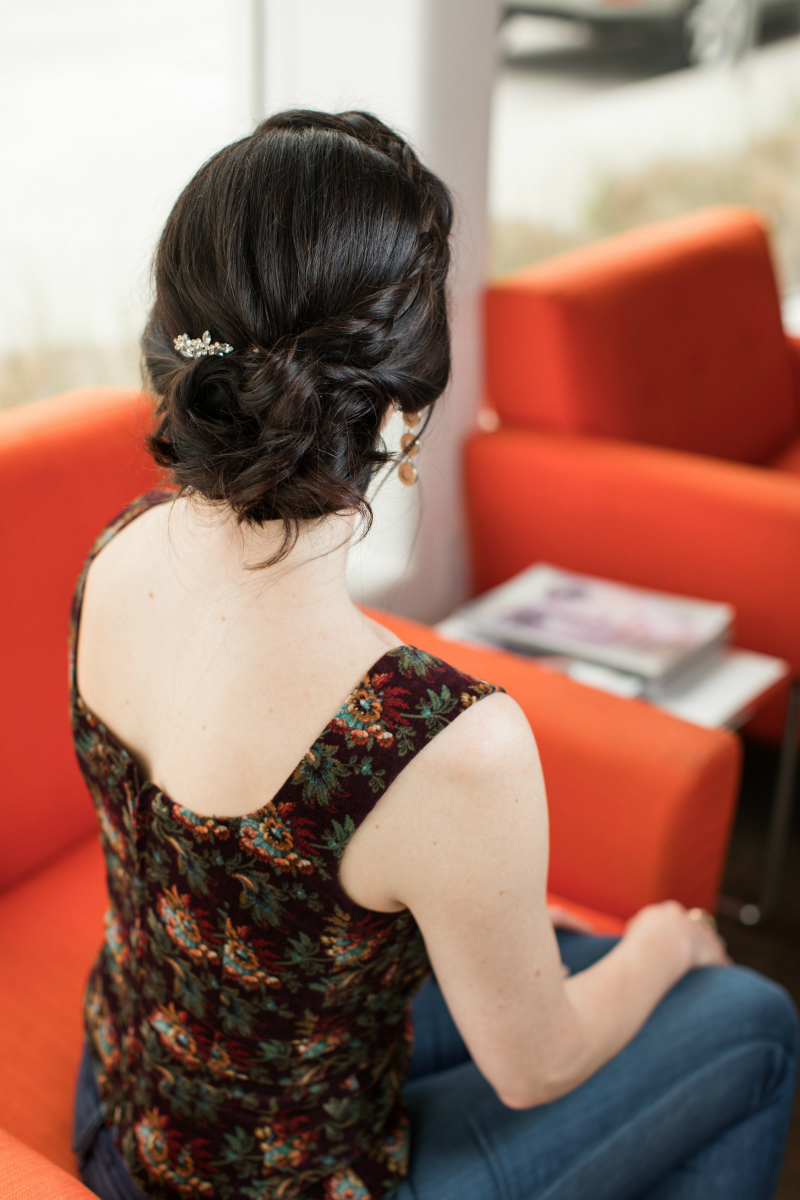
STEP 10: Add any beautiful accessories to finish the look of the braided updo!
For more beauty tips and tutorials, visit the Hair and Health & Beauty sections on Inspirations & Celebrations.
[Photography by Rachel Zee; Shot on location at Oya Salon in Monterey, California.]
Your hair is gorgeous in this Updo. Well it’s always gorgeous, honestly it is. I’m going to see if you have any videos of your hair tutorials. I’ve not looked yet to see but if you don’t have any it would be great if you would add some. Thanks so much.