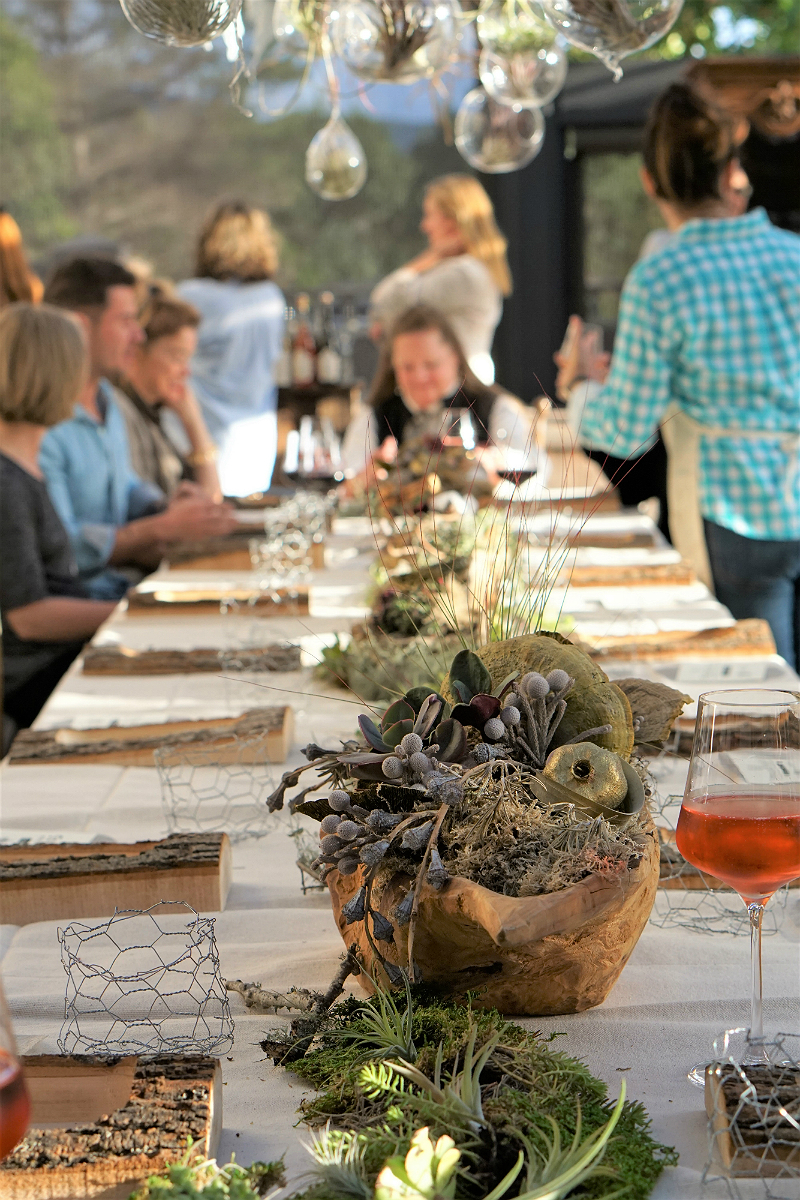
To celebrate the beginning of Spring, our friends at Folktale Winery & Vineyards in Carmel Valley, California, hosted the first of its Folktale Artisan Workshop series. In collaboration with Carmel Valley Mercantile and Tacklebox Creative + Design, this particular workshop inspired guests to get crafty and creative in their gardens, by teaching attendees how to easily create a DIY Mini Wall Garden.
DIY Mini Wall Garden Tutorial
To help you create a DIY Mini Wall Garden at home, today’s step-by-step garden tutorial comes courtesy of Carmel Valley Mercantile and Tacklebox Creative.
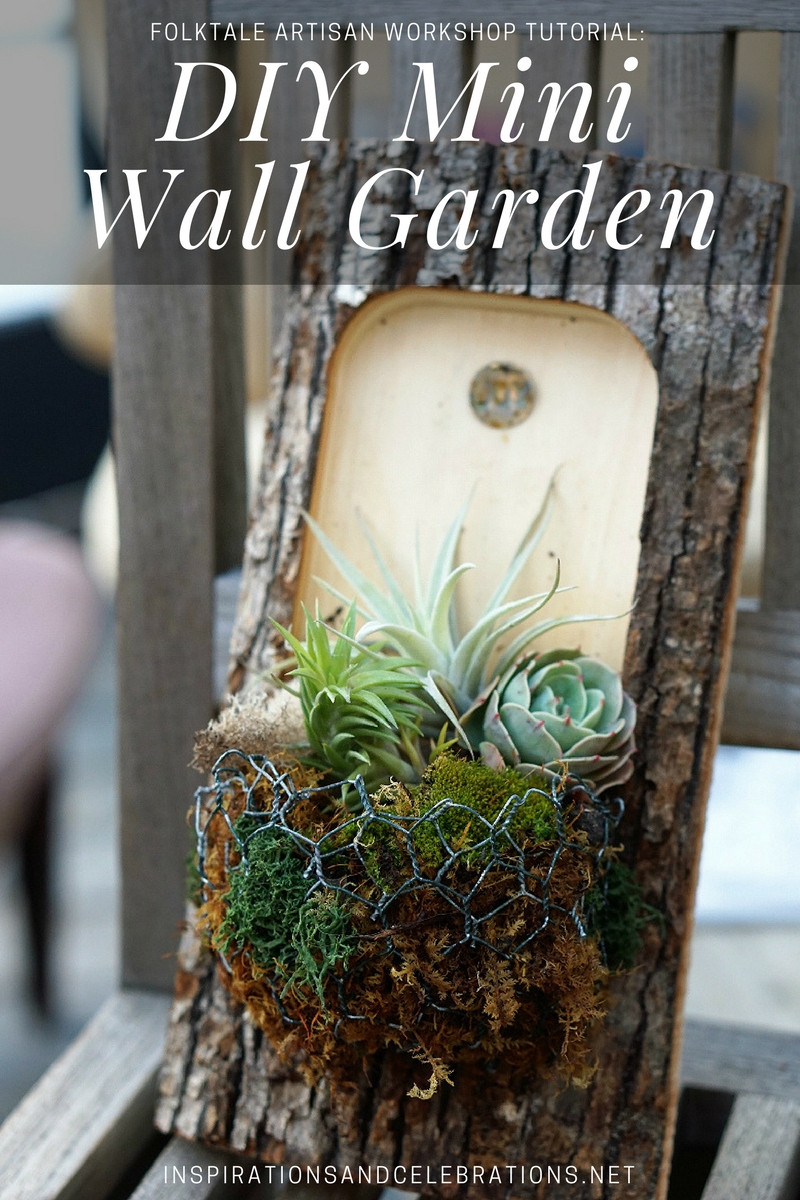
From evergreen succulents and woodsy moss to ornamental accents (like abalone shells and inscribed golden tags), a DIY Mini Wall Garden is a whimsical way to add life and color to your indoor or outdoor space. Plus, the DIY Mini Wall Garden can be hung on a front door, a patio wall, or even perched on a table, making it a versatile garden accessory.
To create your own DIY Mini Wall Garden, you need the following supplies:
- Wood Plank
- Hammer
- 2 Pieces of Cut Metal Wire
- Metal Basket
- Piece of Cloth
- Dirt
- Succulents & Air Plants
- Moss
- Abalone Shells or Ornamental Tags
Since this workshop provided all the supplies, they had already done the prep work on the wooden planks. Each plank was carved out on the front section (where the basket would be hung), with two screws on the bottom section, and a nail in the top. The backside had two hanging hooks already affixed to it, enabling the attendees to easily hang their DIY Mini Wall Garden on to a wall.
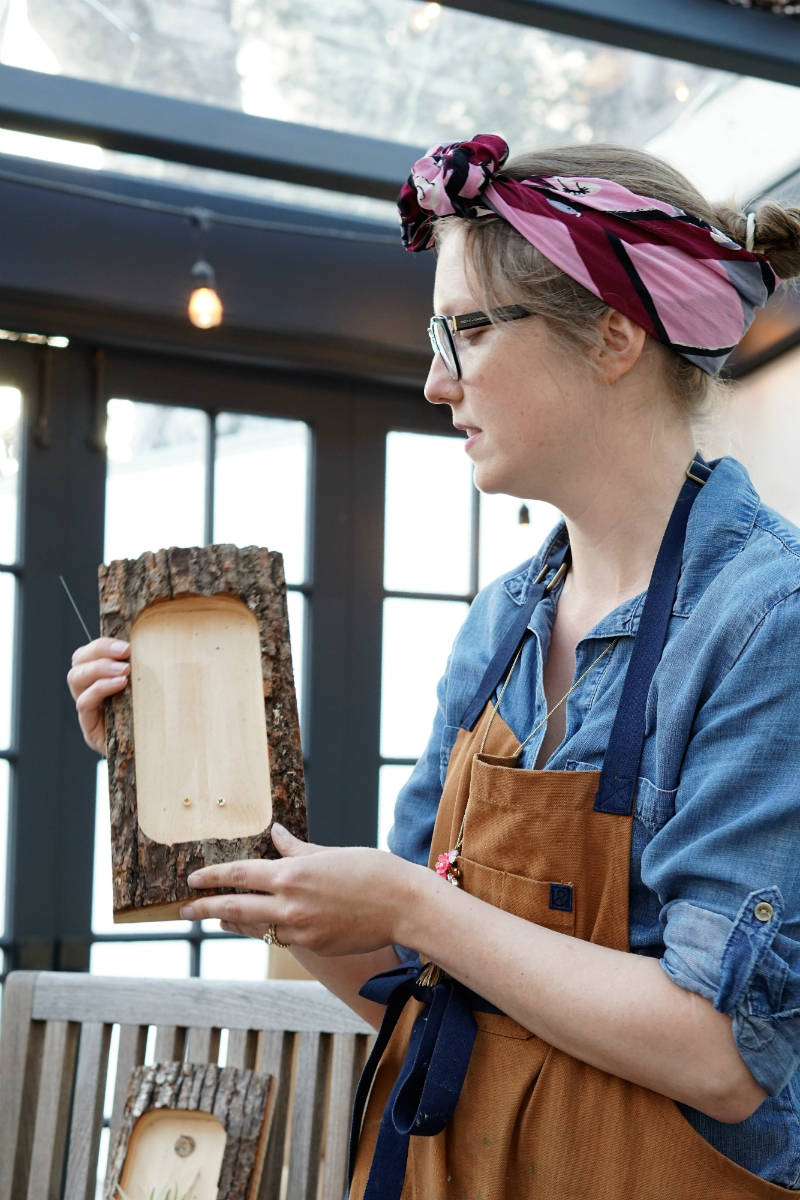
These preliminary steps would need to be done, prior to following the below instructions. To make life more convenient, call your local Nursery or Craft Store to inquire if they already have a pre-made Wood Plank (for this purpose) available for purchase.

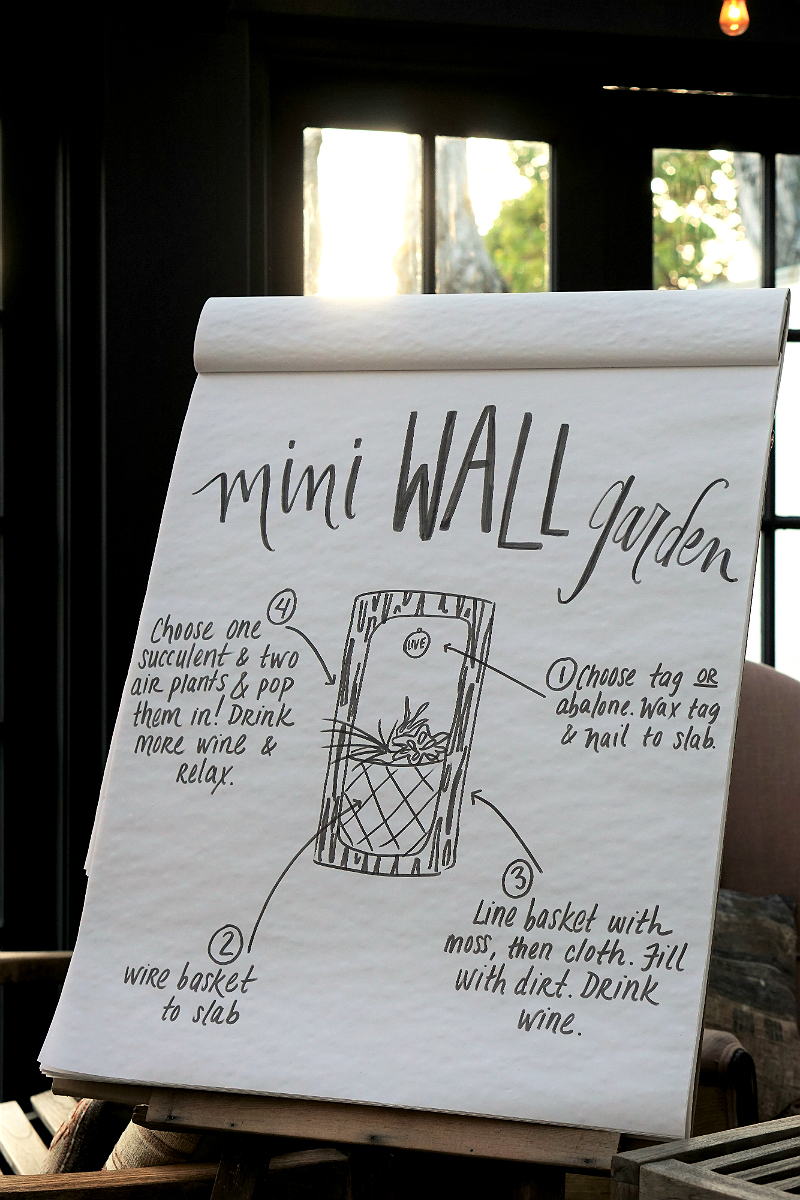
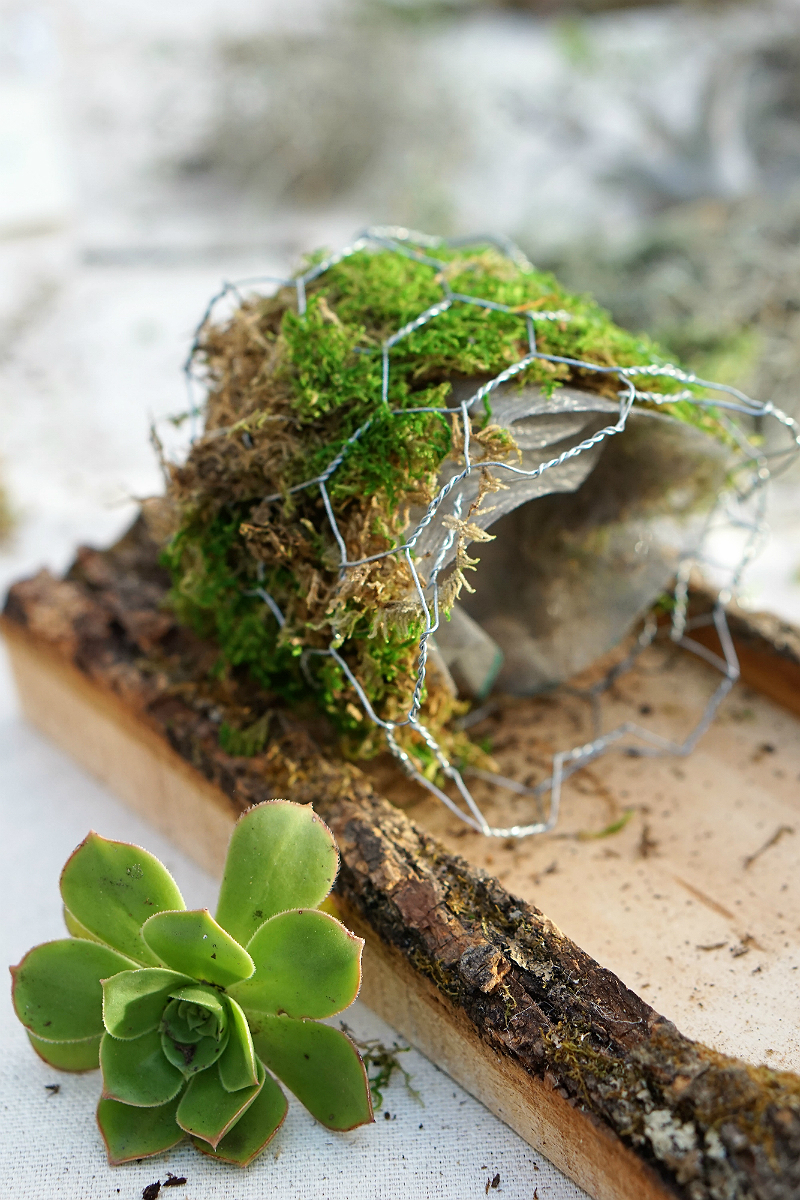
Step 1: Twist two pieces of cut metal wire onto the screws, securely wrapping them around the screws. This will act as the base for your basket.
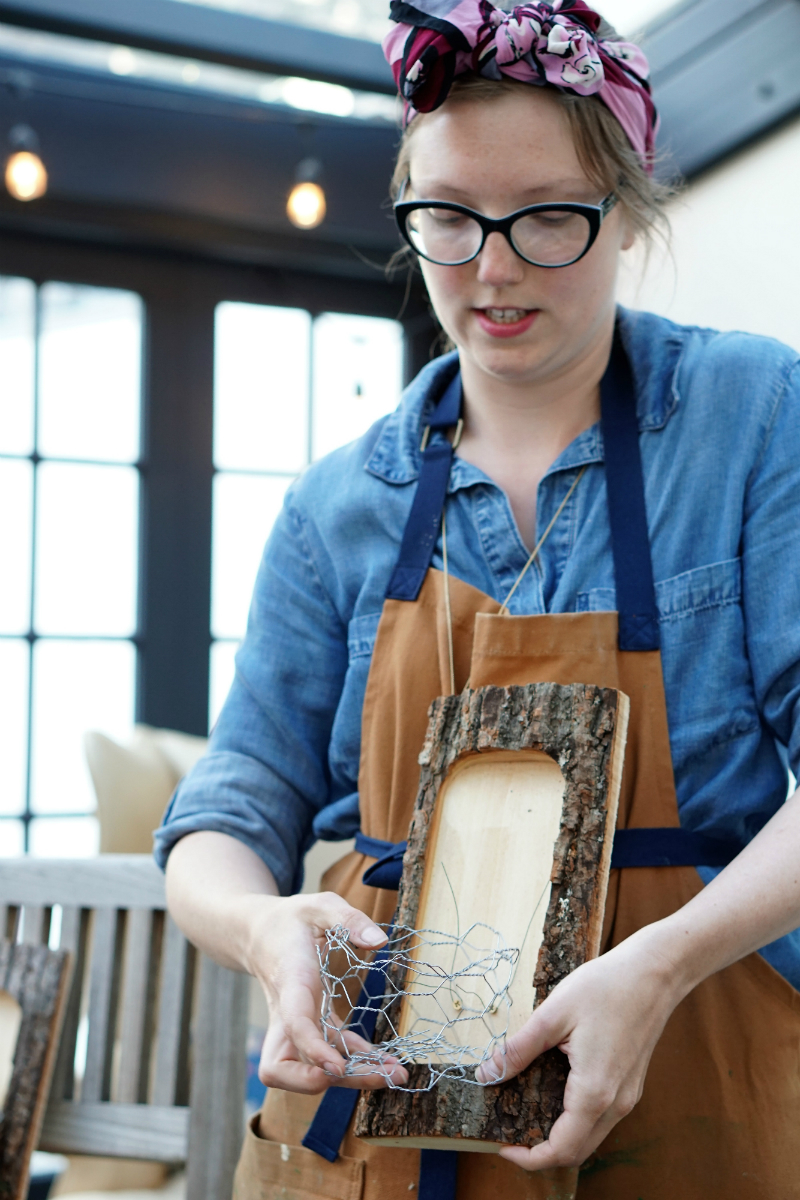
Step 2: Securely affix the wire basket to the wood plank, wrapping the wire pieces through the basket and twisting the metal until secure.

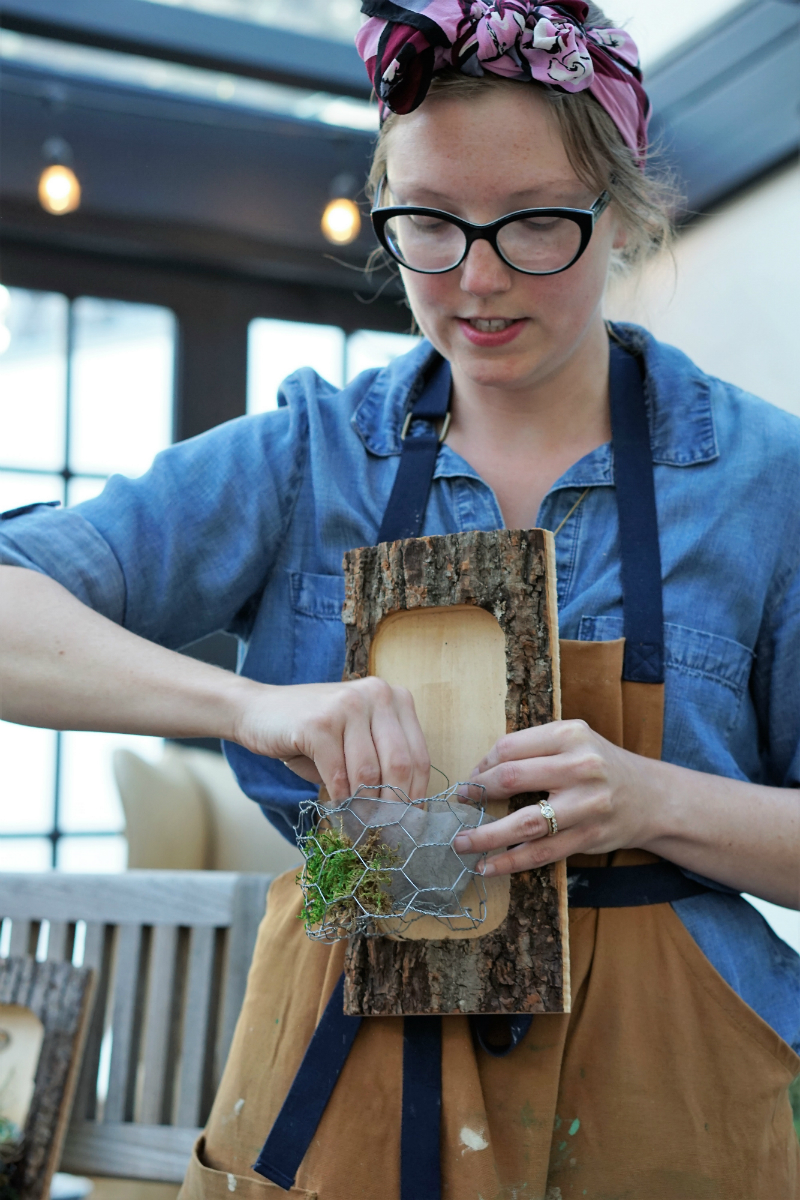
Step 3: Cover the sides and front of the basket with peat or Spanish moss.
Step 4: Place a small piece of cloth (similar to a coffee filter, in appearance) inside the basket. This will ensure that the dirt doesn’t fall out of the bottom.
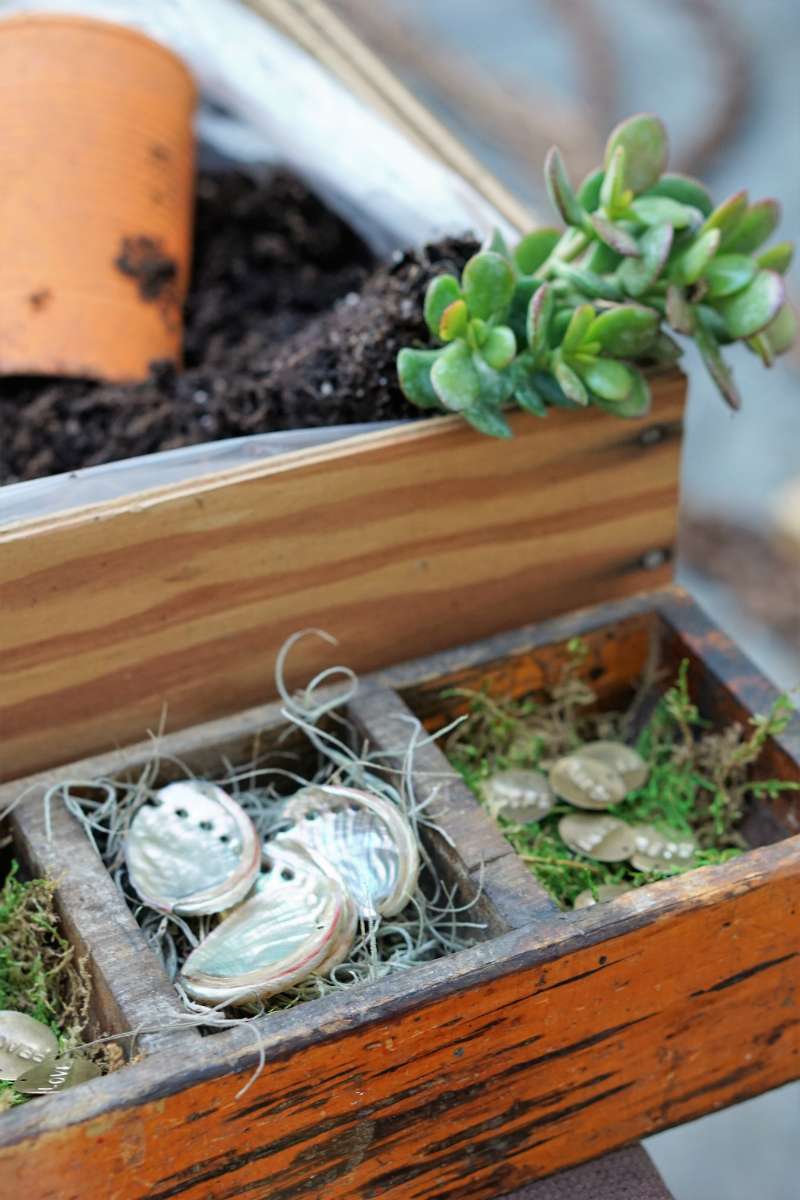
Step 5: Select an ornamental accent, such as an abalone shell or inscribed tag.
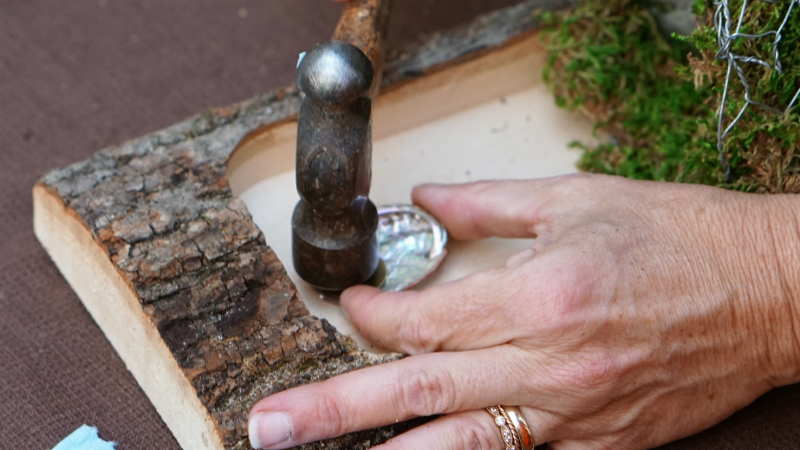
Step 6: Affix the ornamental piece to the top of the wood plank by hammering it into the nail.
Step 7: Fill the basket with dirt and plant your selected Succulents and Air Plants.
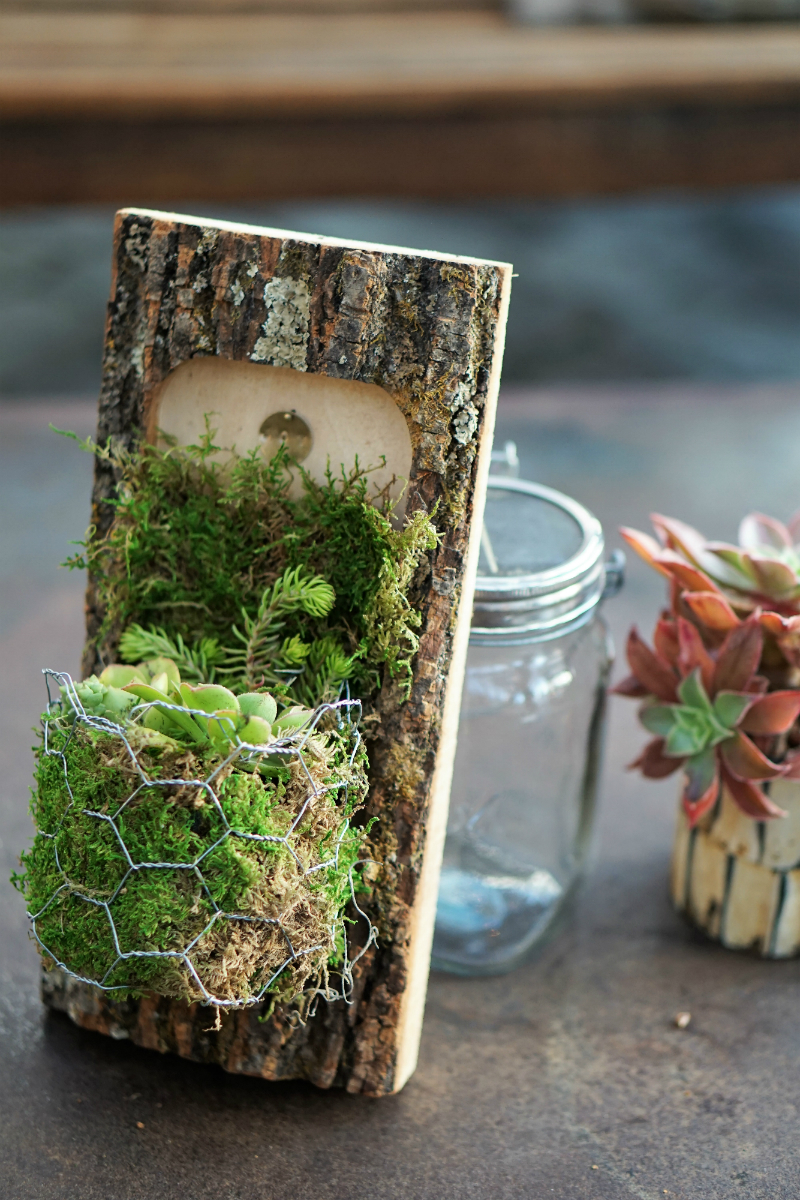
To maintain and care for your DIY Mini Wall Garden, simply take the piece to your sink weekly and lightly spritz or soak with water. Place in a room or outdoor space with filtered light. It’s that easy!
For more home & garden projects, visit the Gardening section on Inspirations & Celebrations.
For more fab tips, pics and videos, follow Inspirations & Celebrations on Google+, Facebook, Instagram, Pinterest, YouTube and Twitter. To win fab goodies, enter the Inspirations & Celebrations’ Monthly Giveaway.