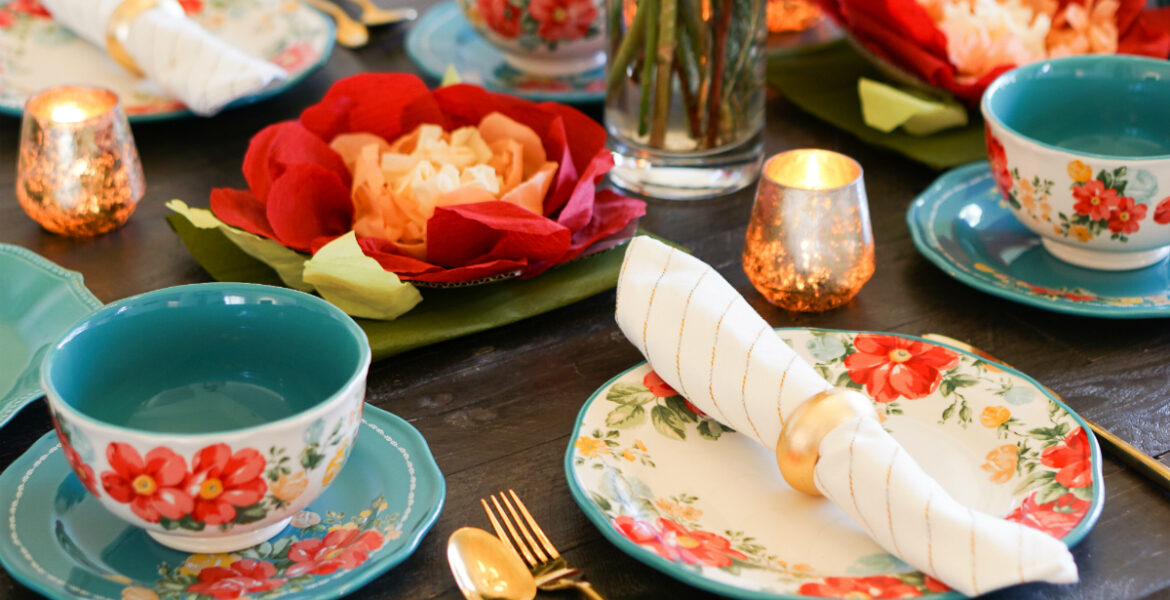
To make your Summer Solstice Party even more festive, today’s DIY Tutorial shows you how to create beautiful paper flower centerpieces for your table. These easy-to-make, inexpensive paper flower centerpieces just require a little creativity, imagination, and some simple know-how. Let’s get started!
The inspiration behind this DIY project came to me when I was throwing out the packing materials that came with the adorable Pioneer Woman bowls and serving dishes I ordered online recently. As I was sorting the recyclable materials, I noticed that the corrugated packing materials actually resembled the foundation of a flower. This idea inspired me to create DIY paper flower centerpieces for a Summer Solstice party I recently hosted.
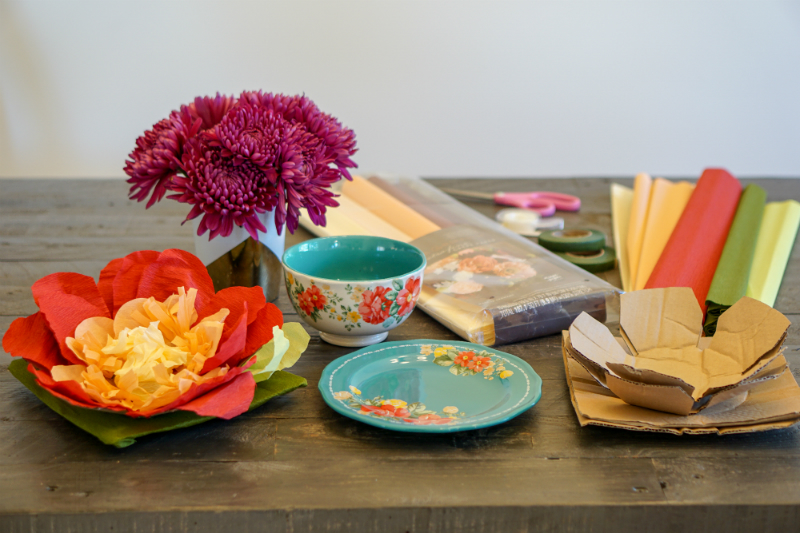
Supplies for DIY Paper Flower Centerpieces
- Corrugated Box Materials (in the shapes of squares and flowers)
- Tape
- Crepe Paper (in different colors for the petals and leaves)
- Scissors
- Green Floral Tape
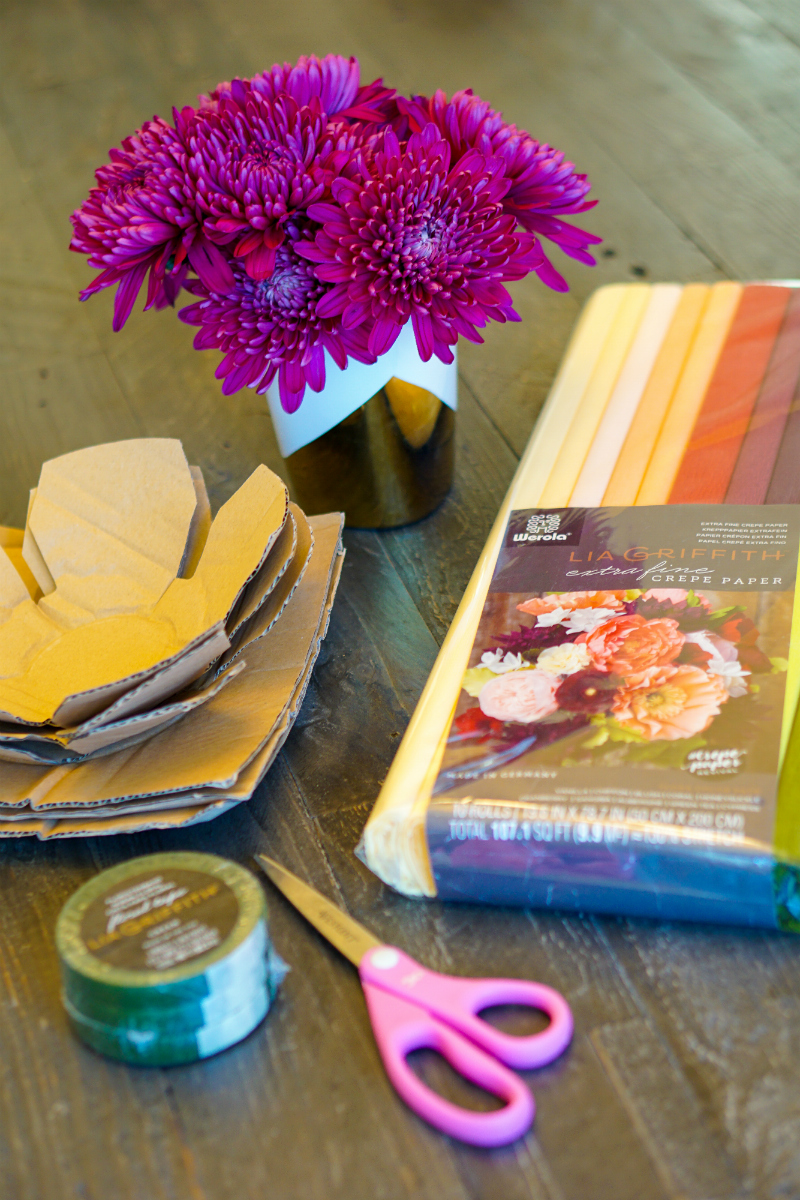
NOTE: The corrugated box materials pictured above came in the box (containing the Pioneer Woman bowls and plates) exactly as shown. If you don’t order this dinnerware, just cut out the shapes from a corrugated box.
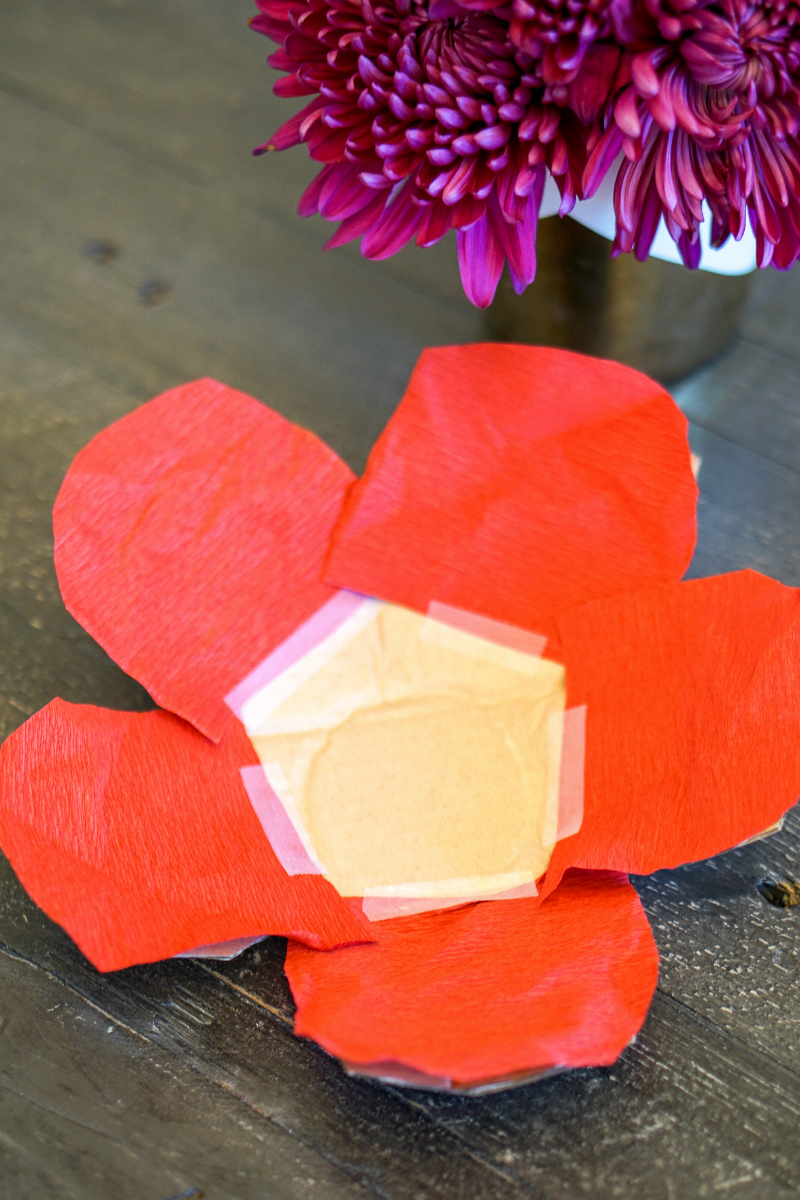
Instructions for DIY Paper Flower Centerpieces
STEP 1: Cut petals from a bright colored crepe paper (like red) in a 4″ long rounded rectangular shape. Tape each piece to the petals of the corrugated box foundation.
STEP 2: Tape 1-2 more petals (in the same color) on top of the first layer of petals.
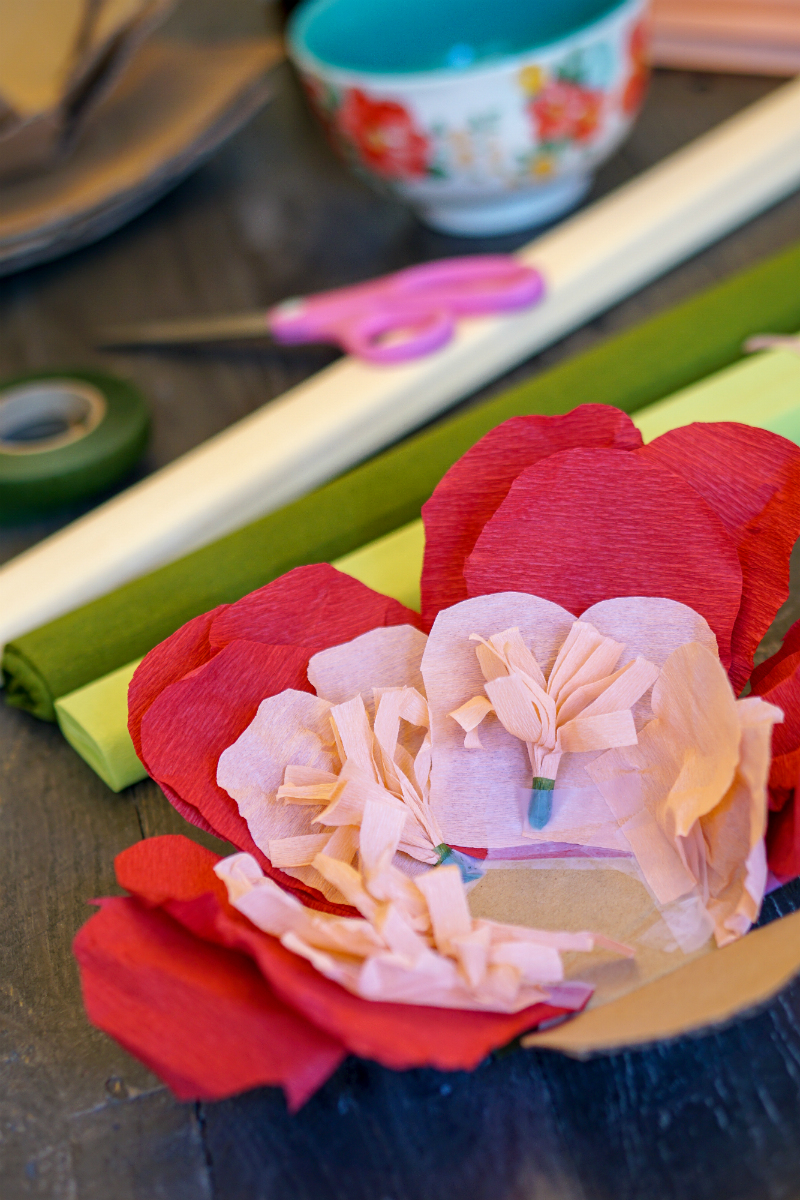
STEP 3: Using a lighter color (such as a light pink), cut slightly smaller rounded rectangular shaped petals (each should be about 3″ in length). Tape each petal on top of the next, creating a layered look.
STEP 4: To create the center of the flower, using the same lighter colored paper, cut a 2″ long strip into shredded pieces and wrap the base with the green floral tape. Tape that on top of the light colored petals (as shown above).
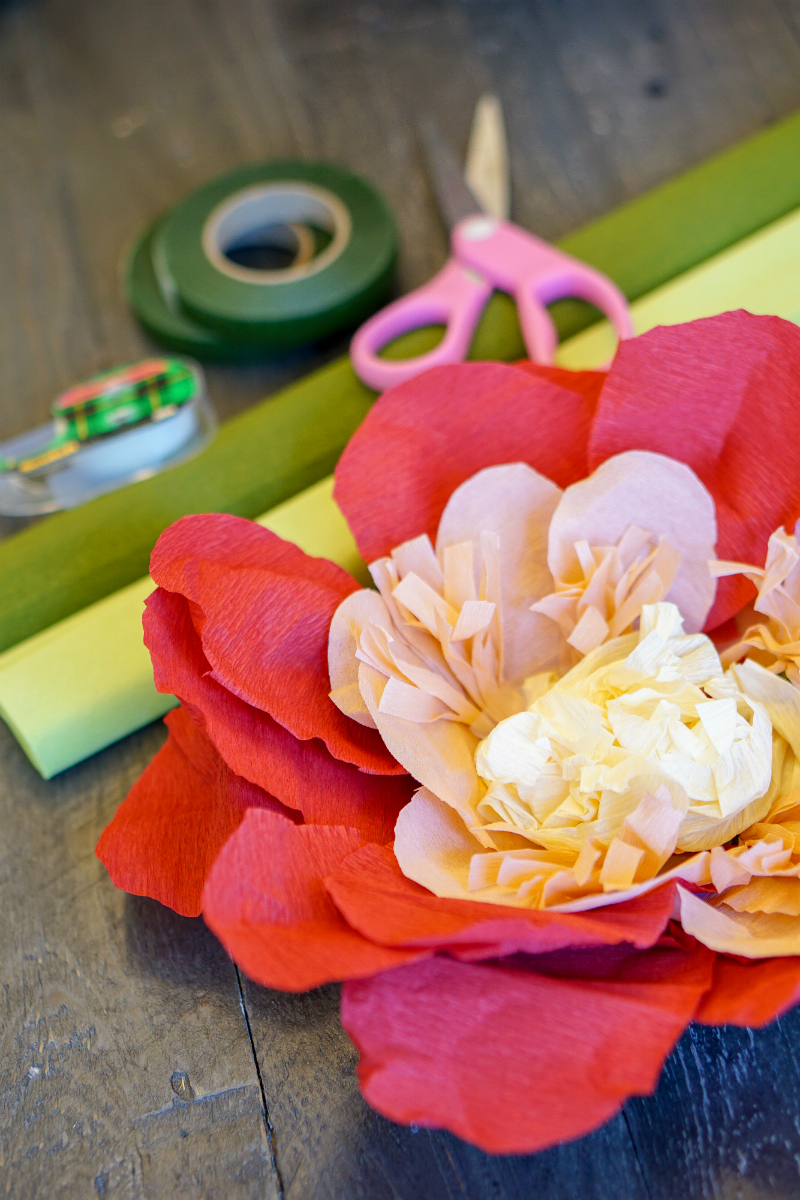
STEP 5: Using the lightest color paper (such as ivory), cut a 6″ square shape. Then cut into the paper randomly. Crumple the paper in your hands to create a crinkled effect. Tape the bottom of this paper to the center of the flower.
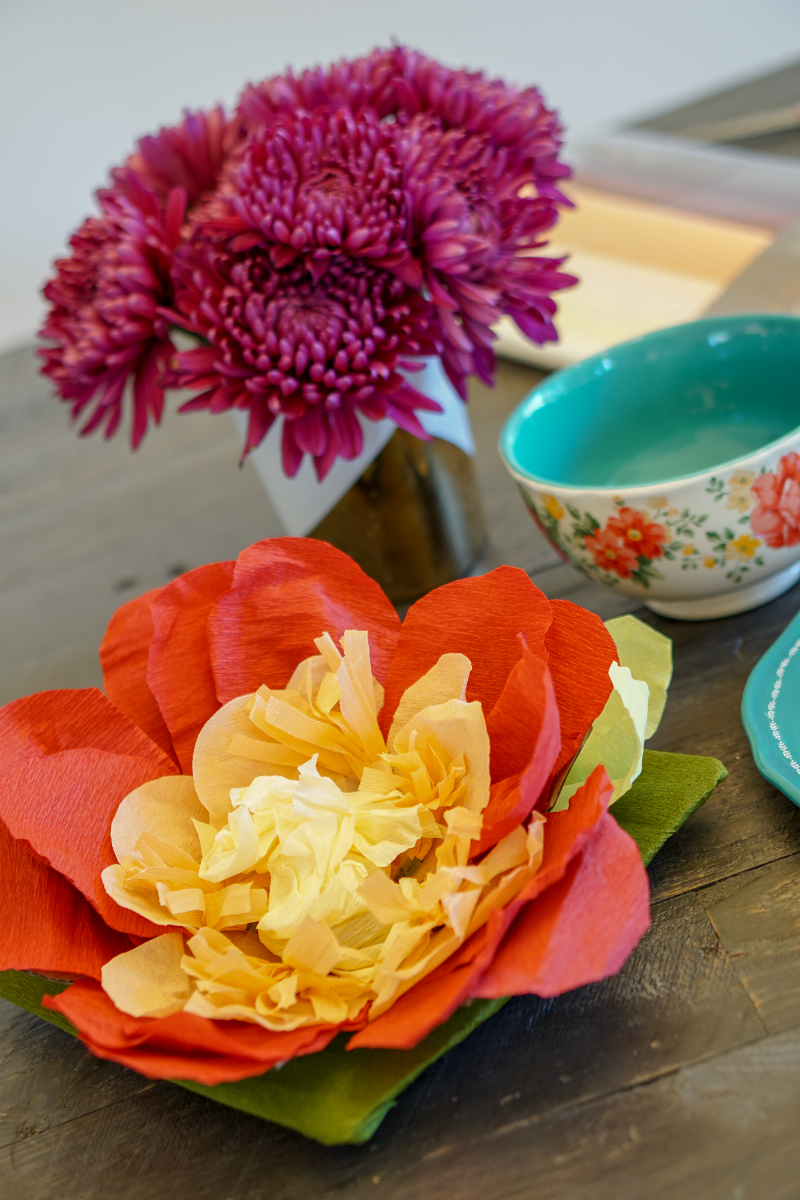
STEP 6: To make your DIY paper flower centerpieces look more realistic, slightly crumple each petal with your hands. This gives a textured effect and helps you shape and bend the petals to look more life-like.
STEP 7: To create the petals, using a dark green colored paper, completely cover the square-shaped corrugated box material. Tape the paper on the backside so it’s not visible.
STEP 8: Using a lighter green color paper, cut out leaf shapes (they should look like an almond shape). Tape each piece to the green board. Finish by placing the flower directly on top of the green board. It’s that easy!
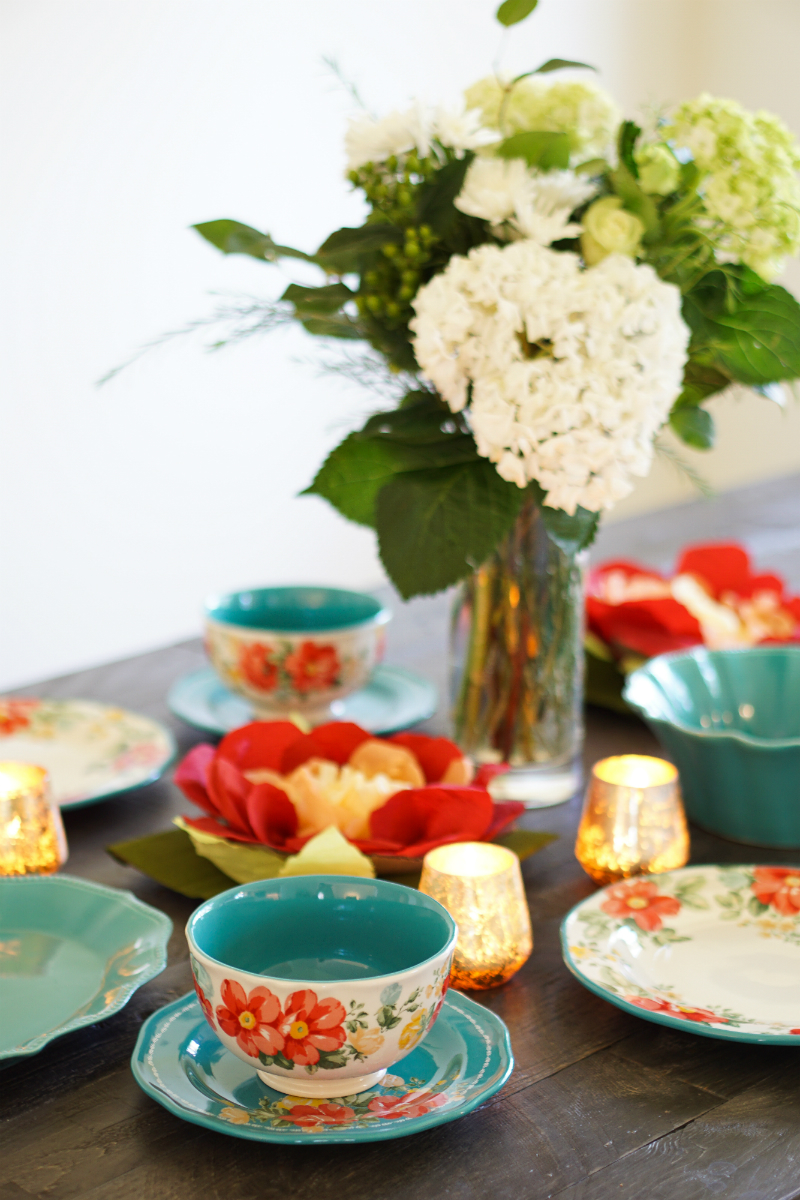
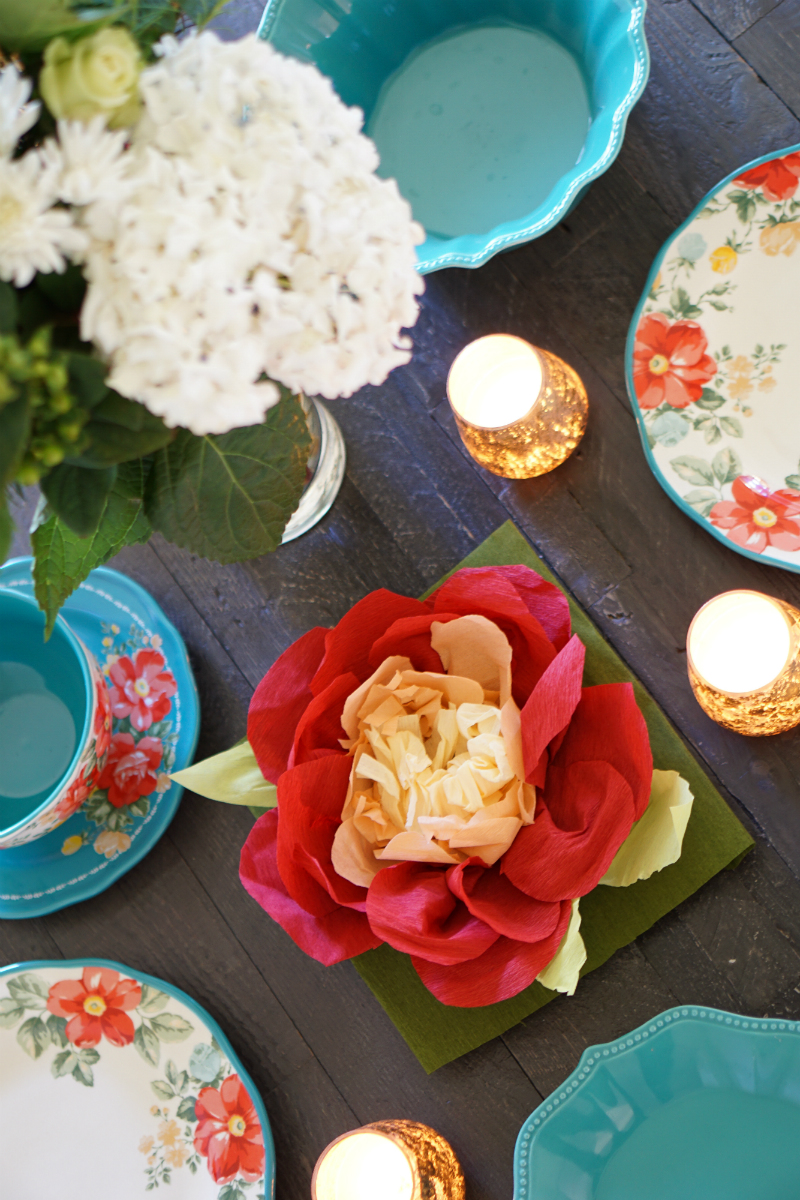
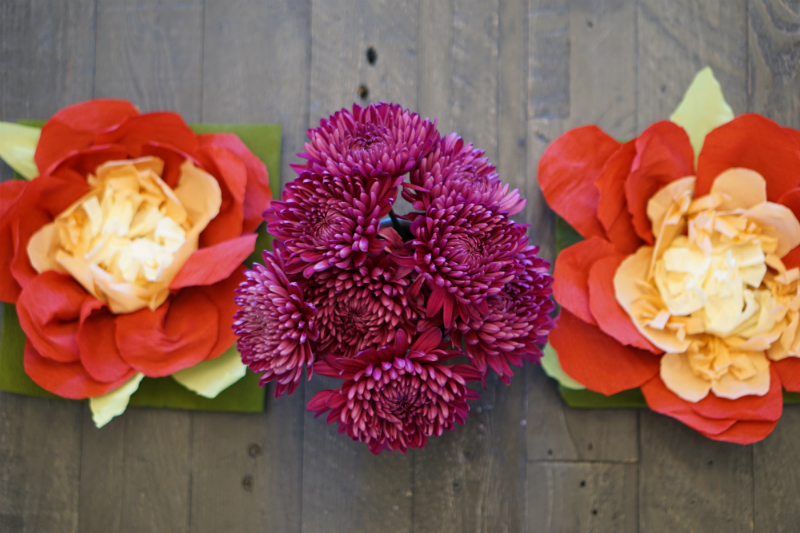
Put the DIY paper flower centerpieces on the table. You can strategically place candle votives around the centerpieces to add a sparkle of light, and to beautifully illuminate the table. If you choose, add a bouquet of fresh flowers to the center of the table for added visual interest and height. For a Summer Solstice Party, there’s no such thing as too many flowers (in my opinion).
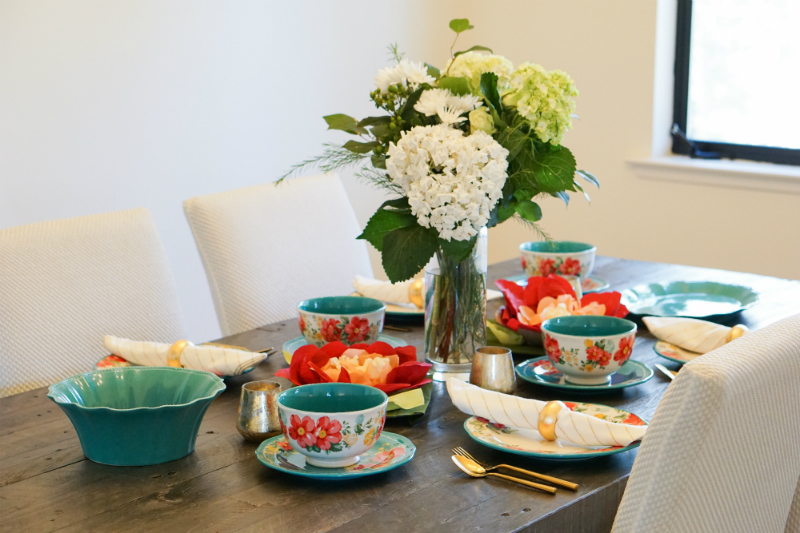
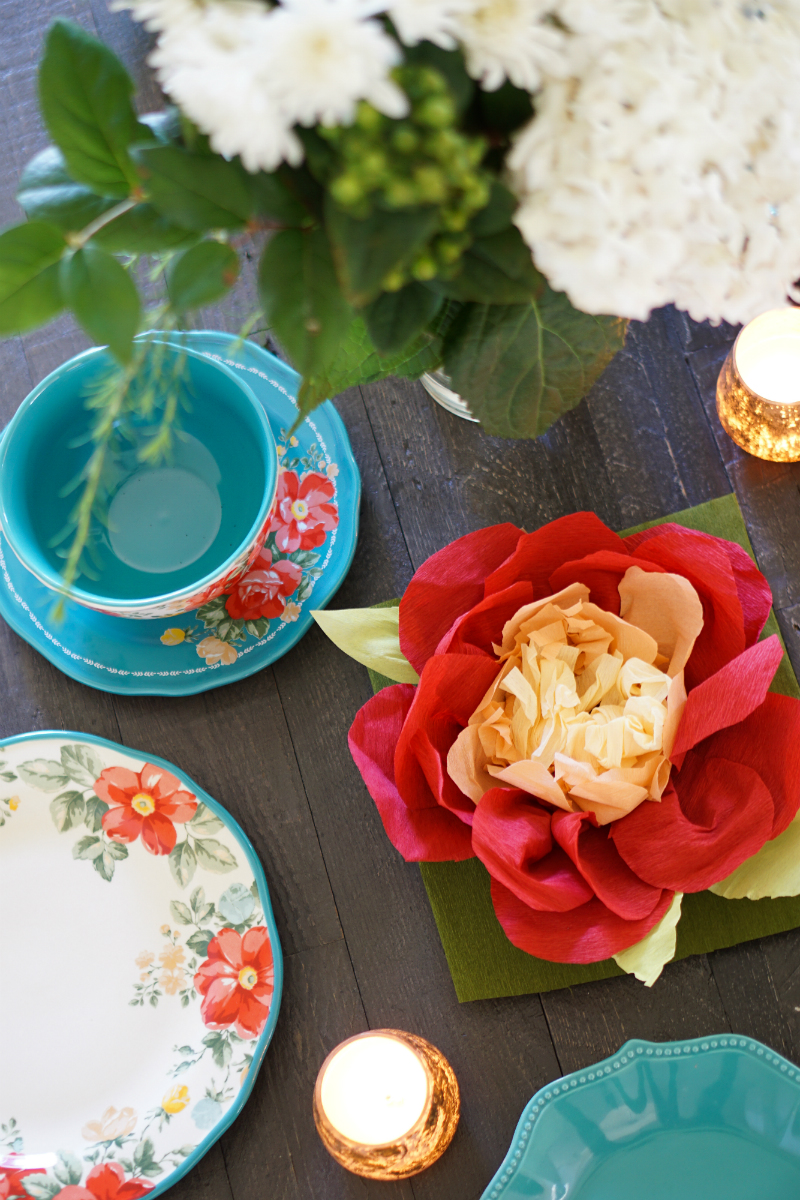
One of the reasons why these DIY paper flower centerpieces add a festive touch to any Summer Solstice Party is because they’re bright, cheery and colorful. Not only are these easy to make, they’re an inexpensive, fun way to brighten up your table.
For more inspiring DIY tutorials, check out these other fun projects on Inspirations & Celebrations.

