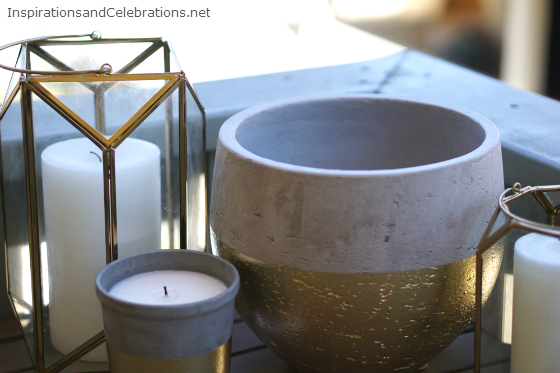
If you love the look of a posh patio, then you’ll enjoy this easy-to-follow DIY Tutorial, which teaches you how to create a glamorous and modern gold concrete planter pot. In just 30 minutes, you can quickly transform a boring patio into a chic, stylish statement by adding an eye-catching gold concrete planter pot. Instead of shopping online for this type of item, why not make it a fun afternoon project by doing it yourself?
DIY Tutorial: Gold Concrete Planter Pot
Supplies:
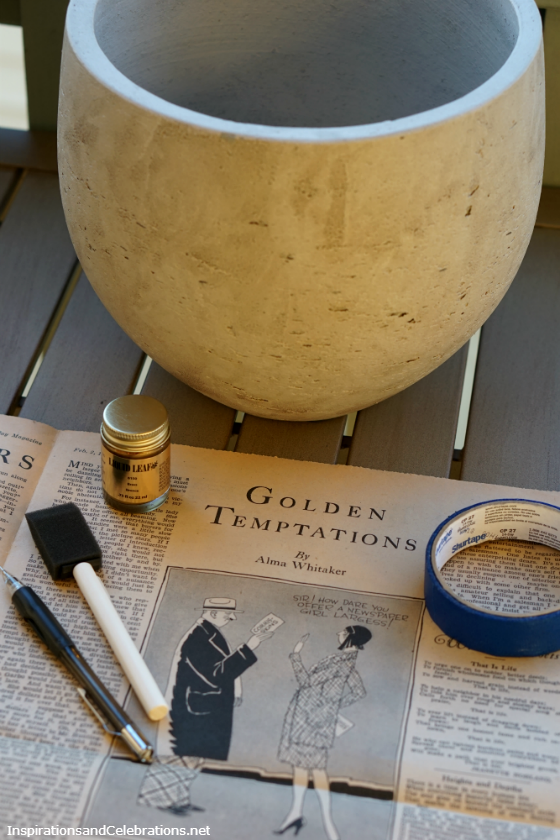
2. Pencil
4. Tape Measurer
5. Old Newspaper or Rag
6. Liquid Leaf (Classic Gold or Brass Color)
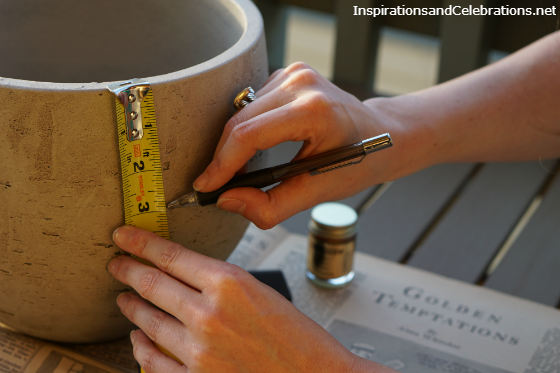
1. Start by laying out old newspaper or a rag on a table outside (as this project should be done in a well-ventilated area). Using a tape measure and pencil, mark small lines around the perimeter of the pot, at exactly the same length (in this case, we marked at the 3″ point, since we wanted to leave the top 3″ uncovered).
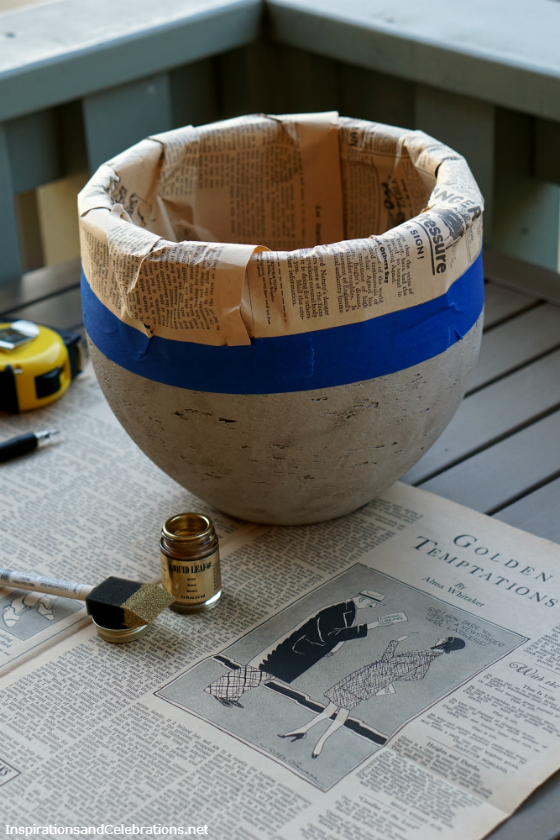
2. Cover the top portion (that will not be painted gold) with old newspaper, taped down securely with Blue Painters Tape. Make sure there are no bubbles or open areas, which the gold paint could inadvertently drip down into. The Blue Painters Tape will help create a perfect line around the pot, dividing the gold painted area from the exposed natural concrete.
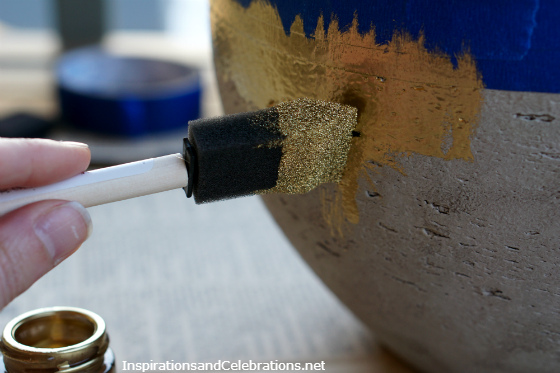
3. Start by painting the gold leaf directly onto the concrete pot using a foam paint brush. Make sure to get into the cracks and crevices. When you begin painting the pot, it’s advisable to have it placed upright, allowing a few minutes for the gold to dry (slightly over the Blue Painters Tape), to ensure it has a crisp line when the tape is removed. As you continue to paint down toward the bottom of the planter pot, you can turn the pot upside down, to make it easier to paint the bottom.
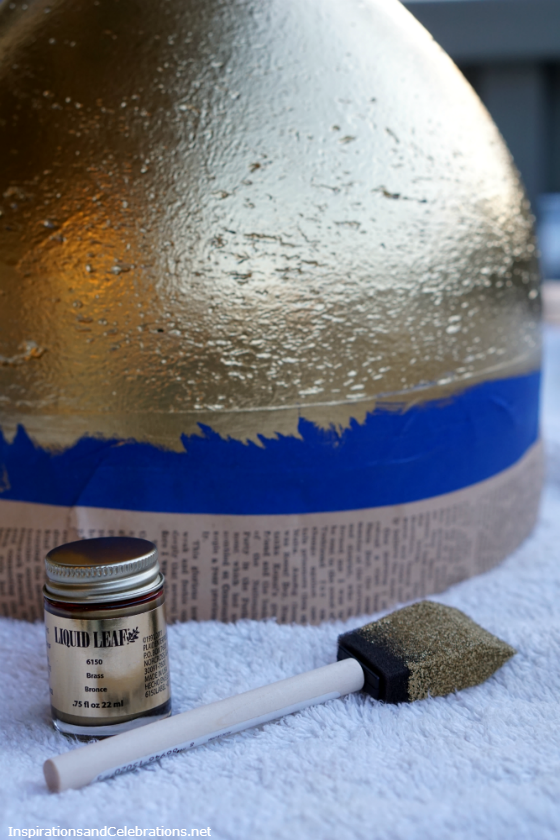
4. Continue painting the first coat all over the pot (on the portion you want to cover). Allow about 20 minutes for the first coat to dry before applying the second coat of paint. If the gold concrete planter pot is going to be placed inside or on a covered patio, you don’t necessarily need to use a sealant. However, if it will be exposed to the elements (on an uncovered deck), then it would be advisable to seal the gold paint.
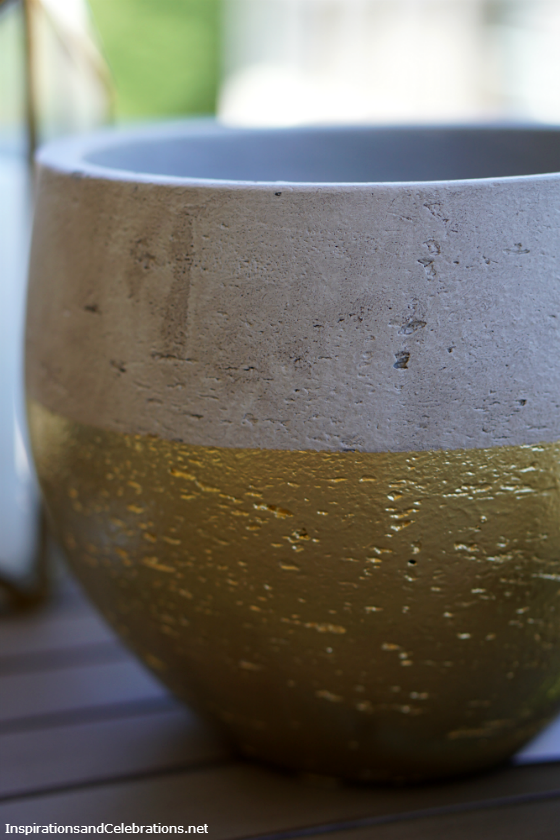
5. After allowing the gold paint to thoroughly dry (at least 30 minutes), gently remove the Blue Painters Tape and newspaper from the pot. Since there might still be damps spots on the pot, be careful when touching it, and place it on newspaper for a day to fully dry. After the pot is fully dry, add whatever plants and flowers you want to the pot.
It’s that easy!
For more fab tips, pics and videos, follow Inspirations & Celebrations on Google+, Facebook, Instagram, Pinterest, YouTube and Twitter.
[Disclosure: Affiliate links included.]

