New Year’s Eve makeup is often glamorous, sparkly, and over-the-top. But, if you’re not feeling up to looking like a disco ball on NYE this year, I hear you. The good news is – you can still do a gorgeous makeup look without having to use glittery makeup or spending an hour in the bathroom.
To help you create a pretty New Year’s Eve makeup look, today’s holiday beauty guide shares a step-by-step New Year’s Eve makeup tutorial that takes just 20 minutes. That means you’ll have more time to spend celebrating NYE with your loved ones (which is something we can all enjoy!).
Pretty New Year’s Eve Makeup in Just 20 Minutes
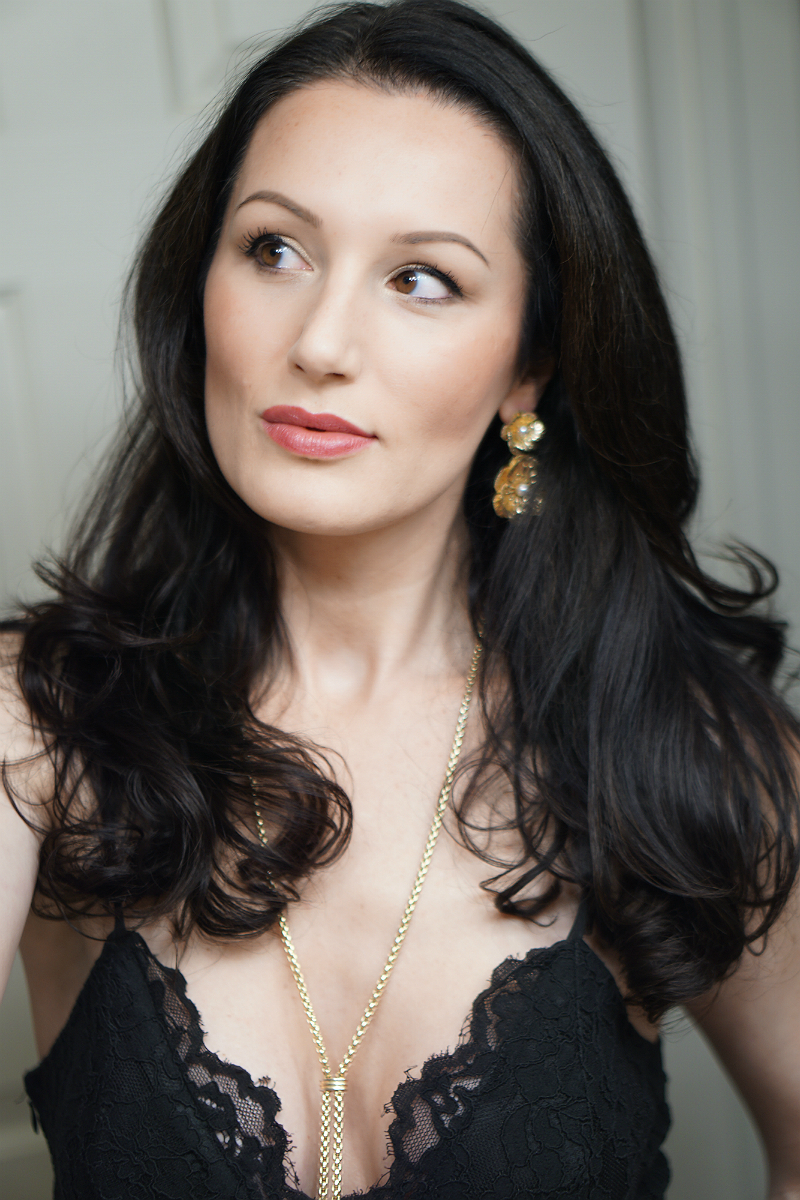
Not only is this makeup look camera-ready (which is essential for all those NYE photos and Instagram selfies), it will make you look equally flawless and stunning in person.
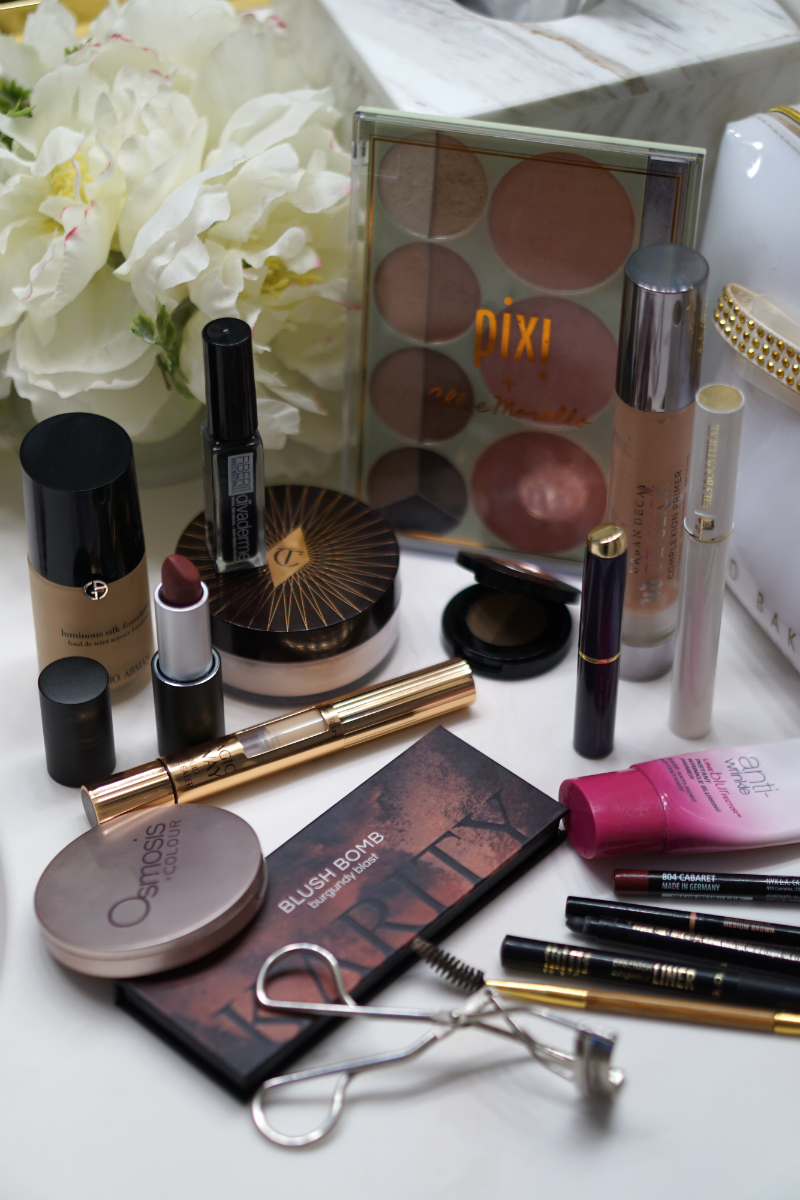
What You’ll Need For This New Year’s Eve Makeup Look
- Urban Decay De-Slick Complexion Primer
- StriVectin Anti-Wrinkle LineBlurFector Primer
- Charlotte Tilbury Magic Away Liquid Concealer (Shade used here: 3 Fair)
- Tarte Cosmetics Waterproof Concealer (Shade used here: Light-Medium Honey)
- Giorgio Armani Luminous Silk Foundation (Shade used here: 3.5)
- Charlotte Tilbury Charlotte’s Genius Magic Powder
- Pixi Palette Chloette Romantic Radiance
- Karity Cosmetics Blush Bomb Burgundy Blast Palette
- Osmosis +Colour Lustruous Contour Duo
- Anastasia Beverly Hills Brow Wiz Pencil (Shade used here: Medium Brown)
- Anastasia Beverly Hills Brow Powder Duo (Shade used here: Dark Brown)
- Tarte Dual-Sided Angled Brow Brush & Spoolie
- Lancome Cils Booster XL Lash Primer
- Divaderme Fiber II Wings Natural Mascara
- Eyelash Curler
- Tarte Cosmetics Sex Kitten Eyeliner (Color: Black)
- Tarte Cosmetics Precision Longwear Liner (Color: Black)
- Prestige Cosmetics Lipliner (Color: Cabaret)
- Au Naturale Eternity Lipstick (Color: Charm)
- beautyblender Makeup Application Sponge
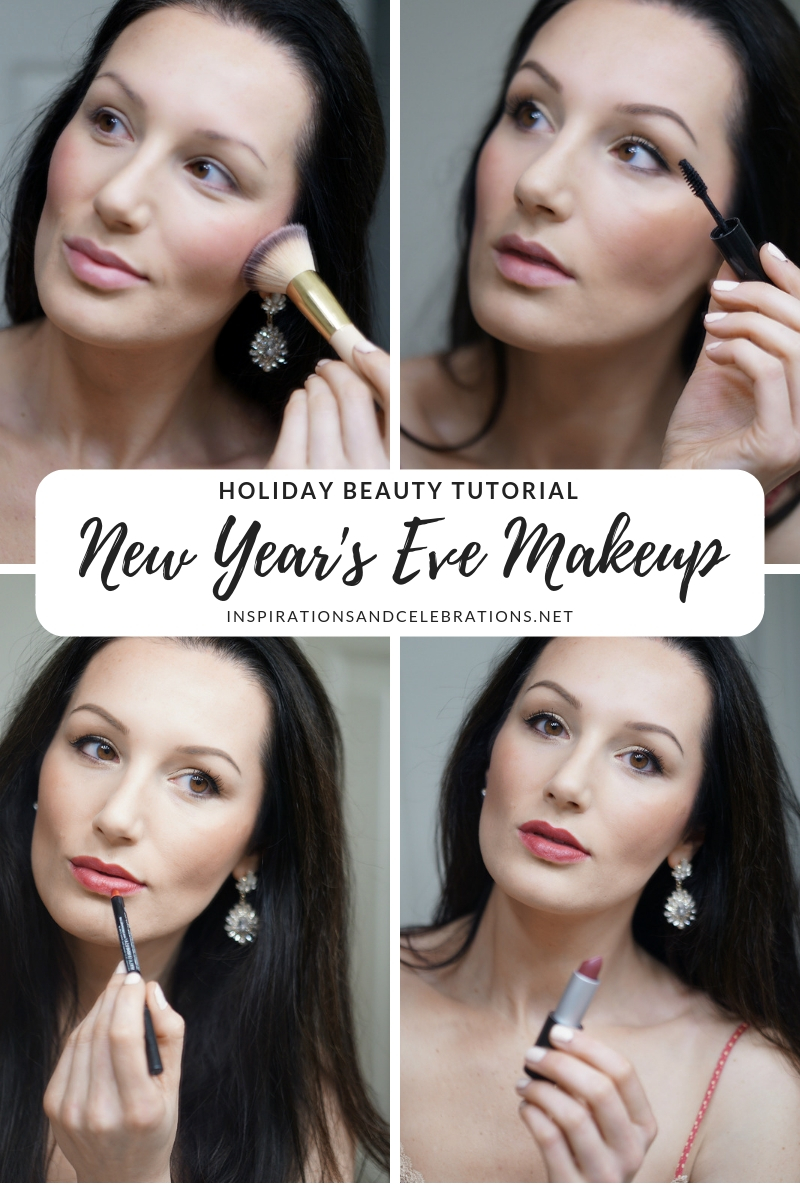
Since a lot of New Year’s Eve makeup tutorials require lots of contouring, highlighting, baking (and more steps!), this one will save you tons of time. Plus, by following these steps, your makeup will last all night, even after you’ve been having a blast on the dancefloor.
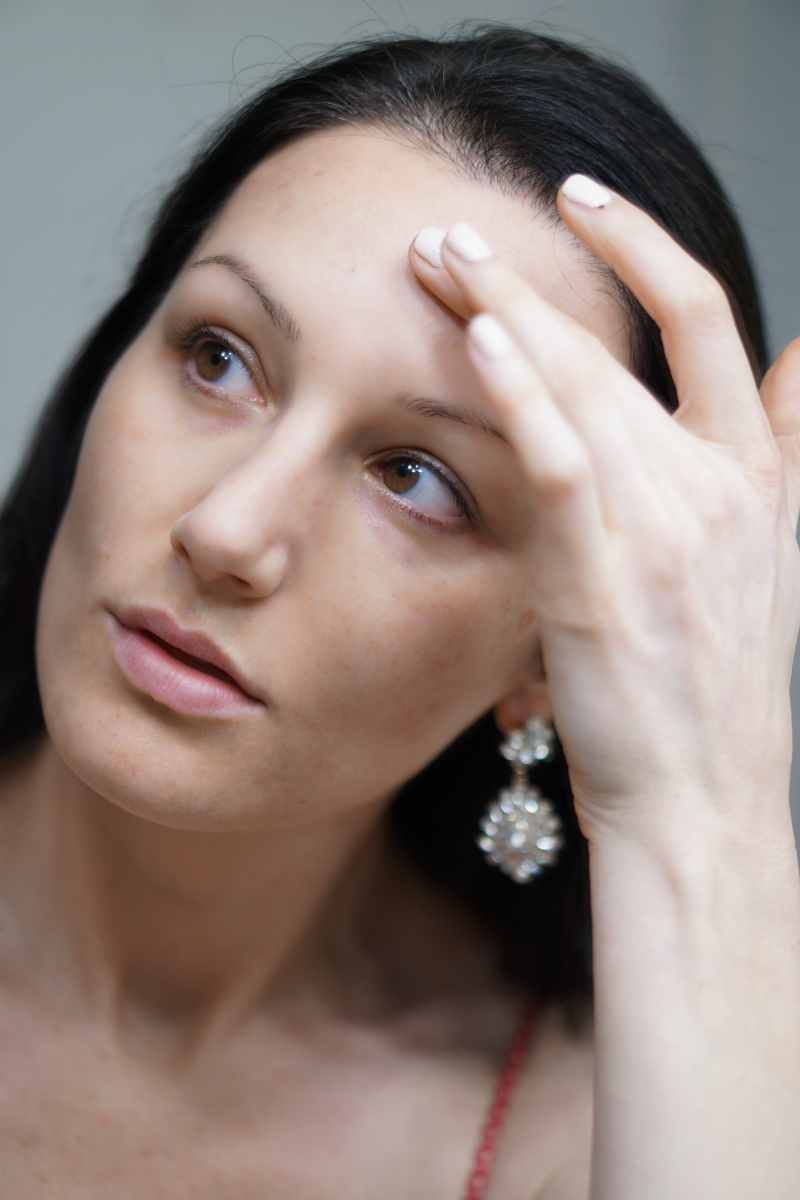
Step 1: Prime The Skin
Apply a dime-sized amount of the StriVectin primer all over your clean, moisturized face (including over your eyelids). This will help to minimize the appearance of fine lines, wrinkles, and pores. Plus, it will act as a base for your face makeup.
To prevent greasy skin, using the Urban Decay primer, apply a small amount (with your clean finger) to your T-Zone (which includes your forehead, nose, and chin). Instead of rubbing it in (in a typical circular motion), this formulation works best if you gently press the product into the skin.
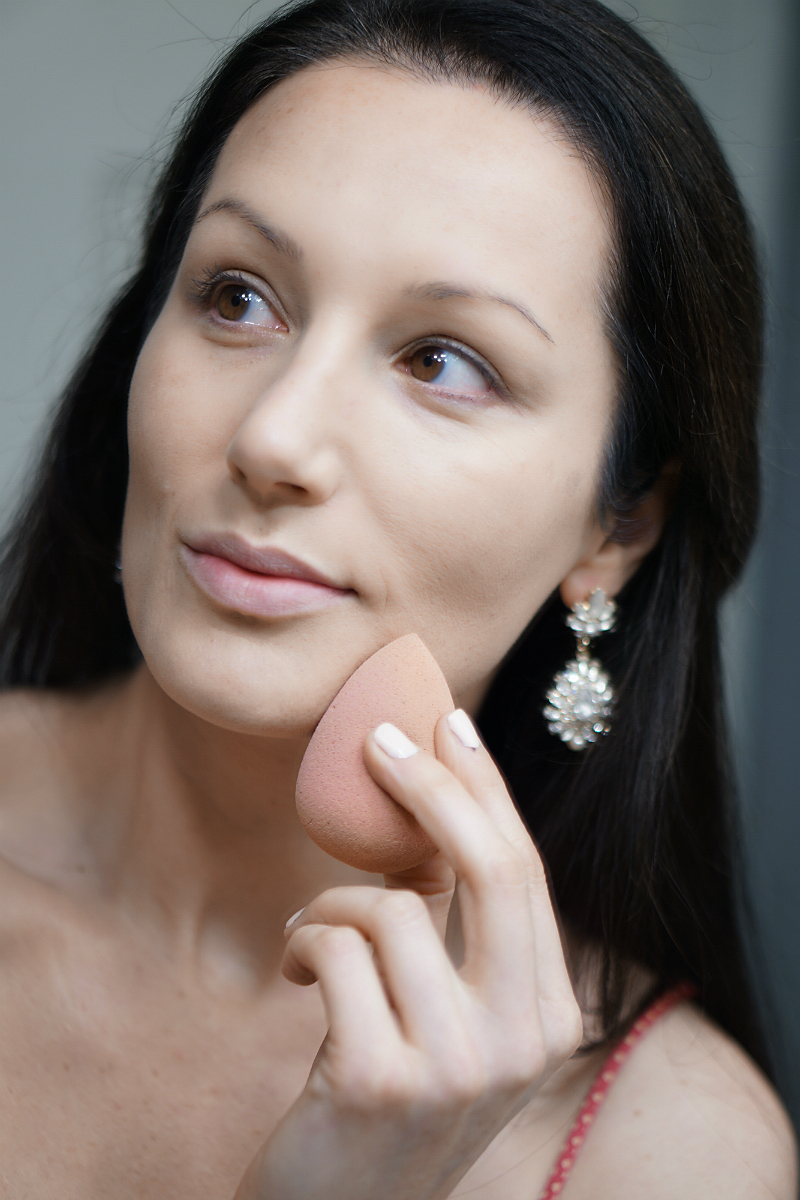
Step 2: Apply Foundation
Using a damp makeup application sponge (most makeup artists would recommend the beautyblender), apply foundation all over your face. Thoroughly blend to prevent lines of demarcation or noticeable streaks. It’s best to apply a light layer first, and then build-up as needed. This will prevent your face makeup from looking “cakey” or unnatural. The goal is to make your skin look flawless, rather than looking like you’re wearing a face full of makeup.
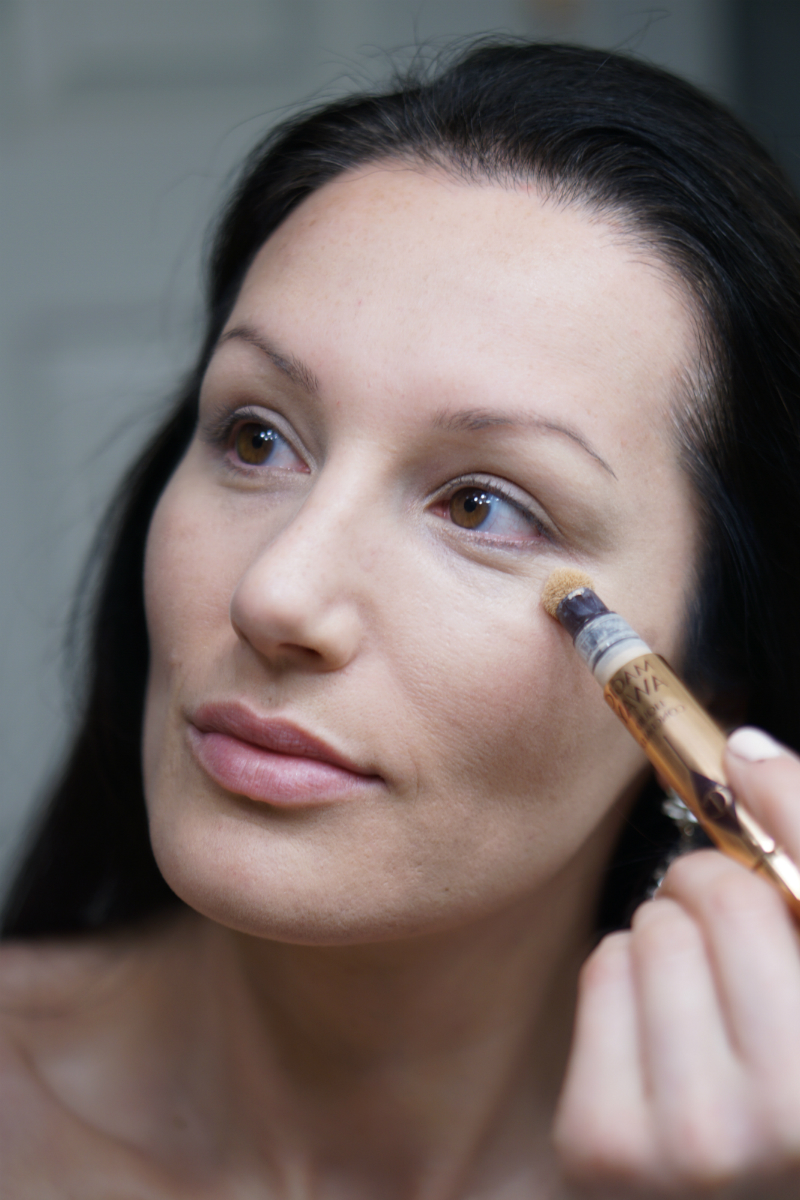
Step 3: Apply Concealer
To brighten your eyes, apply the Charlotte Tilbury Magic Away concealer in the inner and outer corners of your eyes, underneath your eyes (in an upside-down triangle shape), and on your eyelids (if you have redness). Using your clean finger, gently press the concealer into the skin to help it blend into the skin.
Using the Tarte Longwear Concealer, dab it on red spots, blemishes, or any imperfections you want to hide. Again, use your finger to lightly blend the concealer.
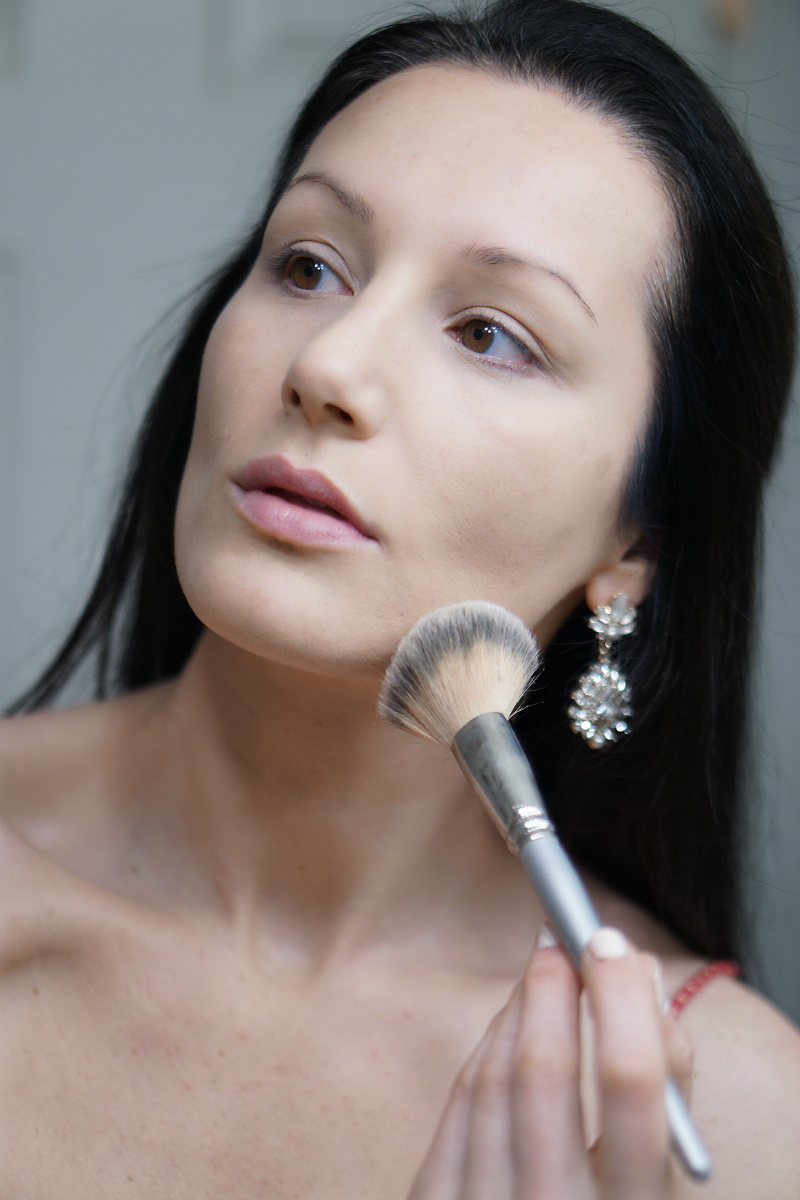
Step 4: Apply Face Powder
To set your face makeup and to give you an illuminated glow, lightly apply Charlotte’s Genius Magic Powder all over your face, including over your eyes. This setting powder works its magic by creating the illusion of perfect skin. It’s especially helpful for photos, as it makes you look flawless. This means you’ll look like you already have an insta-filter on, without having to actually edit your pics.
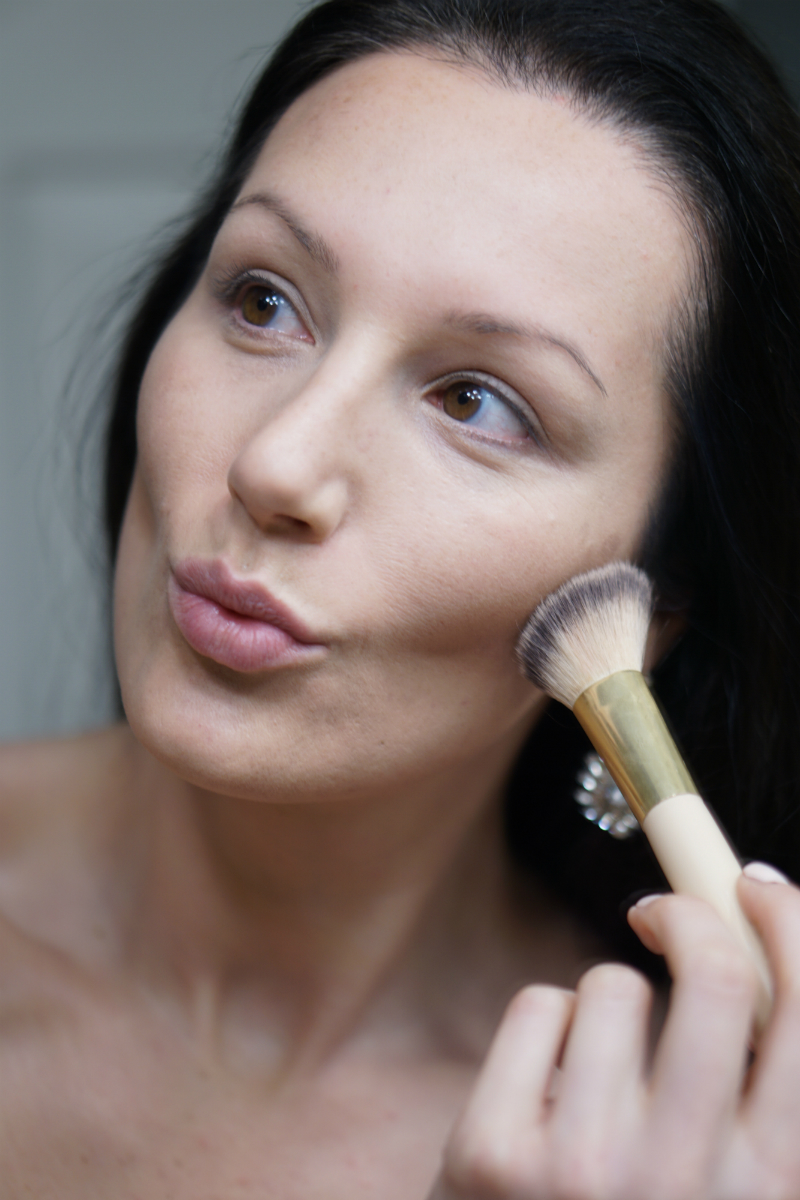
Step 5: Contour Cheekbones
To accentuate your cheekbones and slim your face, using an angled face brush, apply contour powder to your cheekbones. The easiest way to find your cheekbones is by puckering your lips (and making a “fish face”). Blend upward into your hairline. Make sure to blend thoroughly, so that there’s no noticeable line of demarcation.
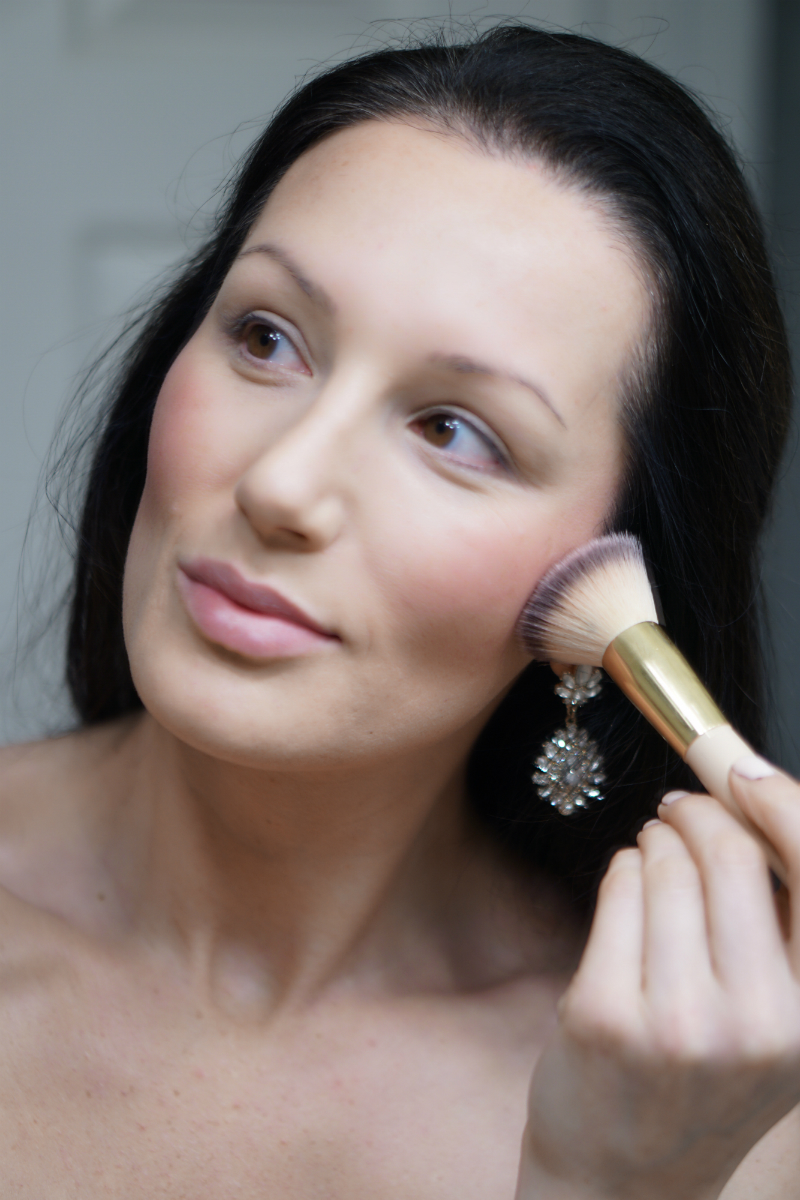
Step 6: Apply Blush To Your Cheeks
To give you a flushed glow, apply a burgundy-hued powder blush to the apples of your cheeks. This will help to brighten your skin, giving you a healthy-looking complexion.
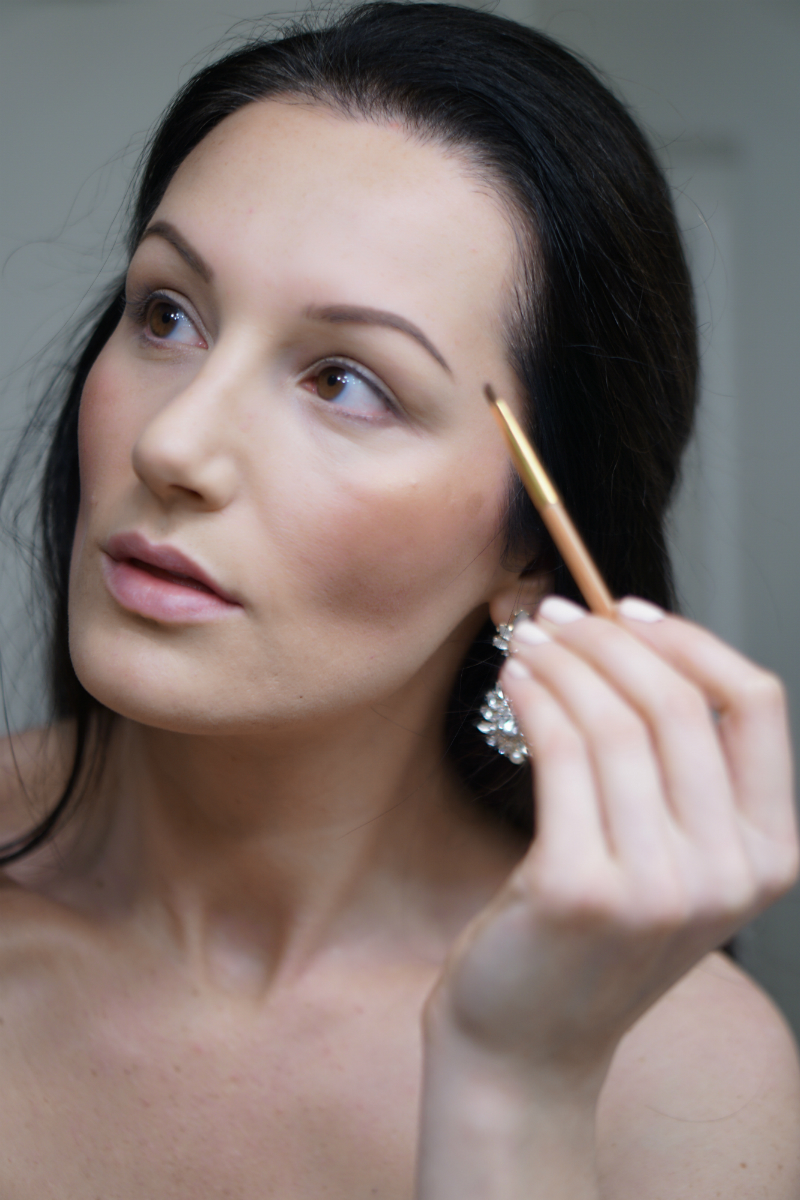
Step 7: Fill In Your Eyebrows
Using a brow pencil, fill in your eyebrows using light, short strokes. Focus on any sparse areas, the arch and the tail of your brows. Then use a brow powder and angled brow brush to set the makeup. This will also soften the look of the pencil, making your brows look more natural.
Step 8: Apply a Light Base Color To Your Lids
Using pearlescent ivory or champagne color eyeshadow (shown here is “Veil” from the Pixi Palette Chloette), apply this light base color all over your eyelids.
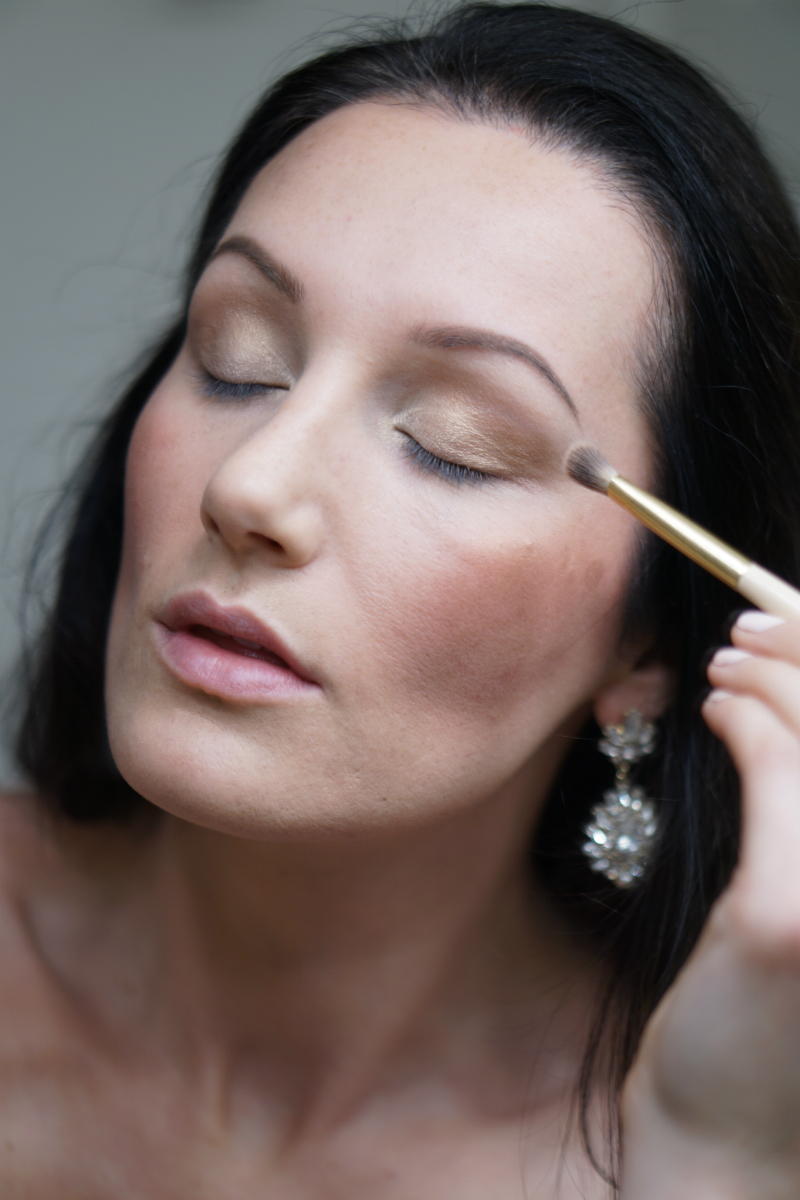
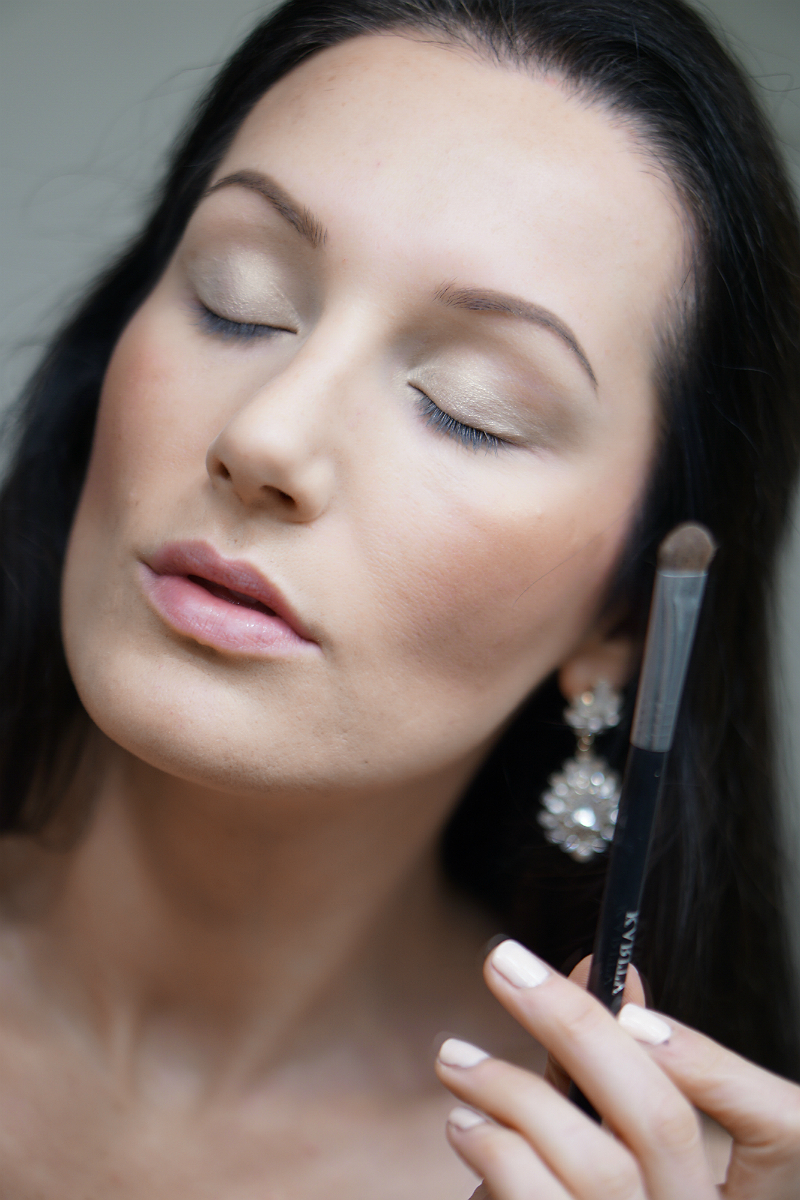
Step 9: Define Your Crease
Using a soft fluffy eyeshadow brush, define your crease by applying a warm copper-hued eyeshadow. Start with the outer corner of the eye, and blend inward halfway along your crease (which is located just under your brow bone). The color used here is “Swoon” from the Pixi Palette Chloette.
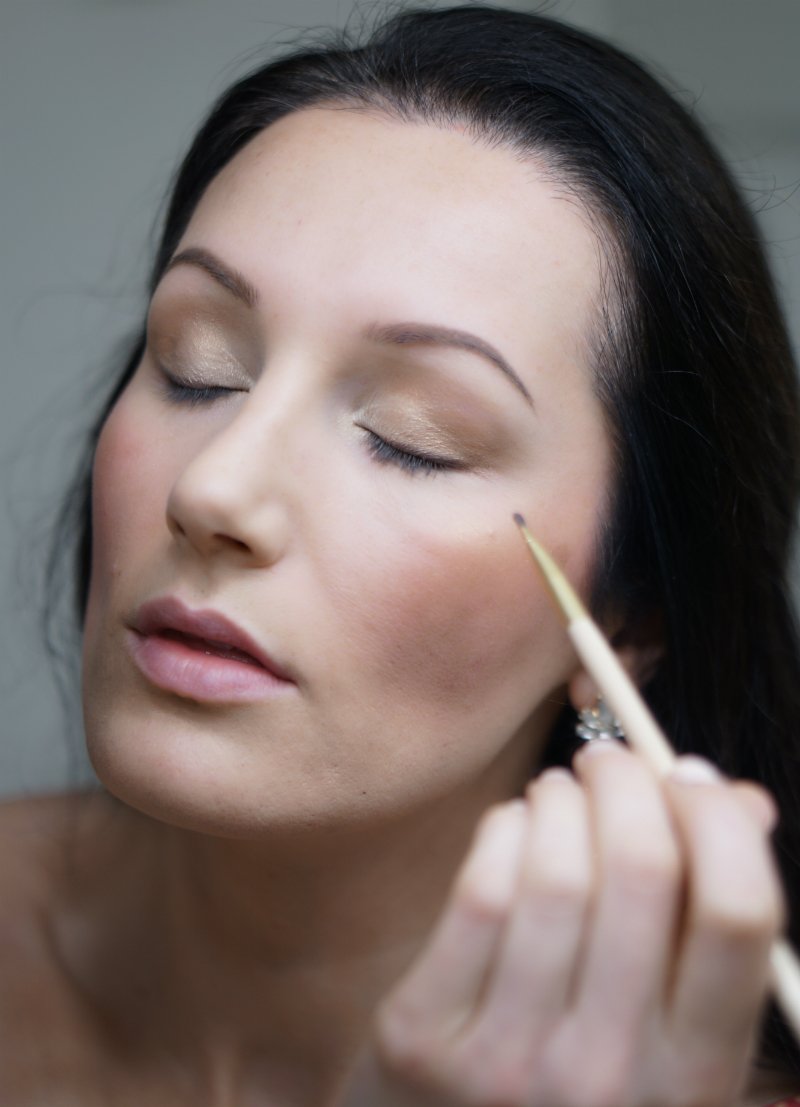
Step 10: Softly Define the Lashline
To softly define the lashline and accentuate the shape of your eyes, using a small angled brush, apply a dark brown eyeshadow along the upper and lower lashes. The color used here is “Unity” from the Pixi Palette Chloette.
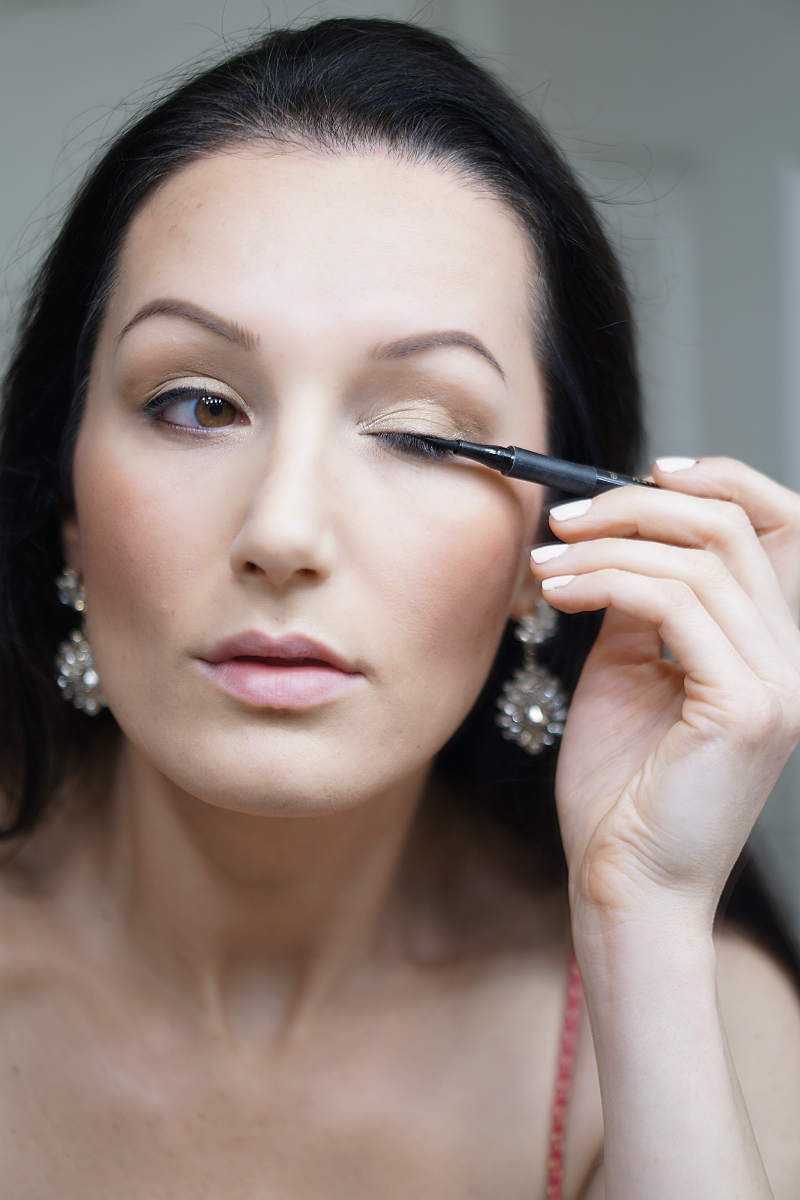
Step 11: Apply Eyeliner
To ensure your eyeliner looks perfect all-night, I recommend using both a long-wear pencil liner and then a liquid eyeliner on top. Start by drawing a tapered line from the outer part of the eye inward (3/4 of the way). Use the pencil on the waterline of your lower lashes, for a more dramatic look.
Then using a liquid liner (I love Tarte Precision Longwear Liner, as it has a tapered felt tip, which makes application super easy), create a winged tip on the upper lashline only. This will help your eyeliner stay on for hours, without smudging.

Step 12: Curl & Prime The Lashes
Before applying any mascara, always curl your eyelashes. This will make your eyes look bigger and more awake.
To make your eyelashes look longer and fuller (without applying false lashes), apply one coat of lash primer (I recommend Lancome Cils Booster XL) from root to tip.
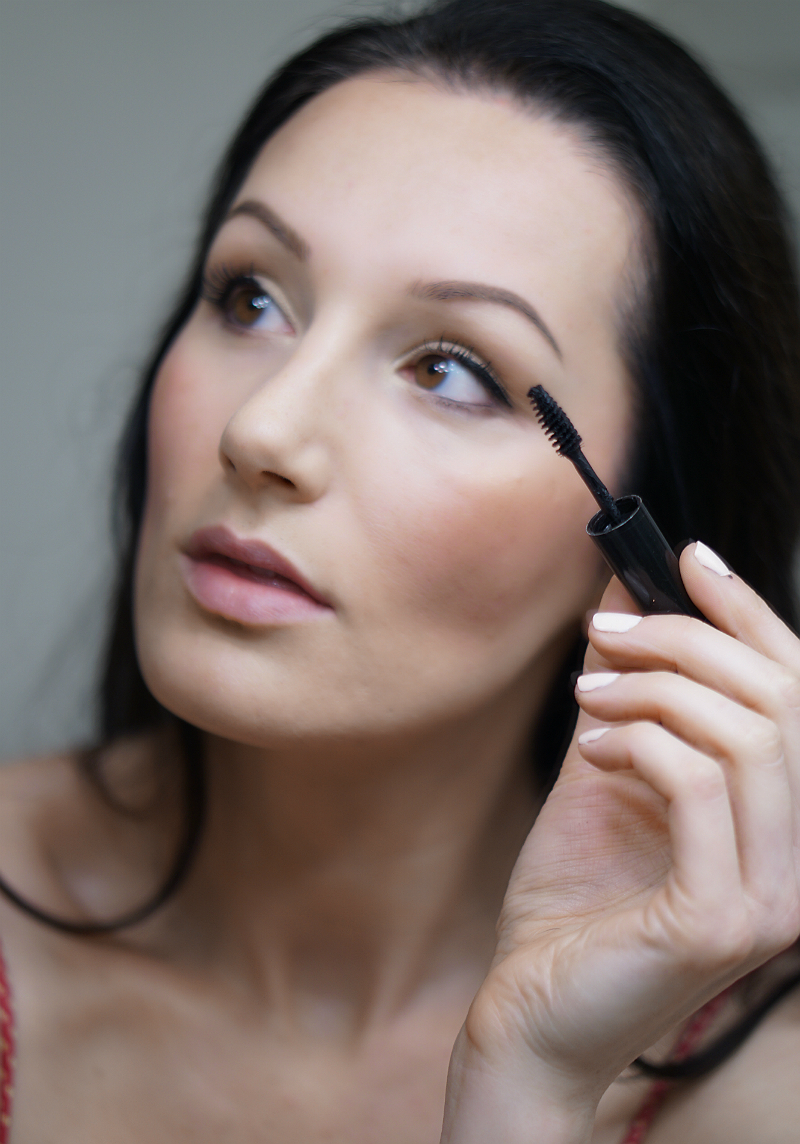
Step 13: Apply Mascara
For glamorous, lush lashes, apply a fiber-based mascara (one of my faves is Divaderme Fiber II Wings Mascara, which is 100% natural and contains argan-oil to help lashes grow). Wiggle the wand back-and-forth and then glide upward from root to tip. This helps coat the lashes, making them look thicker and longer.
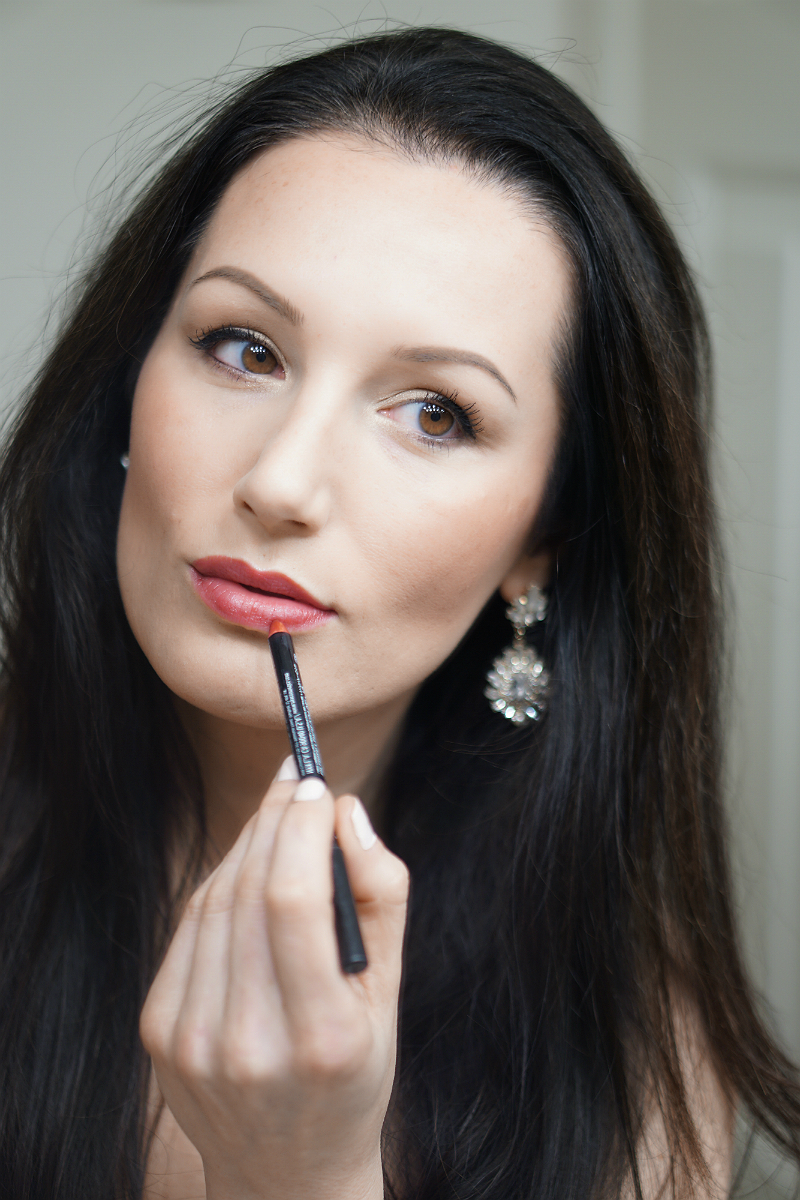
Step 14: Use Lip Liner
Before doing my lips, I always gently exfoliate. You can either use a damp washcloth or a lip exfoliating scrub. Whichever method you prefer, this important step helps to slough away dry, chapped skin, making your lips look kissably-soft and smooth.
Prior to swiping on lipstick, use a lip liner all over your lips. Not only will this help to define your lip line but, it will also help your lipstick stay on longer (as it acts as a base).
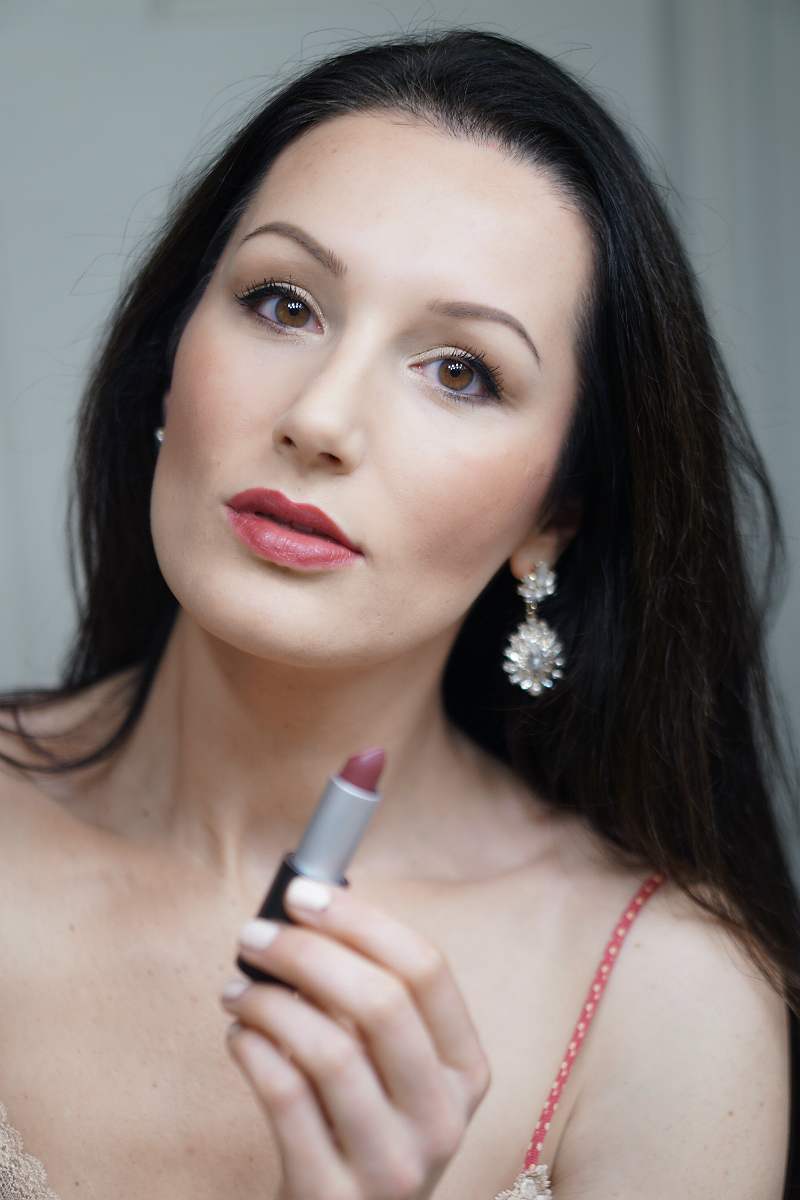
Step 15: Apply Lipstick
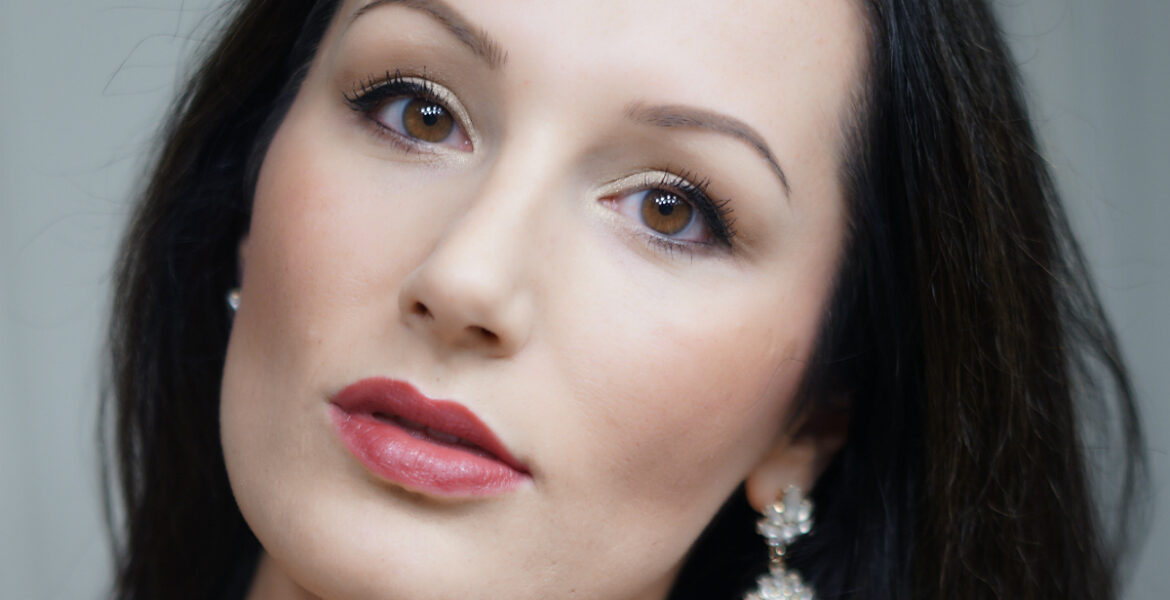
To finish your New Year’s Eve makeup look, a rich, creamy berry-hued lipstick is the finishing touch. Apply the lipstick to your lips, and then pat your lips together a few times to make sure the color has saturated your lips.
While this makeup tutorial has 15 steps in it, it’s actually quite fast and easy to do. By following these steps, your New Year’s Eve makeup will look stunning all night long. To look even prettier, like Cindy Crawford says, “If all else fails, smile”.
For more inspiring beauty tips and tutorials, check out the Makeup section on Inspirations & Celebrations.
Shop The Guide:
