This post has been sponsored by the PRIMP Network. All opinions are my own.
Whenever we get acne flare-ups (due to stress) or experience hormonal breakouts each month, there’s nothing like an unsightly blemish to make us feel self-conscious. Fortunately, with the right know-how and beauty products, we can fake flawless skin.
To show how to conceal zits and create the look of flawless skin, today’s makeup tutorial shows how to make skin look gorgeous, even during break-outs.
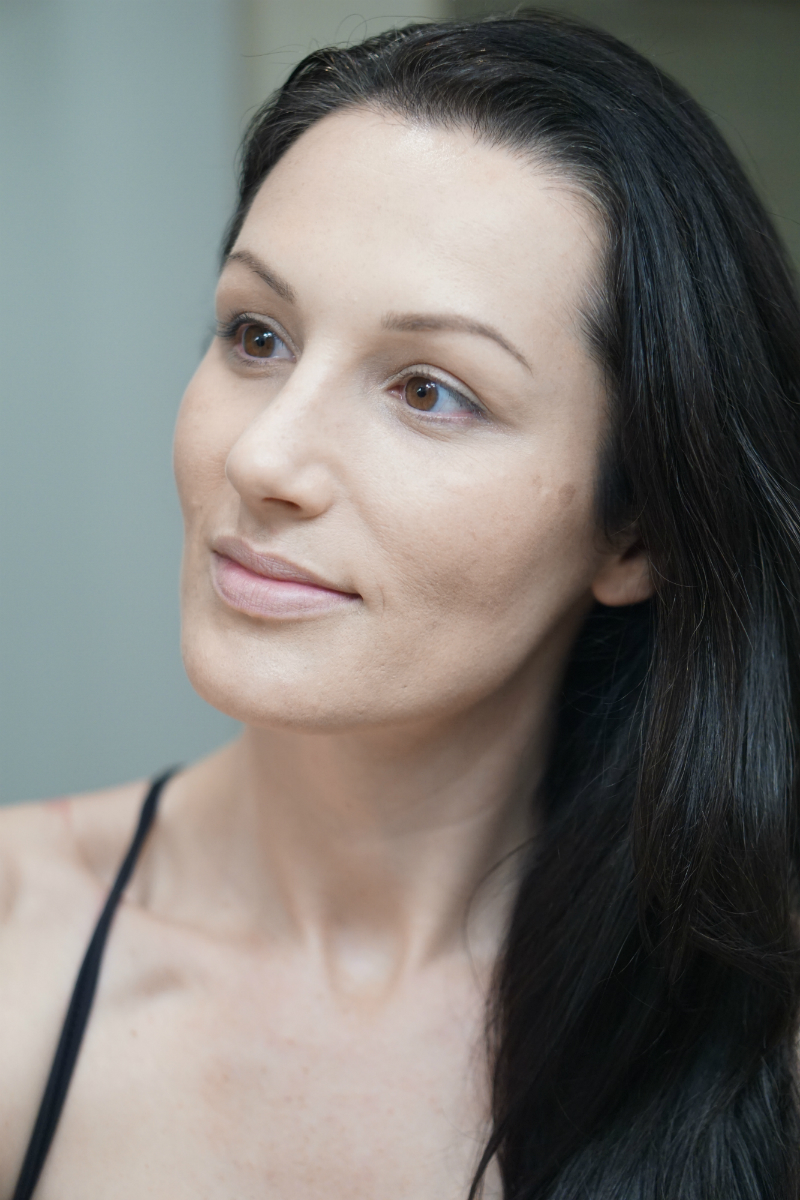
Makeup Tutorial on How To Fake Flawless Skin
While there are several makeup techniques (including color-correcting makeup) that can be used to create the look of flawless skin, for the purpose of this simple makeup tutorial, we’re going to stick with the basics.
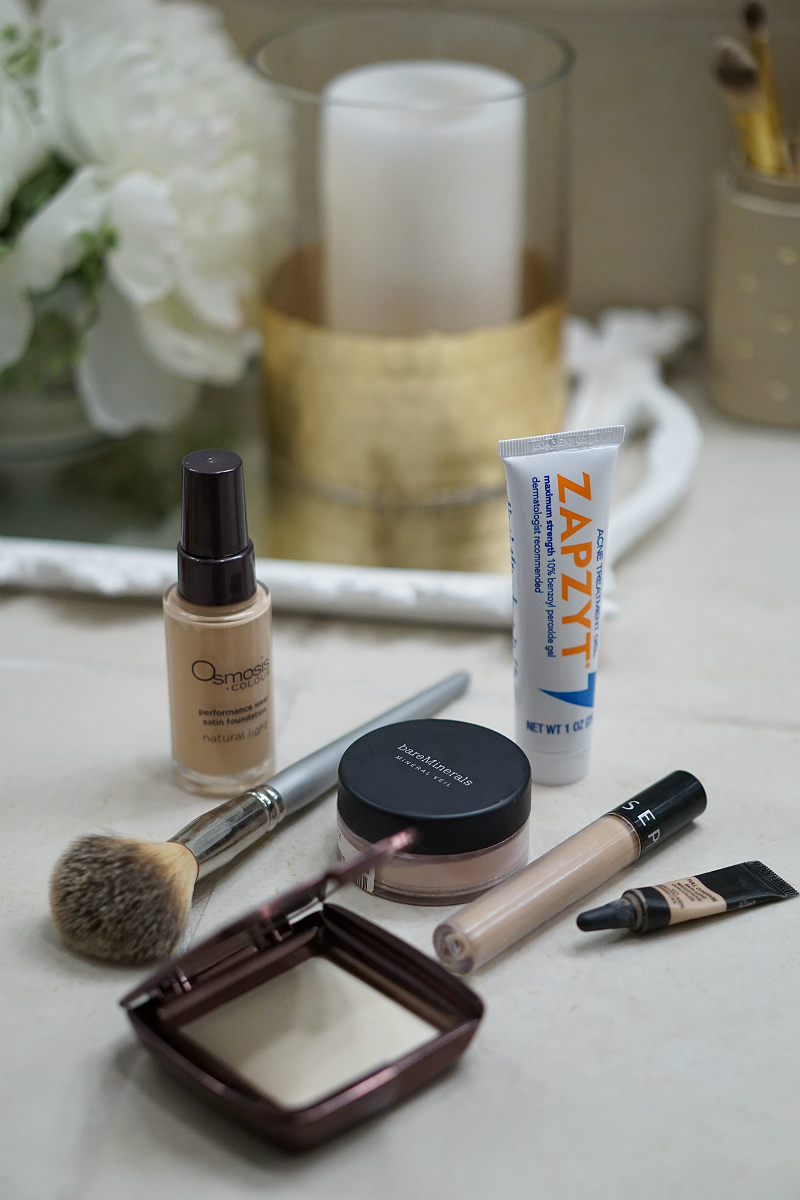
For this makeup tutorial, the following products and tools are recommended:
- ZAPZYT Acne Treatment Gel
- Osmosis Performance Wear Satin Foundation
- Sephora Collection Bright Future Gel Concealer
- It Cosmetics Bye-Bye Undereye Anti-Aging Concealer
- Concealer Brush
- Sephora PRO Airbrush #55 Brush
- Powder Brush
- Fluffy Eyeshadow Brush
- BareMinerals Mineral Veil Powder
- Hourglass Ambient Lighting Powder
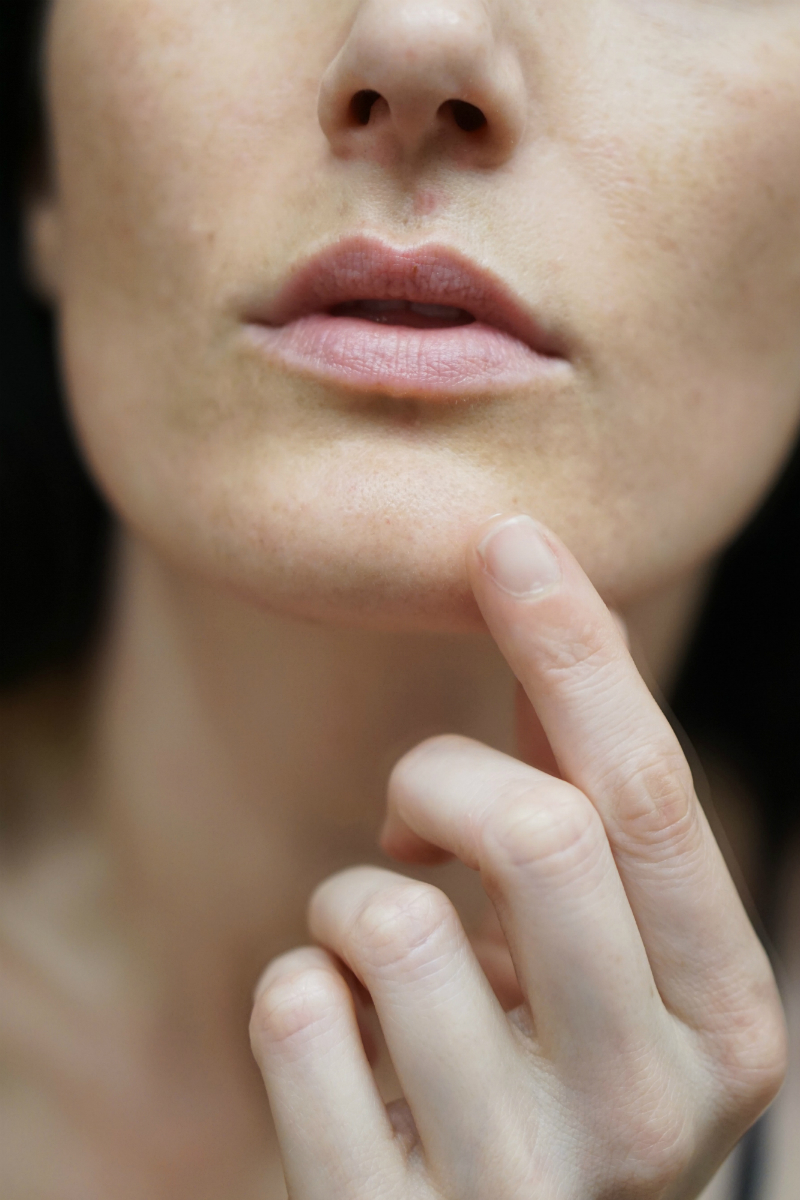
STEP 1: On clean skin, spot-treat blemishes by applying a small amount of ZAPZYT Acne Treatment Gel directly to the zit. This effective 10% benzoyl peroxide anti-acne treatment dries quickly and helps clear up zits due to its powerful anti-acne formula. Plus it can be used for the prevention of acne, as well as treatment of existing blemishes.
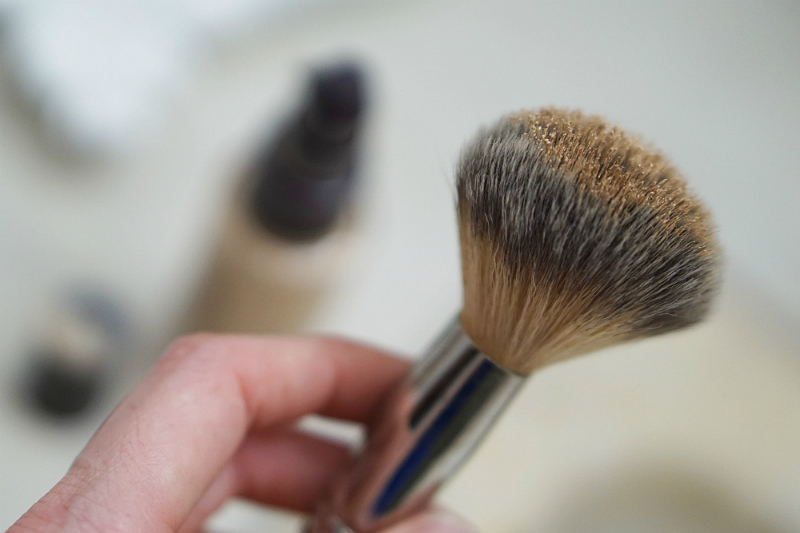
STEP 2: Using an airbrush brush (the Sephora PRO Airbrush #55 Brush is recommended), apply Osmosis Performance Wear Satin Foundation all over your skin. This foundation is ideal for Fall and Winter months, as it provides long-wearing performance, a velvety matte finish, and buildable coverage (which is great for breakouts).
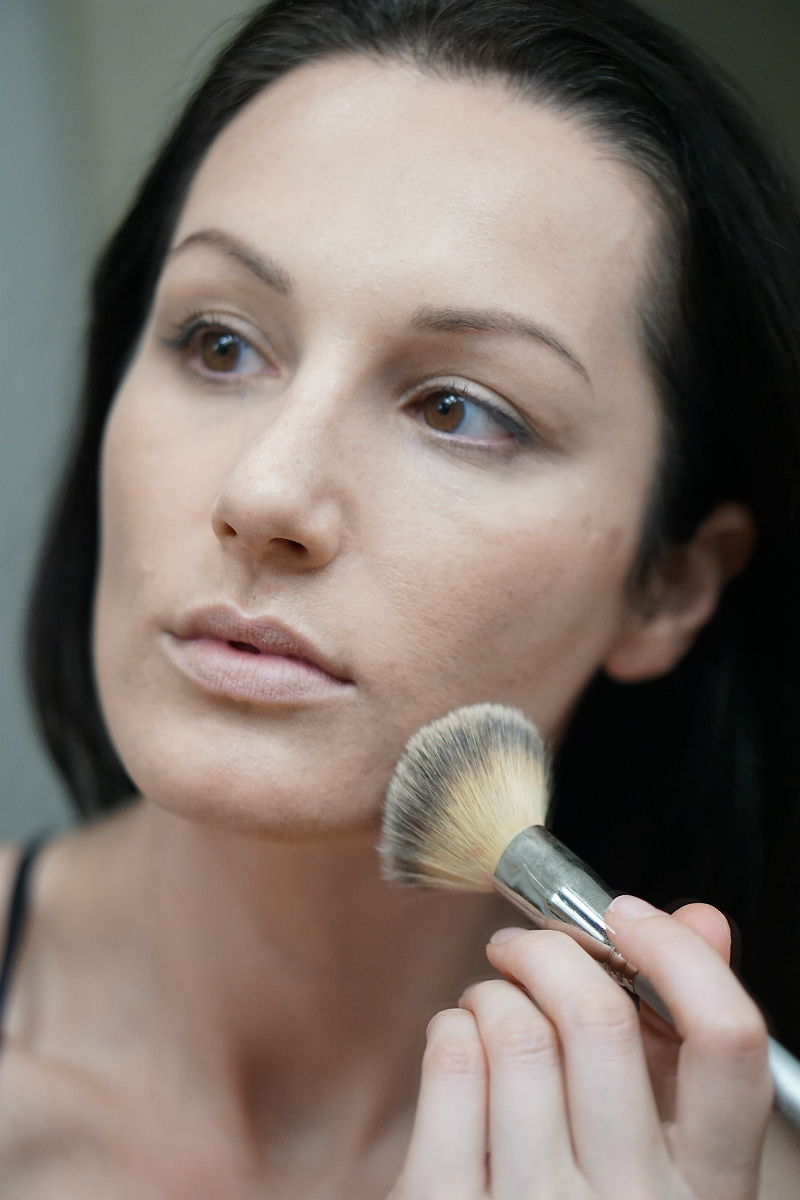
Using a gentle swirling motion, thoroughly blend the foundation into the skin, blending well along the jawline. By using the airbrush brush, you end up using less product for a more natural-looking finish.
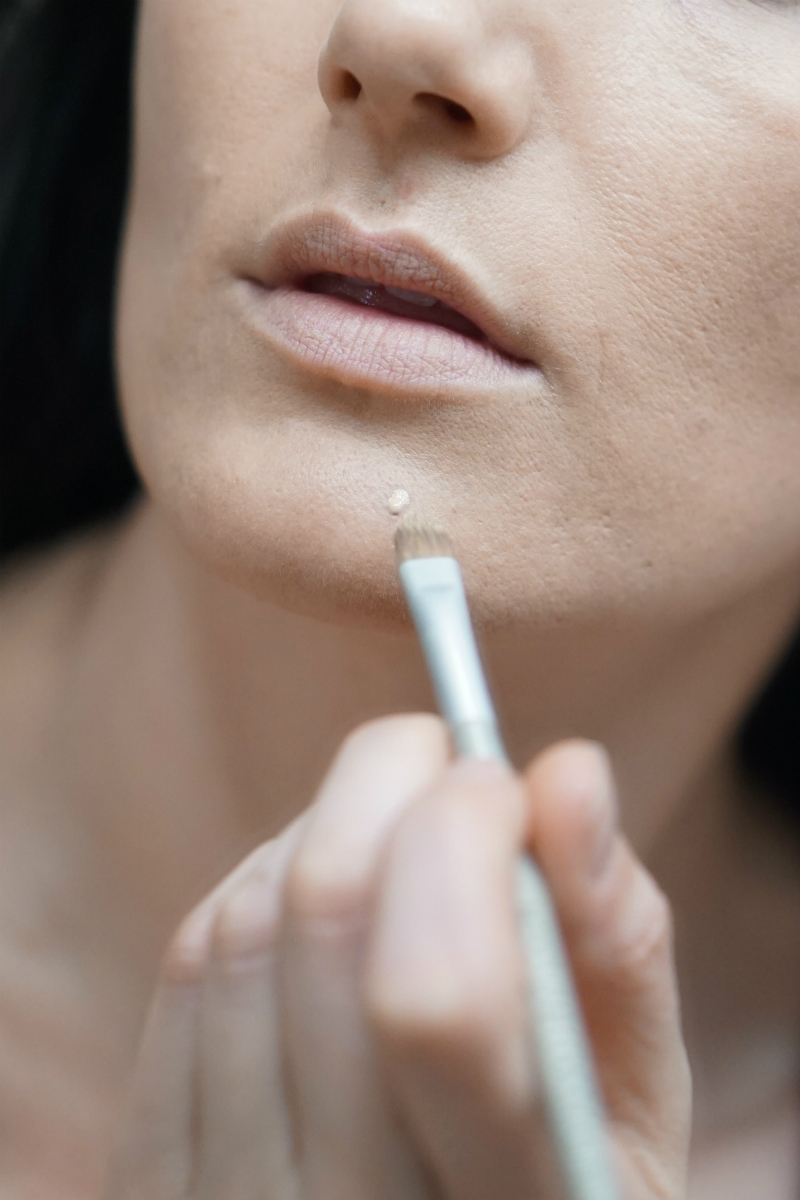
STEP 3: Using a concealer brush, apply a small amount of cream-based concealer (like It Cosmetics Bye-Bye Undereye Anti-Aging Concealer, as the consistency and hydrating qualities are great for covering-up blemishes) directly to the zit. Gently blend in the concealer around the zit, so that it looks natural.
STEP 4: To conceal dark under-eye circles or redness, apply a small amount of Sephora Collection Bright Future Gel Serum Concealer around the eyes with a clean finger (dabbing it on the skin gently). This particular eye concealer is great for oily skin, as it won’t settle into fine lines or wrinkles.
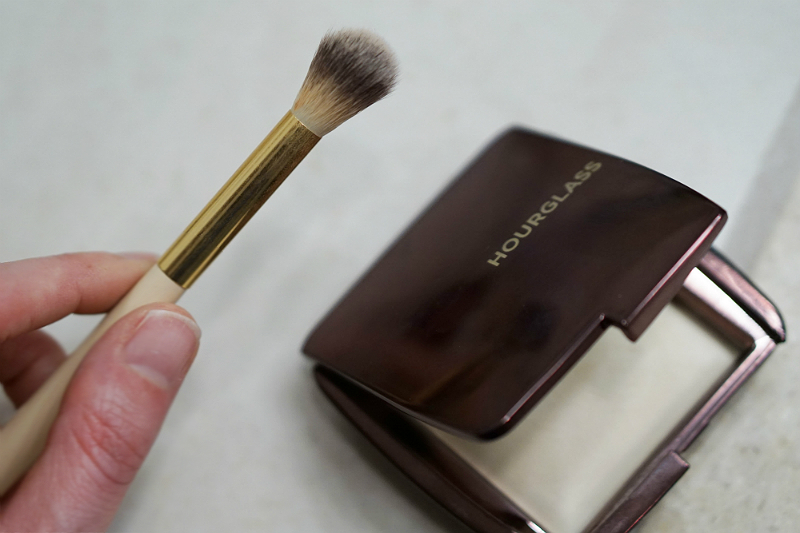
STEP 5: To add a bit of luminosity to your eyes, while minimizing the appearance of fine lines and wrinkles, using a fluffy eyeshadow brush, apply Hourglass Ambient Lighting Powder to the skin around the eyes.
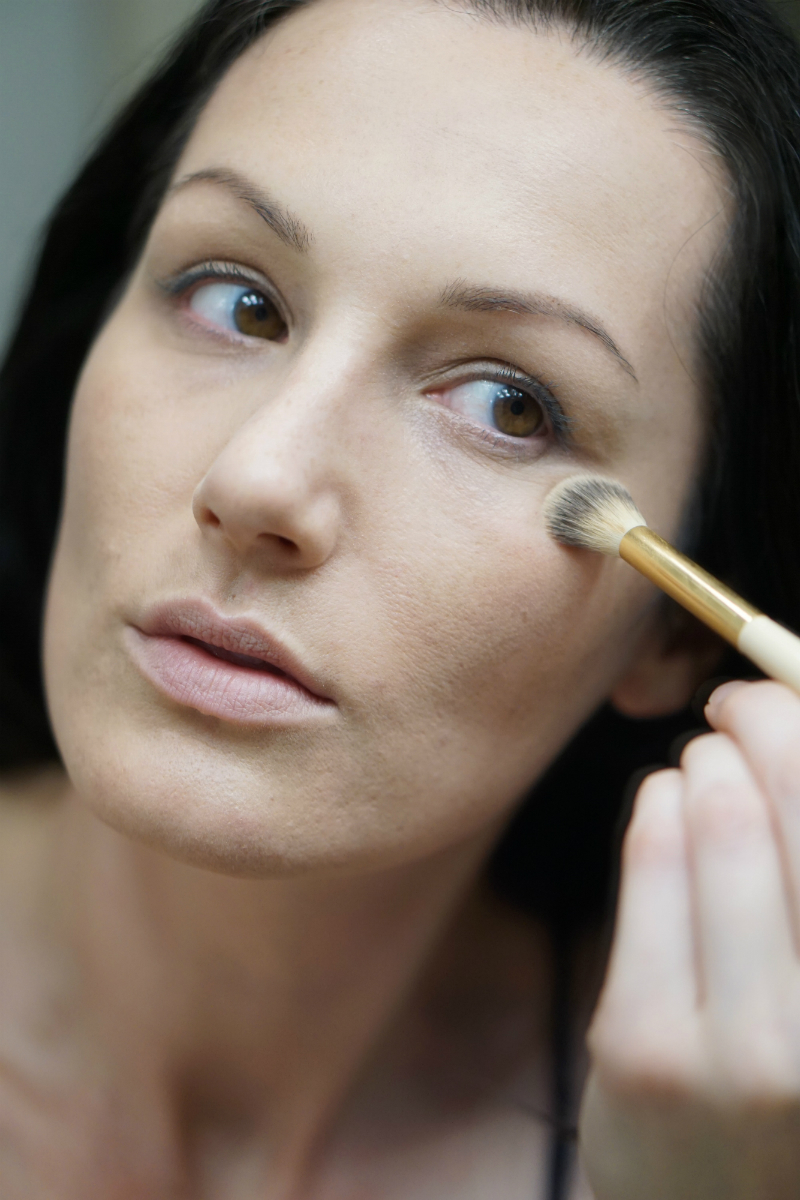
This miraculous lighting powder virtually blurs imperfections, as it contains a finely-milled powder with a soft, reflective quality when light bounces off the skin.
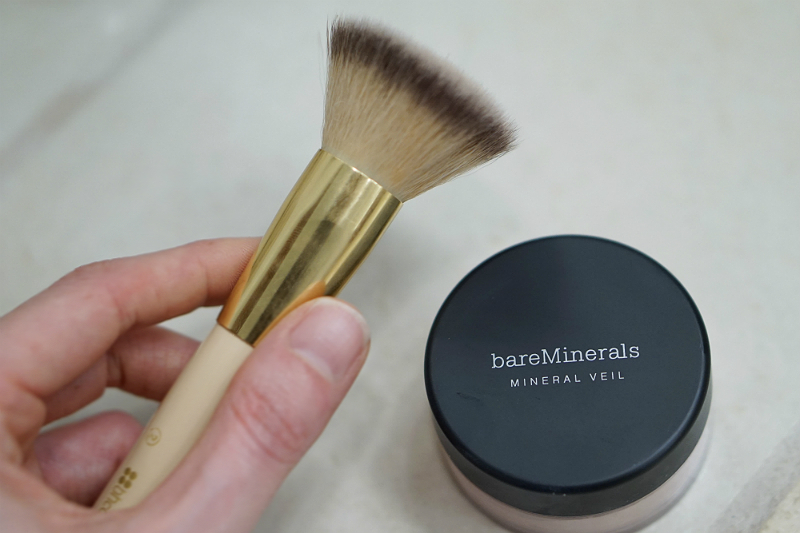
STEP 6: To set your face makeup, extend the longevity of your foundation, and give you a finished appearance, using a powder brush apply bareMinerals Mineral Veil powder all over your face. This mineral-based setting powder leaves a matte finish, without making skin look chalky.
For more beauty tutorials, check out the Makeup section on Inspirations & Celebrations.








I agree that the houglass powder works extremely well. People with dry skin apply with makeup forever setting spray before the foundation application. It sticks wells are and make the foundation last longer. I would love if you check out my start up blog and if you’re genuinely interested, I would love if you could subscribe to my newsletter.
That’s such a great beauty tip, Becca. Thanks for sharing!