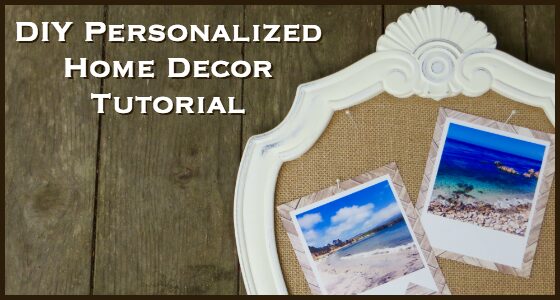
In just 4 easy steps, this DIY personalized home decor tutorial teaches you how to update your home with customized wall art that’s completely original.
From seasonally-driven decor themes (like beach-inspired summer themes to winter holidays) to everyday images that inspire you (like photos of family, friends, and beautiful scenery), this DIY personalized home decor project lets you update the look of your home in a few quick steps.
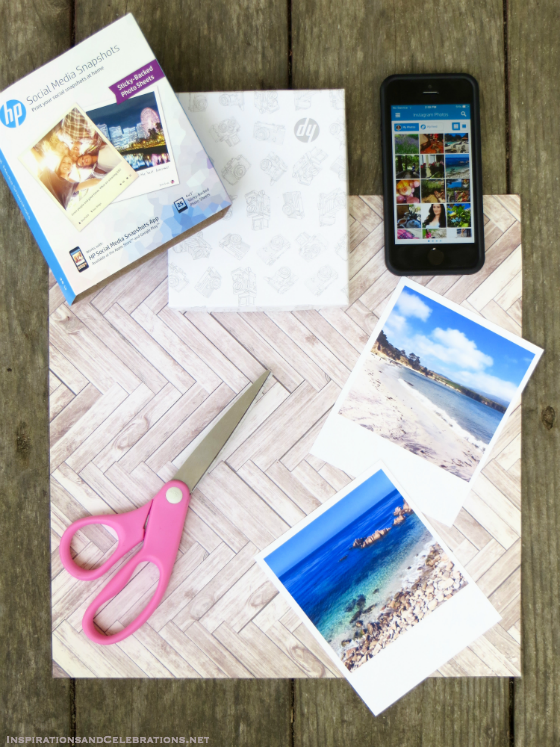
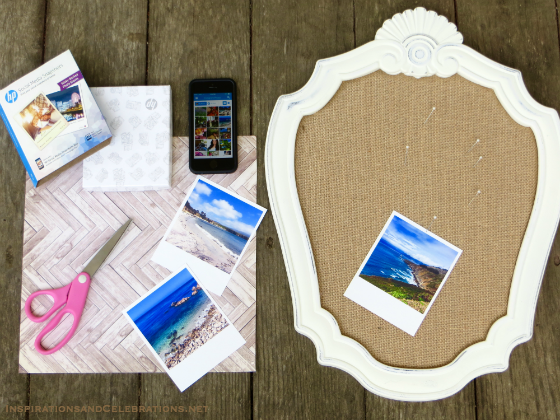
DIY Personalized Home Decor Supplies:
2. HP Social Media Snapshots (smartphone app & paper)
3. HP Printer (must be web-connected)
5. Scissors
6. Push pins
7. Smartphone
What are HP Social Media Snapshots?
The HP Social Media Snapshots app and photo paper (which sync with a wireless HP Envy 5660 Printer or other web-connected HP Printer), enable you to do this DIY personalized home decor project, which is both fun and easy to create.
Featuring printed photos that you have already shared on your social media profiles (like Instagram, Flickr, and Facebook), the HP Social Media Snapshots app enables you to quickly and effortlessly print and customize your favorite pics onto 4×6 self-adhesive photo papers directly from your smartphone.
Simply download the app on your smartphone, connect your social media profiles, choose the photos you love, and print on the sticky-backed paper using a web-connected HP Printer. To make sure you #NeverRunOut of ink again, sign-up for the HP Instant Ink program – which uses your printer’s technology to automatically have HP send you ink, while saving you up to 50% on ink.
4 Easy Steps to DIY Personalized Home Decor:
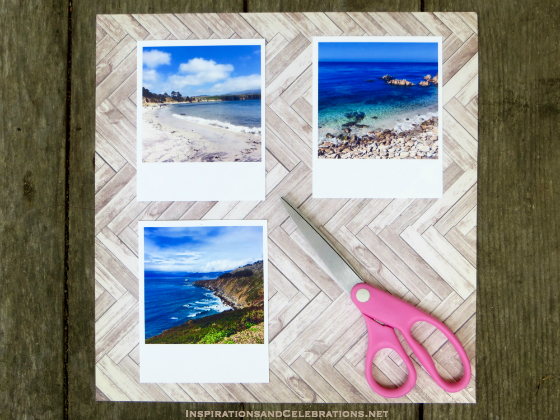
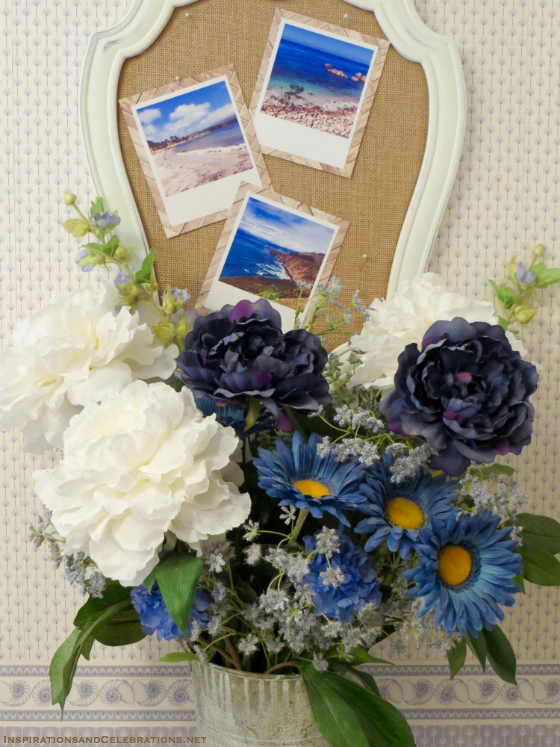
1. After deciding which photos you want to use (shown here are images of local beaches that were shared on Instagram, to tie-in with the beach-themed bathroom decor), print them on the 4×6 self-adhesive photo paper provided in the HP Social Media Snapshots package, directly from your smartphone (which syncs wirelessly to your HP printer).
2. Using sharp scissors, cut the scrapbook paper into rectangular shapes, to act as “frames” for the photos. As an example, a rustic wood-looking pattern was chosen for this particular project, to amplify the natural beauty of the printed photos.
3. Peel off the protective cover from the back of the self-adhesive printed photo, and apply directly onto the scrapbook paper (making sure to center it properly). If you need to trim the scrapbook paper to make it perfectly fit, now would be the time to do so.
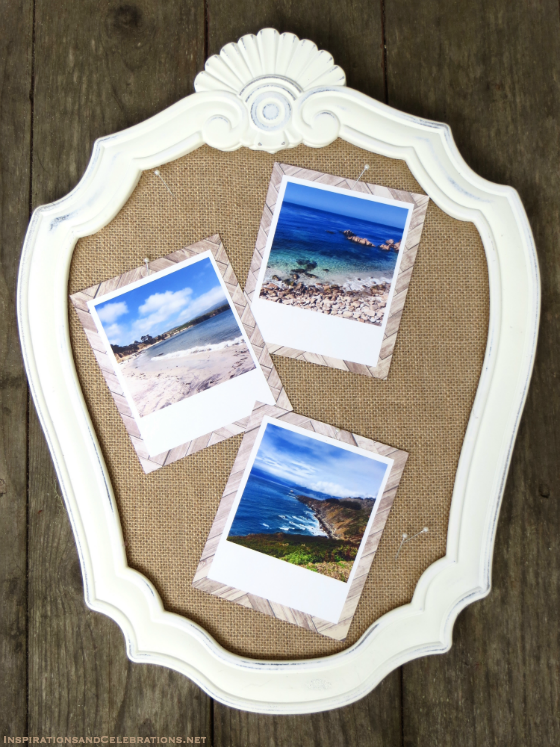
4. Using push pins, strategically pin the finished photos onto your pre-framed bulletin board for completely original, customized wall art that truly inspires you. Change up the bulletin board images as often as you like, or whenever you feel the need to update your home decor.
For more fab tips, pics and videos, follow Inspirations & Celebrations on Google+, Facebook, Instagram, Pinterest, YouTube and Twitter.
[Disclosure: This post was sponsored by HP through their partnership with Collectively. While I was compensated by Collectively to write a post about HP, all opinions are my own. Affiliate links.]

