
Decorating your home for the holidays can be a fun annual tradition that the whole family can enjoy together. Having an afternoon sipping hot cocoa, reminiscing about old family memories, and adding festive decor to the house is always a great way to spend quality time with loved ones. An especially enjoyable way to spend the holidays (and to incorporate a personal touch into your holiday decor) is to create a DIY holiday wreath.
DIY Holiday Wreath
From natural holly leaves and festive berries to a bow-topped ribbon, this easy-to-follow tutorial shows how to make a beautiful DIY holiday wreath. Not only is a DIY holiday wreath fun to make, it’s also an affordable way to decorate your home, since it incorporates natural elements found outdoors.
I recently gathered with friends to do a DIY holiday wreath class at Earthbound Farms in Carmel, California. This local destination spot hosts family-friendly DIY classes throughout the year, including pumpkin carving, holiday wreath-making, and cooking demos.

DIY Holiday Wreath Supplies:
Grapevine branches or bendable twigs
Leaves
Berries
Ribbon
Twine
Floral Wire
Pruning Shears
Scissors
Gardening Gloves
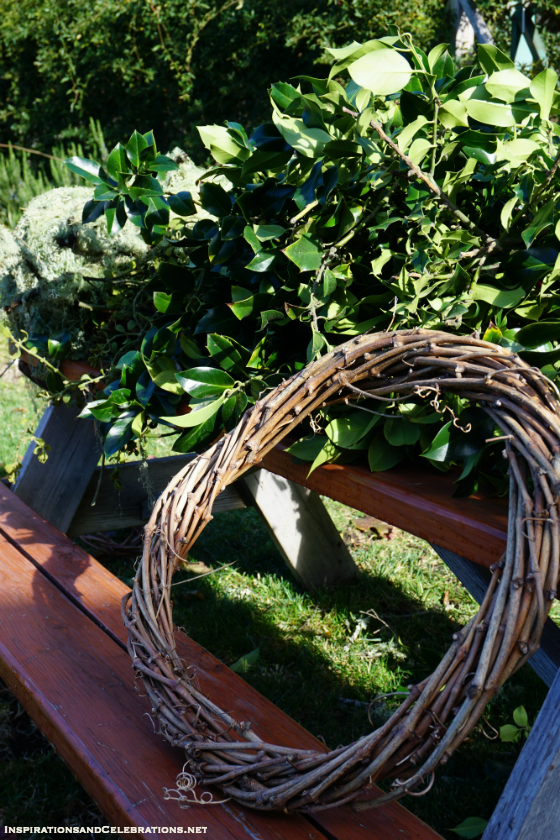
Step 1: Using grapevine branches or thin, bendable twigs (found in the woods), select one branch that is approximately 3′ in length. Bend it into a circular shape, and tuck one end into the other end (crossing-over to resemble a knot). Start weaving in other similar length branches (one by one) by wrapping it around the first branch. After doing this process repeatedly (with multiple branches), it should have a sturdy look and feel, similar to the wreath pictured above.
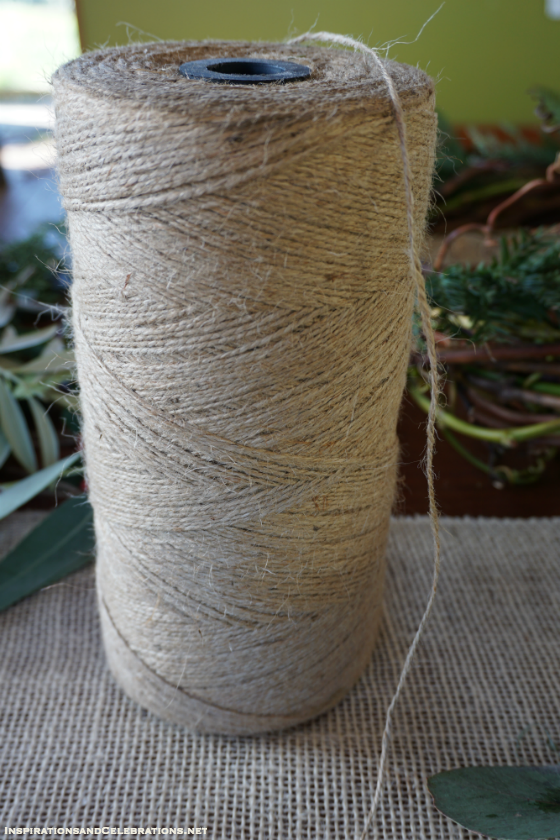 Step 2: An easy, inexpensive way to hang your DIY holiday wreath is to create a hangar using twine. Simply cut 12″ worth of twine using a pair of scissors. Then wrap it through the branches on the top of the wreath, tie in a knot and make into a loop.

Step 3: Using the pruning shears, cut the stems of the leaves off a bush or tree. When choosing leaves or greenery, look for foliage that has thin, straight stems. Cut away any leaves from the base of the stem, to make it easier to insert each stem into the spaces between the wreath branches. Insert each stem securely in between the wreath branches, with the greenery facing the same direction. Continue this process all the way around the wreath until complete.
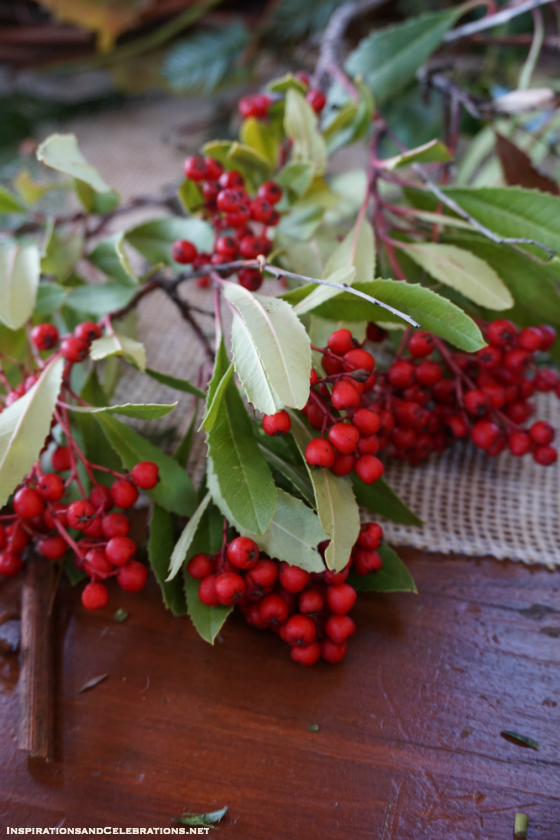
Step 4: When choosing berries, opt for vibrant-colored, ripe-looking berries (like holly berries) that add a cheery pop of color to your DIY holiday wreath. Sporadically insert the stems of the berries into the wreath branches, placing them strategically around the wreath to help draw the eye from one part to the next. About 3-5 clusters of berries is a good amount to use.

At this point, your natural DIY Holiday wreath is complete. If you prefer to add a more glamorous, festive touch to your wreath, adding a bow or ribbon is easy to do.

A metallic-woven plaid ribbon (with built-in wiring) is a traditional look for holiday wreaths. The wiring inside the ribbon makes it especially easy to shape and mold the bow, so that it doesn’t fall flat when displayed on your door.
Step 5: After cutting about 2′ of ribbon using a sharp pair of scissors, create a knot in the center of the ribbon. This will act as your base to create the bow. Next, make a bow, and attach the center loop with a small amount of floral wire to the wreath itself. After the bow is securely adhered to the wreath, using the remainder of the ribbon, wrap it around the wreath (see example below). It’s that easy!

For more fab tips, pics and videos, follow Inspirations & Celebrations on Google+, Facebook, Instagram, Pinterest, YouTube and Twitter.