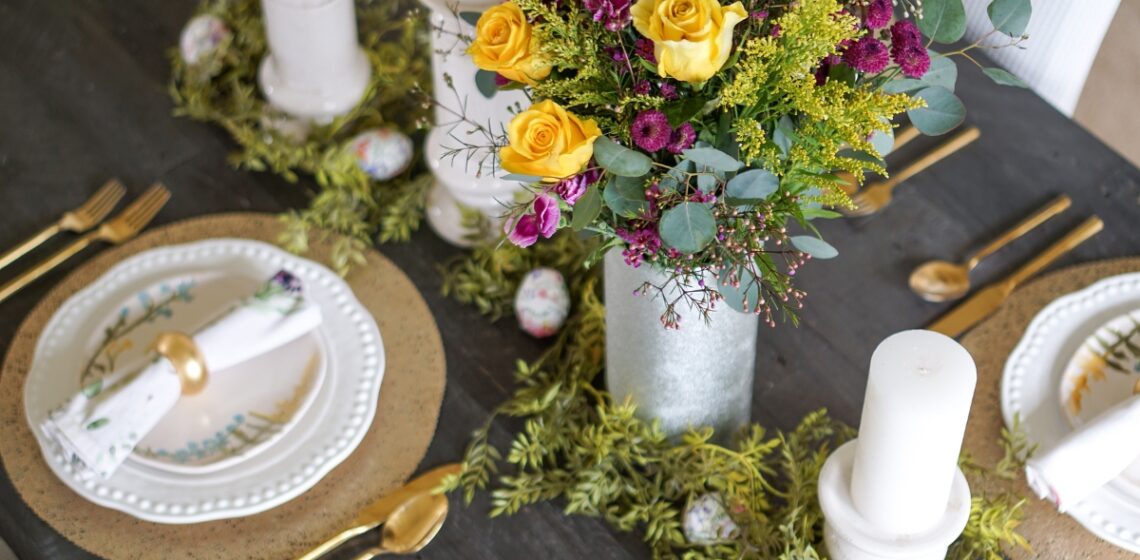
Featuring vibrant colored flowers and lush greenery, this easy-to-follow DIY tutorial shows how to make a Spring Wreath, which you’ll be proud to display on your front door or to give to someone special.
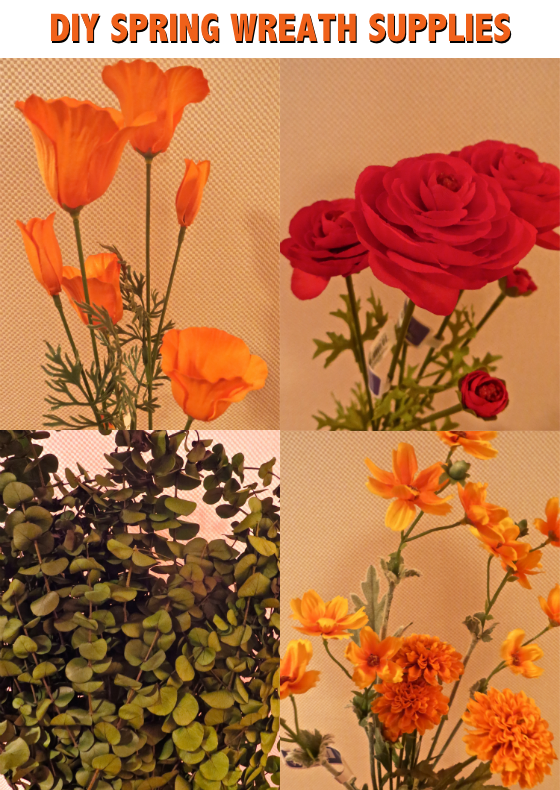
DIY Spring Wreath Supplies
- Silk Flowers
- Grapevine Wreath
- Scissors
- Wire Cutter
- Wire
- Twine

DIY Spring Wreath Instructions
1. First you’ll need to select an assortment of in-season (silk) flowers and an appropriate sized wreath (made of grapevines). A combination of colors, shapes, and sizes that are visually-pleasing when put together works best (primary colors or pastels, as an example). Vibrant-colored flowers like Poppies and Peonies are especially desirable. Since Spring is known for flourishing blooms, you can easily find a wide variety of flowers this time of year, that come in a range of hues (from pastels to bold colors). Make sure to include greenery in the mix, as that will act as the foundation of your Spring Wreath.
2. Once you have chosen your flowers, you are ready to begin. Using the wire cutters, start by cutting individual stems of the greenery, making them approximately 6-8″ in length. Insert each stem into the wreath, making sure they are securely attached. Continue this process in a clockwise manner, so that the greenery is all facing the same direction. Add as much greenery as you want (this will not only add lushness to your Spring Wreath, it will also increase the overall size and volume of the wreath).
3. When you are ready to add your flowers to the Spring Wreath, begin with the largest blooms first. Make sure to cut them down to a manageable size, allowing for enough of a stem to securely stick into the foundation of the wreath. Since some silk flowers are bulkier in size (like Sunflowers), it helps to use wire to secure them to the wreath. Just make sure the wire is placed on the backside of the wreath, so that it’s not visible. The large flowers should be spaced apart, rather than clustered together. Sometimes it helps to stand back from your wreath as you are adding more flowers – this helps to give you a better idea of how it will look when displayed on your door.
4. After your larger blooms are placed on the Spring Wreath, now is the time to fill in with smaller flowers. Contrasting colors (like blues and oranges) are especially pleasing to the eye.
5. When all the flowers have been securely attached to the Spring Wreath, cut an 8″ piece of twine. Create a large loop, and then double-knot it to the top of your wreath. This will act as your door-hanger.
Voila! In 5 easy steps, you have created a beautiful Spring Wreath.